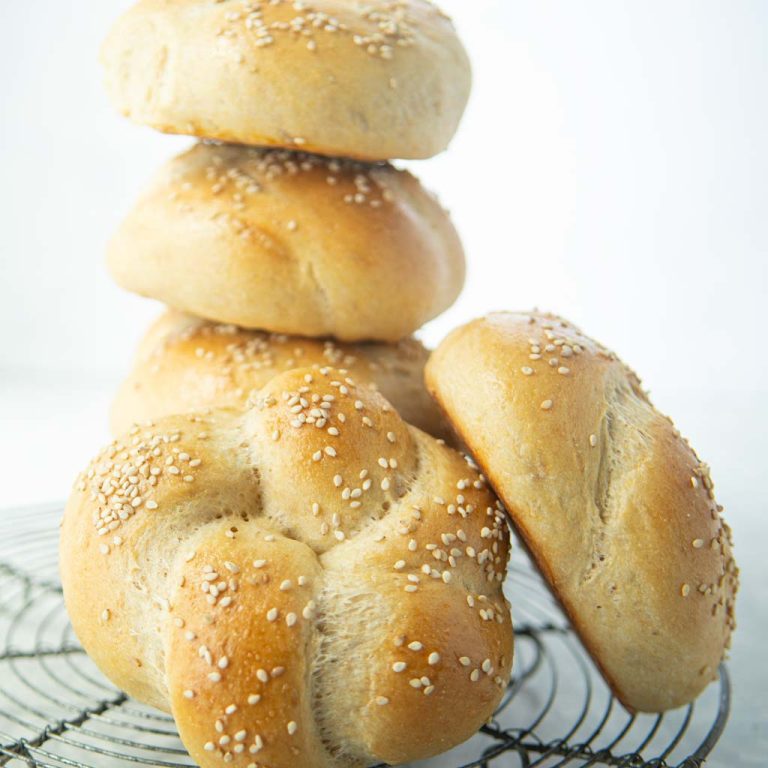
How to make easy everyday bread for toast of dreams
bakingwithtradition.com is a participant in the Amazon Services LLC Associates Program, an affiliate advertising program designed to provide a way for websites to earn advertising revenues by advertising and linking to recommended products. Some of the links below are affiliate links. This means that, at zero cost to you, I will earn an affiliate commission if you click through the link and finalize a purchase.
You will love this easy everyday bread. This is a no-fail simple white bread that’s perfect for beginner bread makers or anyone short on time.
I’ve been making bread since I was about 10 years old. There was a time that a simple white bread loaf like this one was incredibly intimidating to me. It seemed like mine always fell apart, and talk about scalding milk and killing yeast were confusing for me. Making yeast bread does not have to be hard though.
Having made hundreds of loaves at this point, I can tell you that I’ve learned a lot of tricks to take the mystery out of making the perfect sandwich bread.
You need no fancy ingredients for this beginner baker friendly simple homemade bread , no special equipment, and the time you spend here it largely inactive.
Plus you get to touch bread dough which is one of the joys of this world. The hardest part is waiting for the loaf to cool before cutting, which is pure mental torture.
Affiliate disclosure
bakingwithtradition.com is a participant in the Amazon Services LLC Associates Program, an affiliate advertising program designed to provide a way for websites to earn advertising revenues by advertising and linking to recommended products. Some of the links below are affiliate links. This means that, at zero cost to you, I will earn an affiliate commission if you click through the link and finalize a purchase.
Easy Everyday Bread
Easy everyday bread ingredients
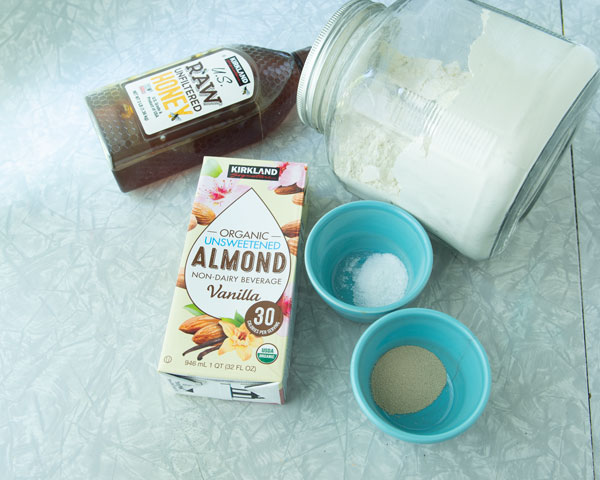
- Milk: whole milk; for dairy-free version, use water or your favorite dairy-free milk
- Warm water: tap water warm from the faucet. If I get fancy, I’ll warm it up on the stove from our filter tap.
- yeast: instant yeast or active dry yeast
- Honey: for flavor, color, and to give the yeast food to make it happy. You could use white sugar here too if that’s what you have on hand.
- Olive oil: I like the flavor of olive oil, but you could use butter as well here
- salt: fine sea salt or table salt
- Flour: all-purpose; you could use half all-purpose, half whole wheat flour for a whole wheat bread if you’d like. You can also use bread flour which has a little more protein content. It makes a lovely loaf of bread.
- Egg: for egg wash to brush on before baking (optional). You can skip this, but then your loaves won’t be as pretty. Friends don’t let friends make ugly bread.
- Sesame seeds or everything bagel seasoning (optional): My kids like the extra flavor and crunch here, but you can skip it too.
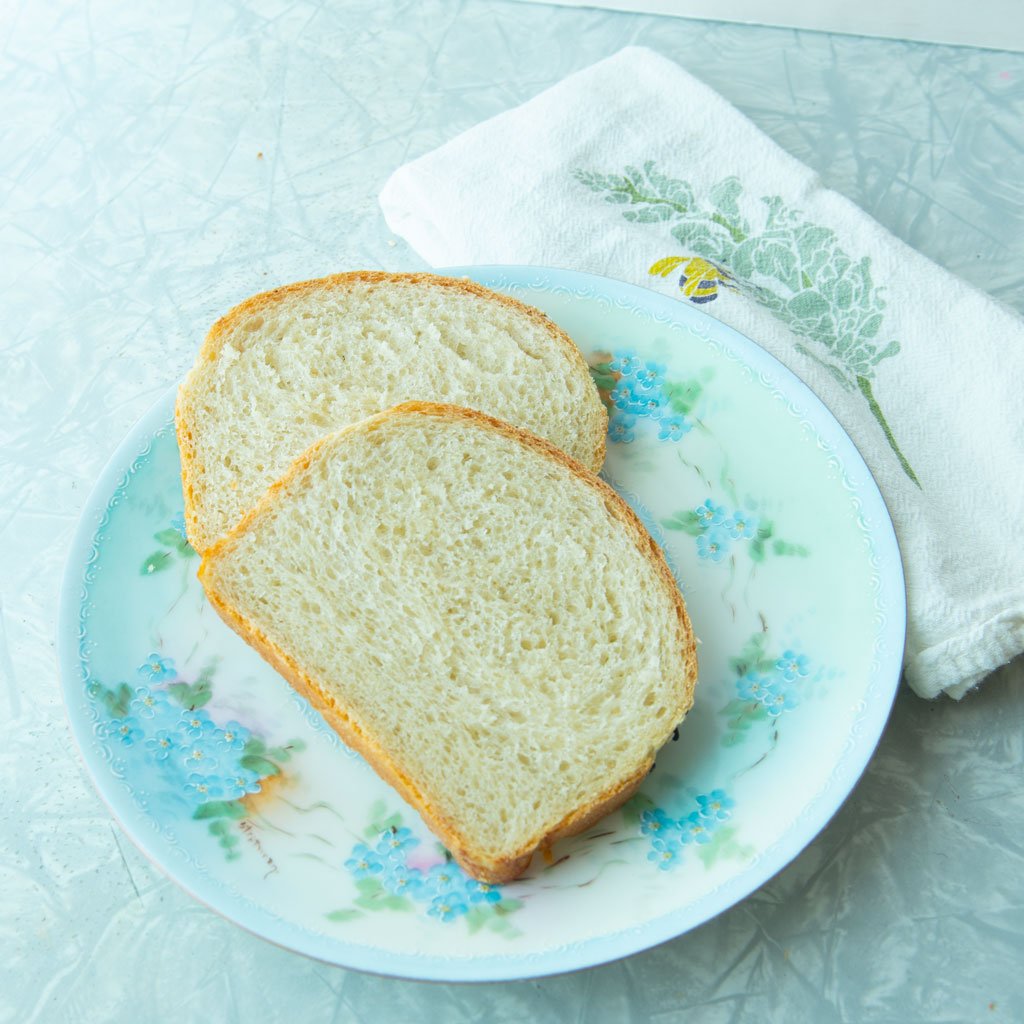
Do I need any special equipment to make this recipe?
The only thing you need are a couple 9″x5″ loaf pans. I have some heavy ones I love, but whatever have works well. This recipe makes 2 loaves of bread, though you could halve it for one loaf. I have some heavier weight pans from Anolon. These USA pans are similar. FWIW, I have a Pullman loaf pan from USA pan, and I unequivocally love it.
I purposely wrote this for someone who may not have a full baking arsenal of tools. You’ll see I use more as the recipe goes on, but just know just the loaf pans are necessary.
Print
Easy everyday bread
- Total Time: 3 hours 35 minutes
- Yield: 2 loaves 1x
Description
This basic white bread is a great beginner baking recipe with very little active time. There’s no fancy ingredients or techniques required, and after you make it, you’ll wonder why you’ve never tried to make before. Toast will become 1000% better.
Ingredients
- 1 and 3/4 cups milk (whole milk, your favorite dairy free milk)
- 1/2 cup warm water
- 1 tablespoon yeast (instant or active-dry)
- 2 tablespoons honey
- 2 tablespoons olive oil
- 2 teaspoons salt
- 800 g all-purpose flour ( 6 and 2/3 cups)
- soft butter or other solid fat for greasing the loaf pan (lard, coconut oil)
- 1 egg for egg wash (optional)
- Sesame seeds or everything bagel seasoning (optional)
- Instructions
Instructions
- Dissolve yeast in the warm water, then add in the honey. Set aside for 5 minutes.
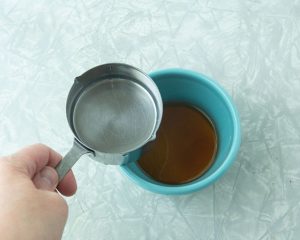
- Heat the milk in a small saucepan until just warm.
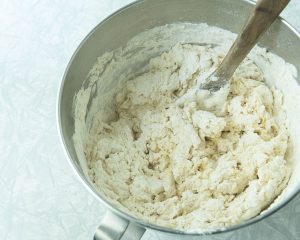
- Place the yeast mixture, milk, and olive oil in a large bowl. Add in the flour, then the salt. Stir with a wooden spoon to create a rough dough, then move on to kneading.
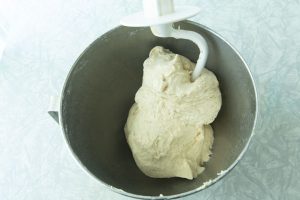
- To knead by hand, lightly flour a work surface, then dump out the contents of the bowl. Use your hands to push the dough away from yourself, then roll it back towards yourself. Continue this motion for about 10 minutes until you get a smooth dough. Alternatively, mix with a dough hook in a stand mixer on low speed for about 5 minutes.
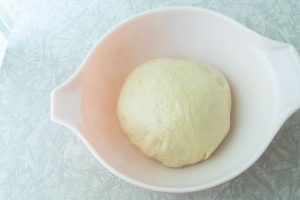
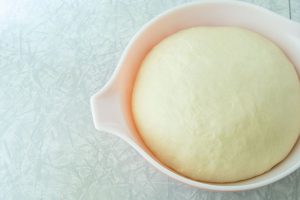
- Form the dough into a ball, then place the dough in a clean bowl sprayed with cooking spray. Cover with plastic wrap until it’s doubled in size, about 1 1/2 hours.
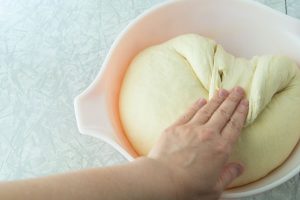
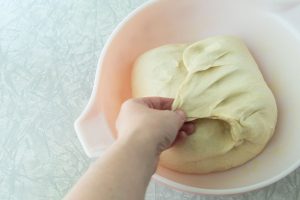
- Fold one side of the dough back on itself towards the center of the bowl. Repeat with the opposite side of the dough. Cover again and rest for another 30 minutes.
- Grease two 9″x5″ loaf pans with the soft butter. You can place a piece of parchment to line the bottom of the long side if you like, though it’s not critical.
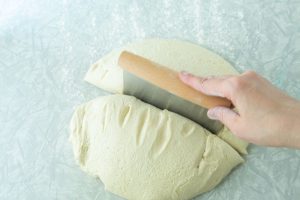
- Lightly flour a work surface, then divide the dough into 2 pieces with a bench scraper.
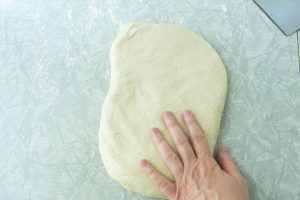
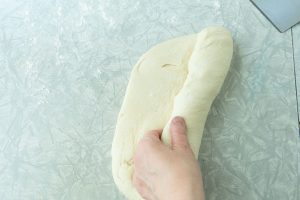
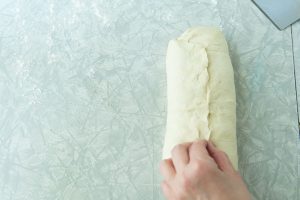
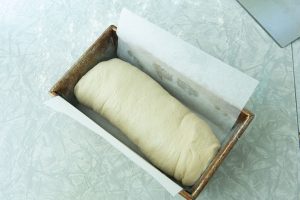
- Pat one piece of dough into a rectangle the length of your loaf pan. Tightly roll up the dough along the long edge to create a log. Pinch the bottom of the dough together to seal up the seam. Repeat with the second piece of dough, then cover the loaves with a damp towel until the dough has risen near the rim of the pan–about 20-30 minutes.
- Preheat the oven to 350 F (180C) while the dough is rising in the pans.
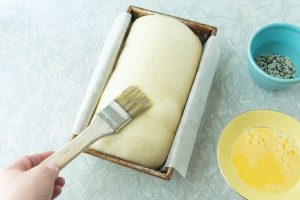
- (Optional but awesome): Whisk 1 egg with 1 tsp water to create an egg wash. Just before the loaves go in the oven, brush on the egg wash with a pastry brush. Sprinkle the loaves with sesame seeds or everything bagel seasoning.
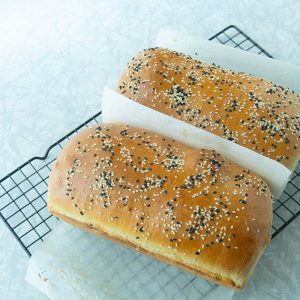
- Bake the bread for 45-50 minutes until golden brown and hollow sounding when you rap the bread with your knuckles.
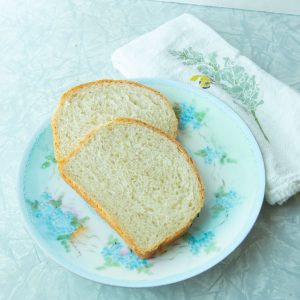
- Let the bread cool completely, then slice and enjoy.
Notes
- This bread will keep for a couple days at room temp or for a couple months in the freezer, tightly wrapped and sealed in a plastic bag.
- To make this dairy free, choose dairy free milk or water in place of the milk, and use coconut oil to grease the pan.
- Prep Time: 15 minutes
- Additional Time: 2 hours 30 minutes
- Cook Time: 50 minutes
Nutrition
- Serving Size: 1 slice
- Calories: 114
- Sugar: 1
- Sodium: 151
- Fat: 1
- Saturated Fat: .41
- Carbohydrates: 21
- Fiber: 1
- Protein: 3
- Cholesterol: 1
Tips for making the perfect sandwich bread
- Warm liquids: Make sure your water and milk are warm to the touch. If they’re too hot, they can kill the yeast. 105-110 degrees is ideal. If you don’t have an instant-read thermometer, pop your finger into the water or milk. If it’s just warm, you’re good to go.
- Shaping: Be sure to fold the dough back on itself as described below, then roll it into a log before baking. This creates structure in the gluten that allows the bread to be cut into beautiful slices with a lovely crumb.
- Gram scale: I use a gram scale to weigh my flour. This produces consistent results, though I baked for decades with no scale. There’s measurements for cups of flour in the written recipe below.
Should I scald the milk?
Scalding milk is a technique you’ll often see called for in old recipes for basic everyday bread. It means that you heat milk and cool it prior to adding it to a bread dough. Typically this means heating it until you see bubbles around the edge of the pan and a slight skin forms on the surface of the milk. You then cool the milk down. I like to set it in a pie plate to cool faster. So that’s how to scald milk, but is it necessary for baking?
According to Shirley Corriher (Corriher, Shirley O. CookWise. William Morrow Cookbooks, 21 June 2011, p 80), scalding the milk is thought to kill an enzyme in whey that prevents good rising and texture in dough. Her guess and mine is that this was a step added to recipes in the times when people had access to raw milk. Since most of us are using pasteurized milk, it’s probably not necessary to scald the milk,
BUT,
if you’re using a recipe with a lot of milk in it (this recipe you’re reading now has 1 3/4 cups milk), the protein content can affect the rising if the milk is not scalded.
I’ve made bread scalding and not scalding to good effect. For me, it comes down to how much time I have to work on a recipe. Of late, I always scald my milk, and I get great results.
Can I make this bread dairy-free?
Yes, I almost always make this bread dairy-free as me and dairy are not friends. You can simply use water in place of the milk or use your favorite dairy-free milk for a little flavor. The rest of the ingredients are naturally dairy-free.
You will get a slightly drier crumb without the addition of dairy, but it will still get delicious sandwich bread that will disappear. Exactly none of my 4 kids has ever said, gee, Mom, this would be so much better if you skipped the almond milk.
Easy everyday bread recipe step by step
Scald the milk
If you’re using whole milk, heat it in a small saucepan until you see bubbles around the edge of the pan. You might notice a slight skin forms on the surface of the milk. Pour the milk in a pie plate or other shallow dish to cool faster. The milk is ready to use when it’s just warm to the touch.
If you’re using dairy-free milk, simply warm up the milk to just barely warm. There is no need to scald dairy-free milk since it lacks the protein that could interfere with the bread rising.
Activate the yeast
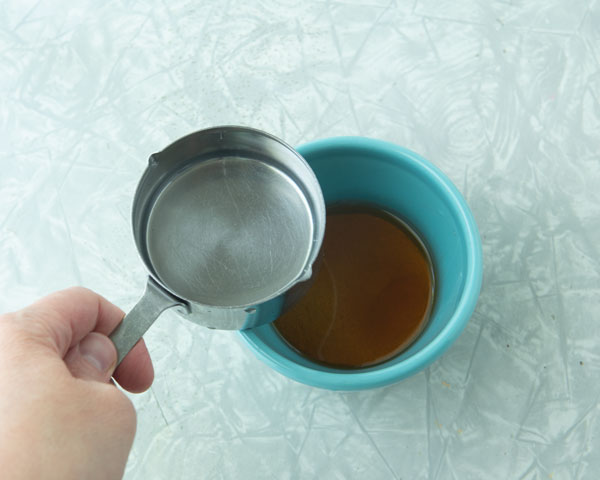
Next, whisk to dissolve your yeast in the warm water with the honey. Set aside for 5 minutes until foamy.
Make the dough
From here, measure out your flour into a large bowl. Add the salt and mix with your hands.
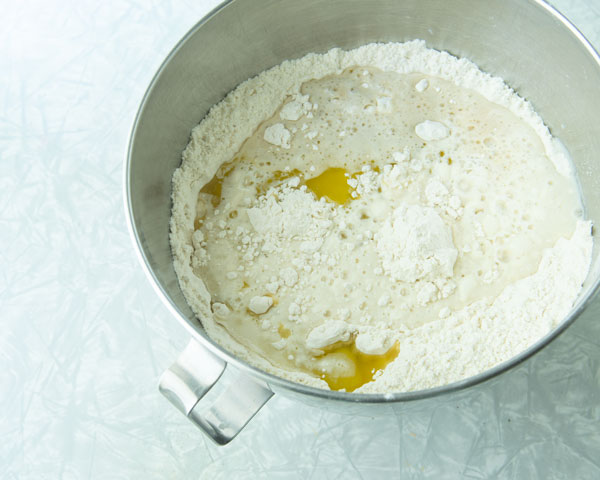
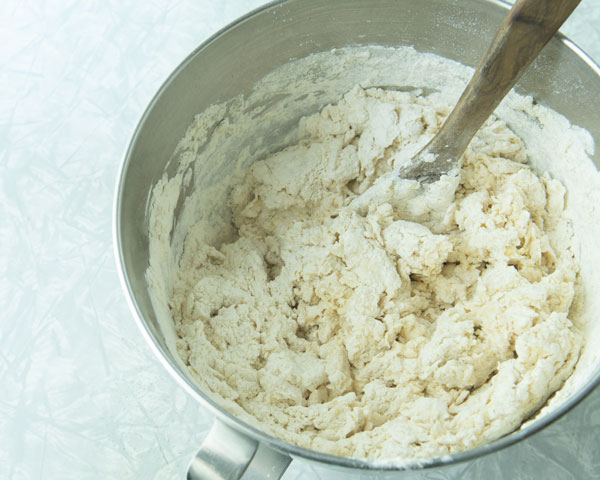
Make a well in the flour, then pour in the cooled milk, olive oil, and yeast mixture. Stir with a spoon to create a shaggy looking dough.
Knead the dough
To knead by hand: Dump the shaggy bread dough onto a lightly floured surface. Use the heel of your hands to push the dough away from you, then roll it back. Continue this motion for 5-10 minutes until you get a nice smooth dough.
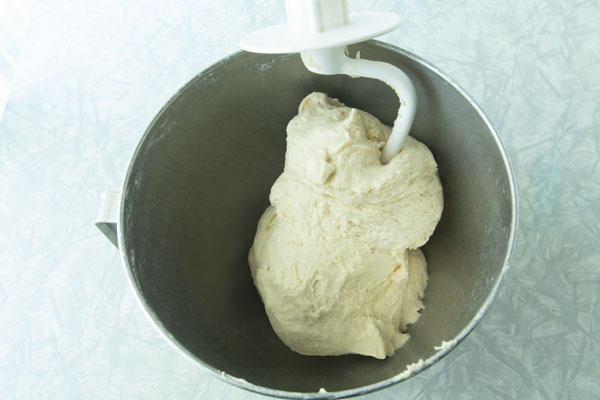
To knead by machine: Use a dough hook on a stand mixer and mix on low for about 5 minutes until the dough is smooth and forms a ball around the dough hook.
First rise of the dough
You can let the dough rise in the same bowl you mixed it, but I like to put it into a clean bowl sprayed with a little cooking spray.
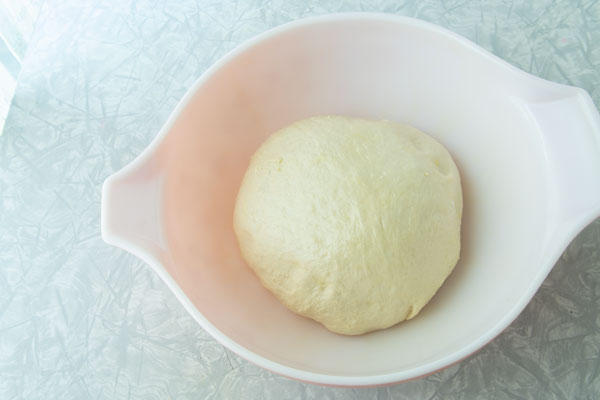
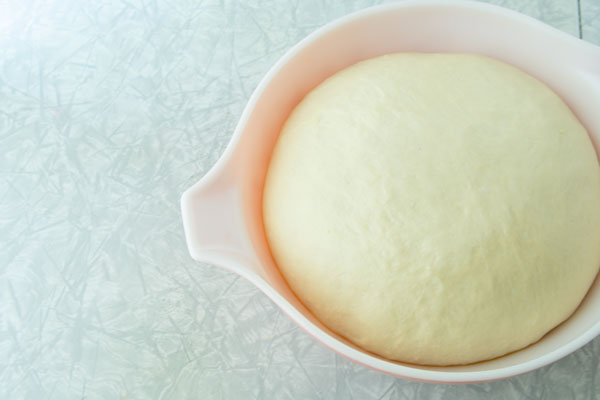
Form it into a ball, then cover it with plastic wrap. Set aside for 1 hour until the dough is roughly doubled in volume. Your rise time will be affected by how warm it is in your kitchen. In summer it takes me about 1 hour, and in winter about 1 1/2 hours. In colder weather, you can set it in a warm place like in an oven that has been turned on to its lowest setting for 5 minutes, then turned off.
Second rise: Folding the dough
Next it’s time to start building some loafy strength into the dough. After the first rise, fold one side of the dough back in on itself towards the center of the dough. Press with your fingers to seal it in place.
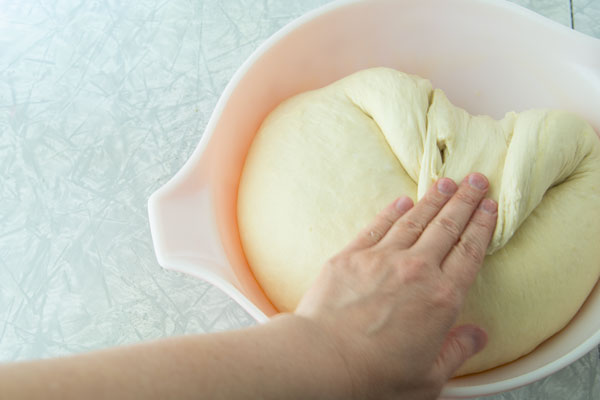
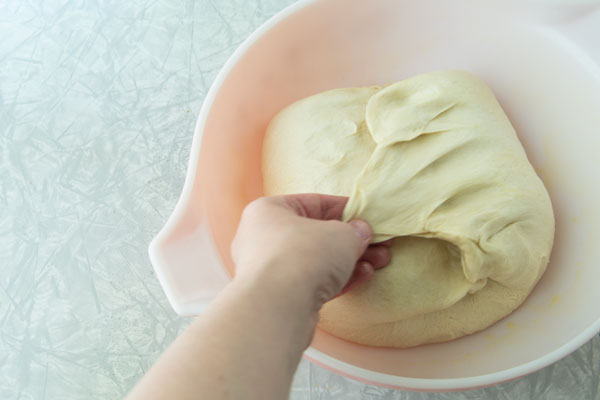
Repeat this process with the side of the dough opposite the one you just folded. Scrape down the sides of the mixing bowl so you don’t lose any loose bits of dough. Cover the dough again and let rise for another 30 minutes.
Shaping the loaves
Grease two 9″x5″ loaf pans with soft butter (or coconut oil or lard if you’re making dairy-free sandwich bread). If you like, you can cut a piece of parchment for the bottom of the pan on the long edge. I like this because it’s easy to pop the loaves out later.
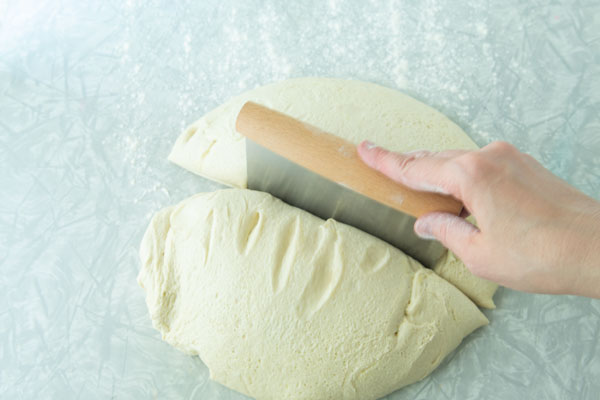
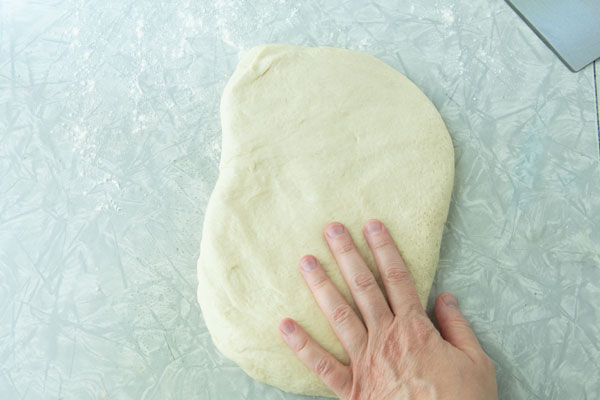
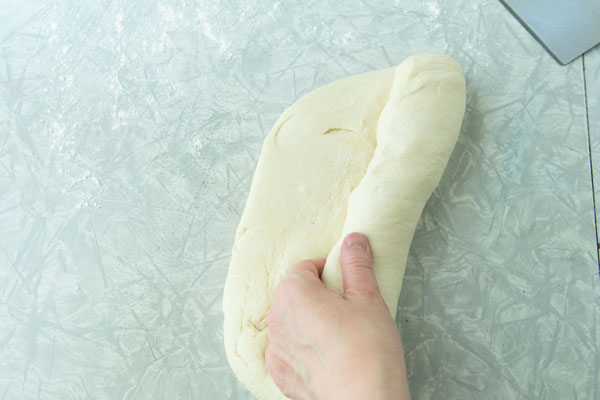
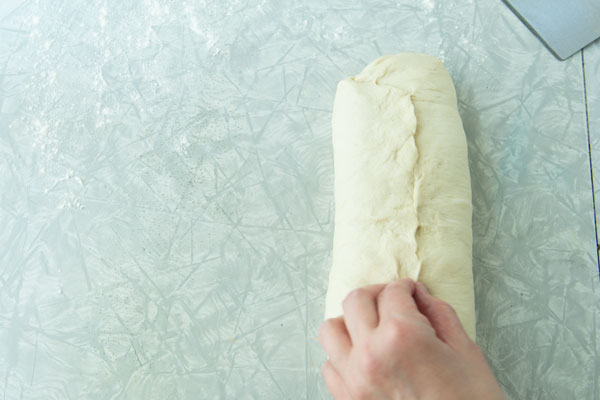
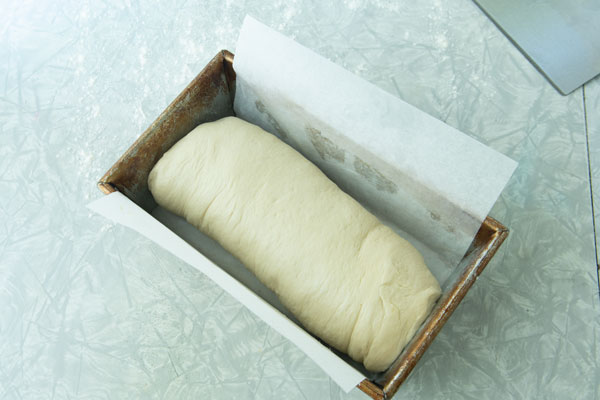
Divide the dough into 2. If you have a bench scraper, that’s helpful, though you could use a sharp knife too.
To shape a loaf, press one of the dough pieces into a rough rectangle the length of the pan and about 1/2″ thick.
Roll the dough into a tight log along the long edge. Place the formed loaf into a prepared bread pan. Repeat with the second piece of dough.
Cover the loaves with a damp cloth or oiled plastic wrap to rise for another 20-30 minutes or until the dough is close to the rim of the pan.
While the dough is rising the last time, preheat the oven to 350 F (180C).
Egg wash and seed topping (optional)
Beat 1 egg with 1 tsp of water. Brush the top of the dough with the egg wash and top with sesame seeds or everything bagel seasoning.
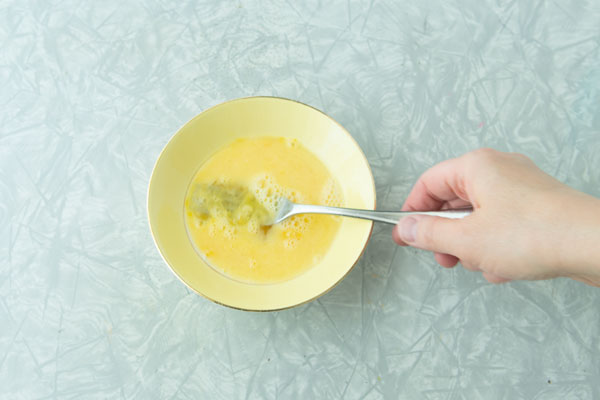
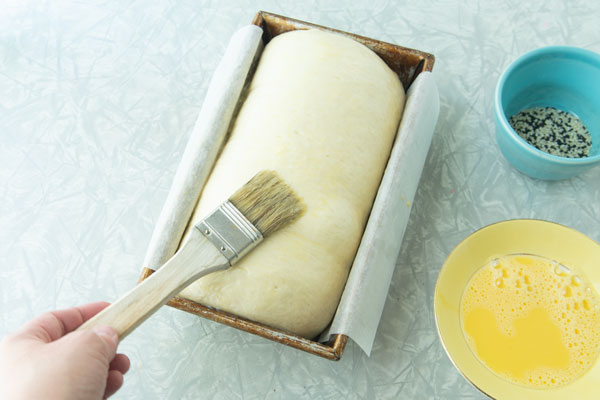
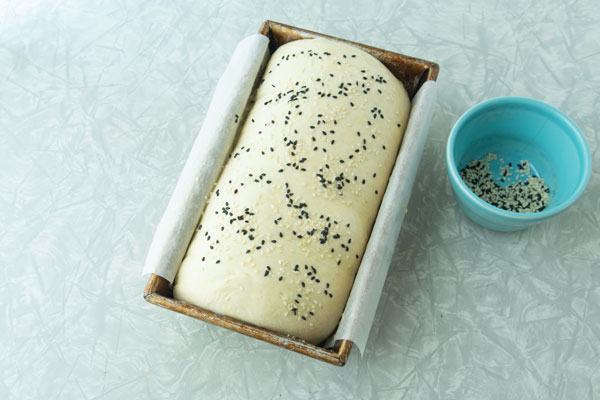
You can skip this step, but the egg wash makes a gorgeous shiny top that bakes up golden brown and creates a delectable crust. If you do skip this step,
alternatively you can brush the bread with butter when it comes out of the oven. For my money, I always egg wash for the perfect loaf of easy everyday bread.
Pin the image below to your favorite Pinterest board to save this recipe for later!
Baking the bread
Bake the loaves in your preheated oven for 45-50 minutes or until they are golden brown and make a hollow sound when you rap your knuckles on the bottom.
Set easy everyday bread on a cooling rack to cool completely. This will take a minimum of 1 hour at room temperature.
Pro tip: Literally leave the kitchen and go do something else. The smell of freshly baked bread is intoxicating, and if you cut that bread before it’s cooled completely, you will get a sad squishy in a bad way kind of inside. I won’t lie, it will still taste awesome, but it will not look so.
When your bread is 100% cool, slice it and hope you’re quick enough to get the first slice. It will keep for a couple days at room temperature or a couple months in the freezer (be sure to wrap it well).
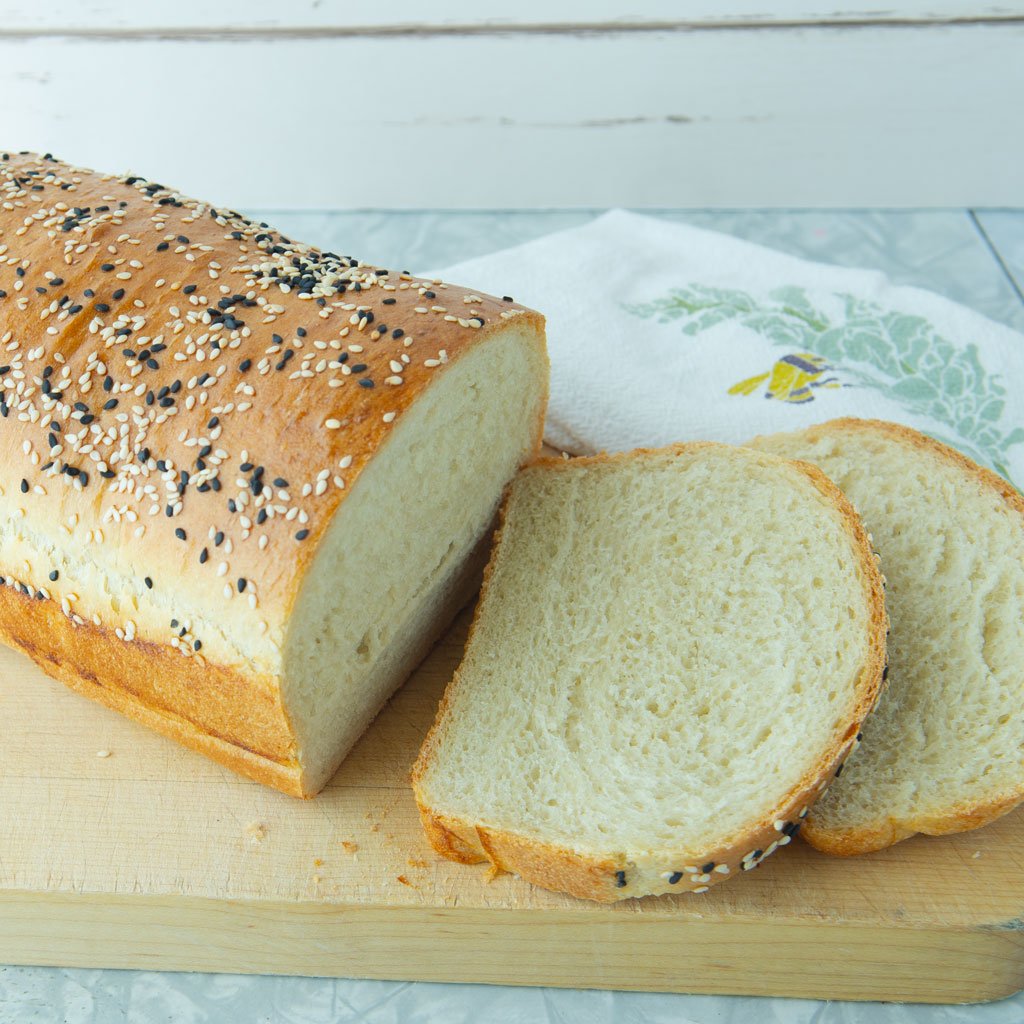

Favorite ways to eat our easy everyday bread
- Fresh, nothing on it
- Fresh, buttered or dipped in olive oil
- Sandwiches: toasted or untoasted
- Toasted: almond butter, peanut butter and honey, or smashed avocado and a fried egg and crispy proscuitto
- Stale: baked up in croutons, or French toast or even better toast
- Really stale: grind it in the food processor with the grater attachment and then pulsed with the blade for fluffy breadcrumbs
