The easy raspberry jam recipe you’ll want to make on repeat (seedless!)
bakingwithtradition.com is a participant in the Amazon Services LLC Associates Program, an affiliate advertising program designed to provide a way for websites to earn advertising revenues by advertising and linking to recommended products. Some of the links below are affiliate links. This means that, at zero cost to you, I will earn an affiliate commission if you click through the link and finalize a purchase.
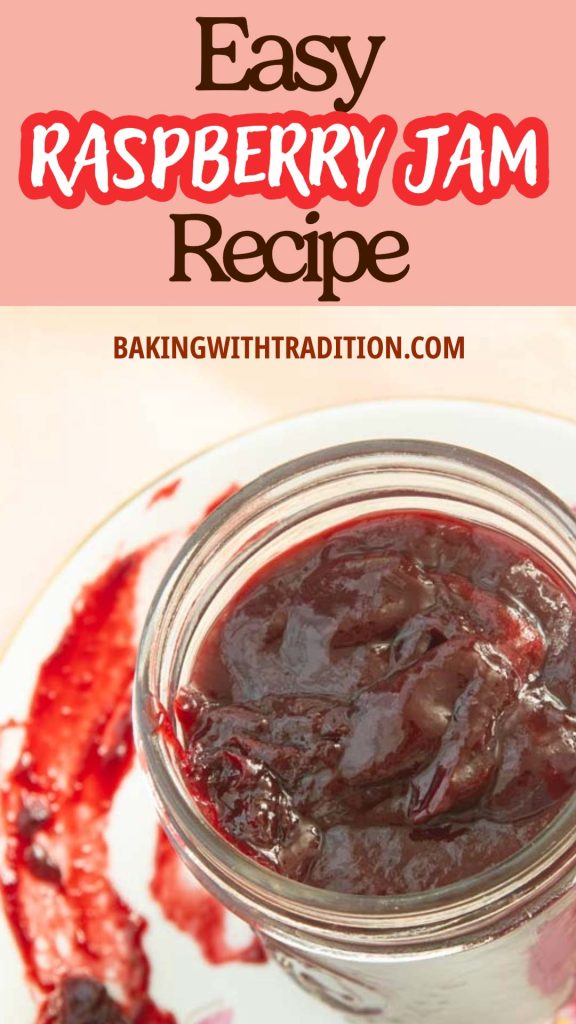
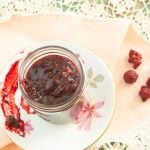
This easy raspberry jam recipe is a glossy red, made with just 3 ingredients, and it’ll make your kitchen smell like a field of flowers.
I love making small batch jam recipes like this one. You can make them from fresh or frozen berries, you can add extra flavor in the way of extracts or liqueurs. Best of all, you can make them without turning your kitchen into a sweaty mess. There’s a time to can a huge batch and line up your jam jars on the counter to last a whole year, but sometimes it’s nicer to do things on a smaller scale.
This raspberry jam, bright with the alluring flavor of amaretto is perfect for slathering on toast. I made this specific batch for my red white and blue braid giant sweet roll. The tart of taste of the raspberries has to be one of the most delicious foils to the almond goodness of frangipane and the blueberry jam. While it’s more of a project bread, if you use this jam for it, you will not be disappointed.
So grab some frozen raspberries and let’s jam.
Easy Raspberry Jam Recipe
Affiliate disclosure
bakingwithtradition.com is a participant in the Amazon Services LLC Associates Program, an affiliate advertising program designed to provide a way for websites to earn advertising revenues by advertising and linking to recommended products. Some of the links below are affiliate links. This means that, at zero cost to you, I will earn an affiliate commission if you click through the link and finalize a purchase.
Why you’ll be making this jam on repeat
- Raspberries are so pretty: If you think homemade strawberry jam is gorgeous, wait until the even deeper red of raspberries is bubbling on your stove.
- Your kitchen will never smell better: This smell needs to be in a candle. NOW!
- Make it when you feel like it: Grab raspberries when they’re on sale, or grab frozen raspberries or frozen triple berry combos throughout the year.
- No pectin: I don’t love added pectin in jams as I think it interferes with the flavor. None of that here.

Why you will want to do this one annoying thing to make the best raspberry jam
To make the very best homemade raspberry jam, you really need to strain out the seeds. This is not hard, but it does take a little bit of elbow grease.
One of my signature recipes is blackberry limeade. I’ve made batches of it for as many as 200 people. As someone who has strained hundreds of pounds of berries, you really want to do this. There’s a couple reasons for straining seeds from your jam:
- Confusing your understanding of the jam’s consistency: as the jam cooks, the seeds will become hard for you to grasp how thick the jam really is. Because we’re not using pectin, it’s important to know how thick the jam actually is before you take it off the heat.
- When crunchy is not good: raspberry seeds, and to a lesser extent blackberry seeds are crunchy in not a good way. Crunching in to them later in a baked good is not pleasant. It feels more like crunching down on a tooth.
- COLOR: the best thing raspberry jam has going for it is it’s incredible color. The seeds are a hindrance to the silky, deep red.
I say it’s annoying though because it is. I have a few tricks to make it less annoying, but you’ll still feel that you’re getting an arm workout. But you’re a baker, darn it, and sometimes we have to work hard.
Ingredients for this easy raspberry jam recipe
- Raspberries: fresh or frozen
- Honey: neutral sweetener that will still let the tartness of the raspberries shine through.
- Amaretto: delicious almond flavored liqueur that emphasizes a raspberry’s natural affinity for almonds. You can use vanilla paste instead if you’d prefer, which is also delicious.
Process for making homemade raspberry jam
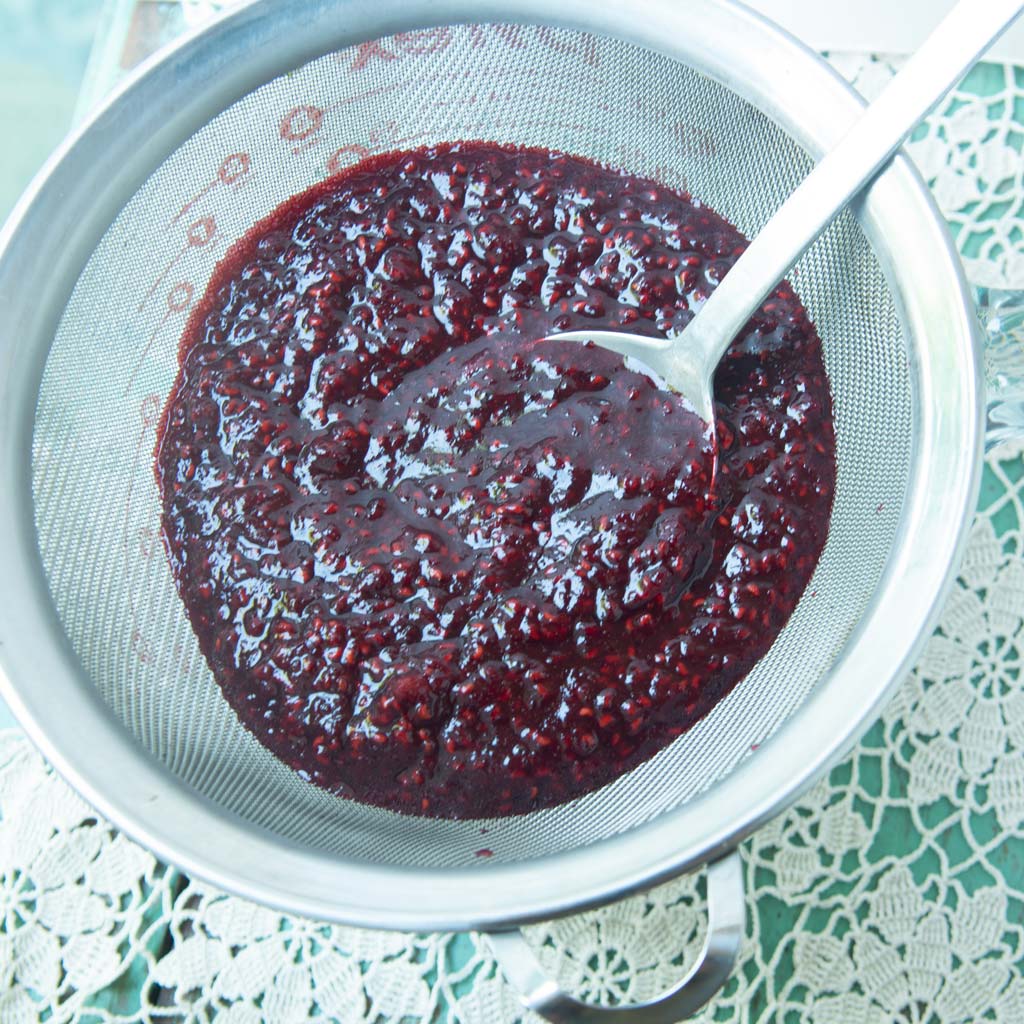

- Cook: Bring the raspberries and honey to a boil. Mash them with a potato masher until you’ve broken them up well enough to strain.
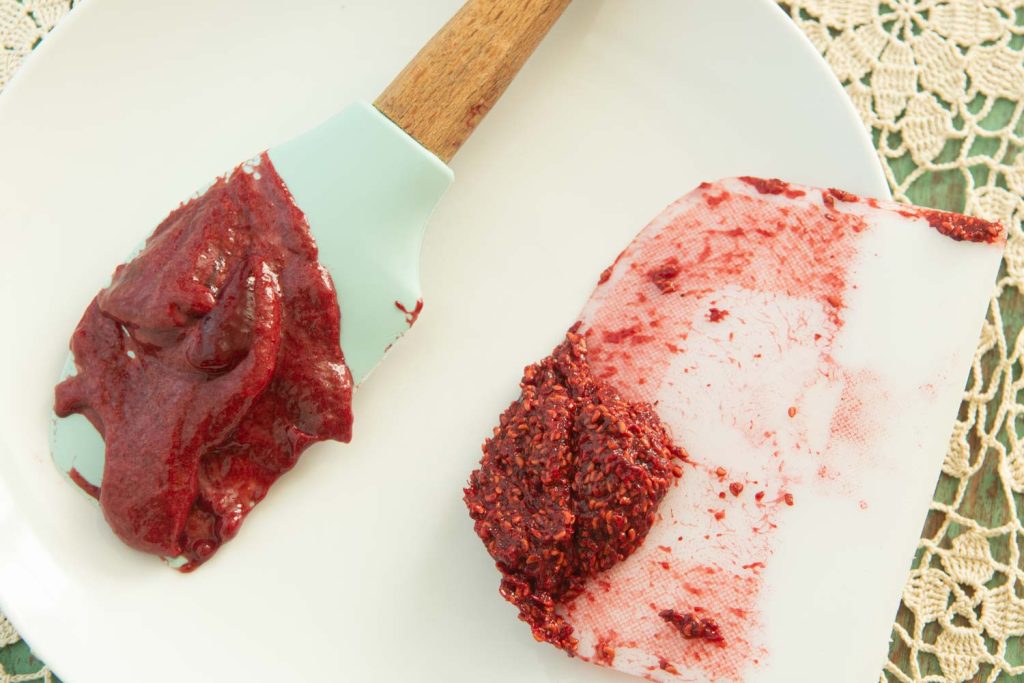
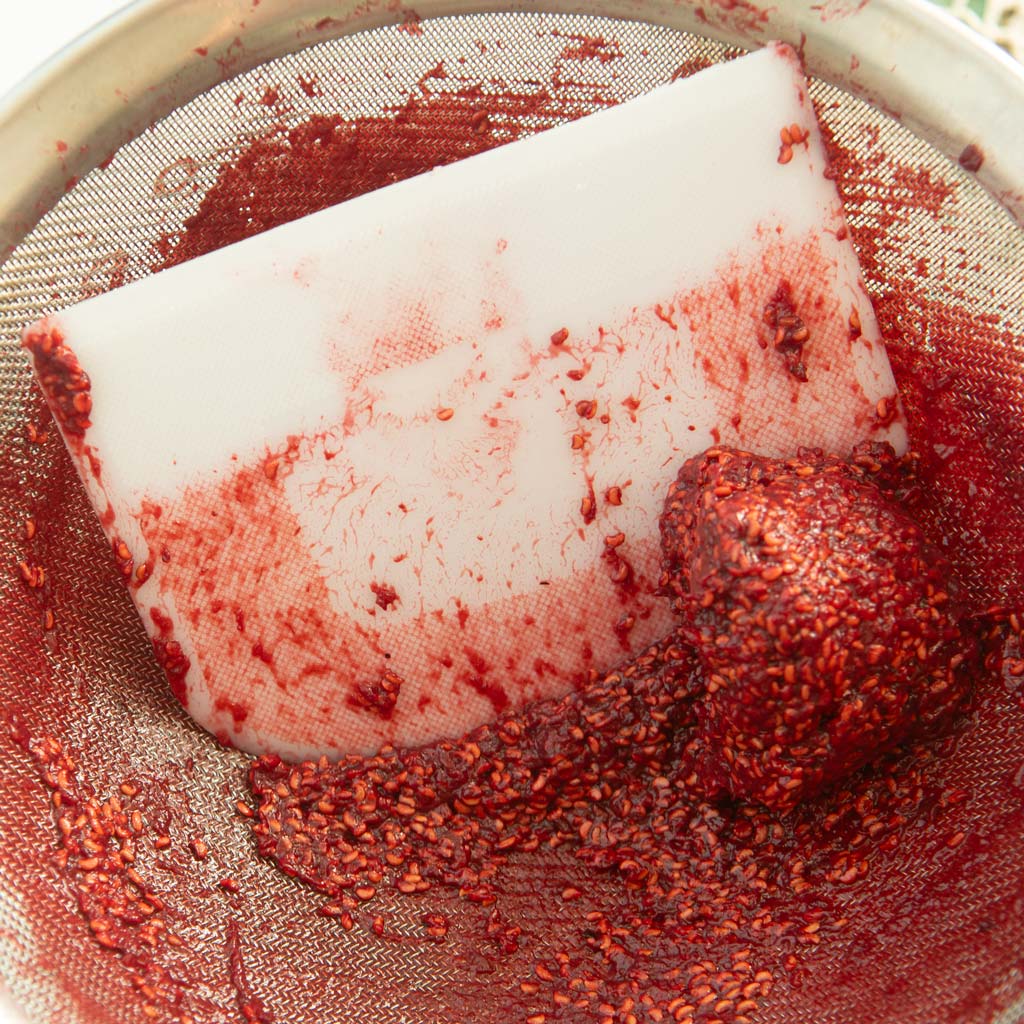
- Strain: Pour the berries into a fine mesh strainer set over a bowl that fits snugly. Press the berries through the strainer until you’re left with a dry paste of seeds in the strainer with all the raspberry puree in the bowl.
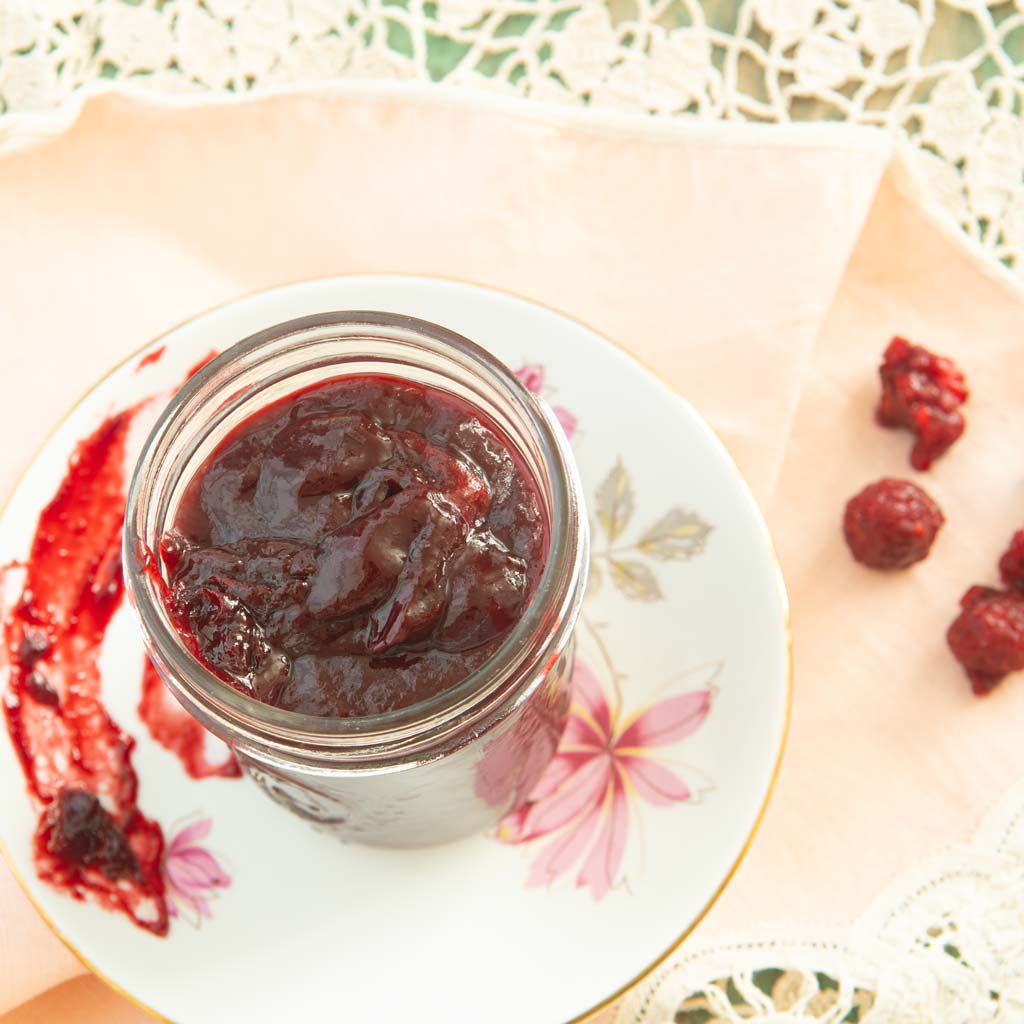
- Cook: continue cooking the seedless puree over low heat until the jam is thickened enough to hold its shape on a spoon. When it falls in jammy plops instead of sheets, I like to pull it off the heat.
- Flavor: stir in the amaretto (or vanilla extract). From here you can use the jam right away or jar it up and use it from the fridge. I’ve also frozen this jam without trouble without canning. If you want to make a larger batch, I always recommend following canning directions in a good canning book like the Ball Back to Basics Canning Book.
Tips for making the straining of the berries less of a slog

- Strain early: It’s clearly been a while since I’ve done this task, and I forgot my own best hard-won advice. Mash up the berries as soon as they come to a boil. Once those seeds are released from the flesh of the berries, strain them. Once they start thickening, it will be much harder to press out the raspberry schmoo from the seeds.
- Use a big spoon: Use the heaviest, widest spoon you own. Scraping the berries with a tool that has the most surface area will make the task go faster.
- Change hands: Your hands will get tired doing this. Be ambidextrous. It will help.
- Switch to a bowl scraper: Towards the end of straining out the seeds, the remaining seeds will get very thick in the mixture. Use a plastic bowl scraper to press the seeds through the strainer. It will add some more pressure that the spoon alone probably wasn’t at the beginning.
- Use a food mill if you have a fine disk: If you own a food mill with a very fine disk, use this. Food mills are champions for straining out extra plant matter for sauces. I was afraid to do this since my finest disk on my food mill is still fairly coarse. There is no value in straining out the seeds only to have seeds in your strained out juice.
Things you can use your amazing homemade raspberry jam for
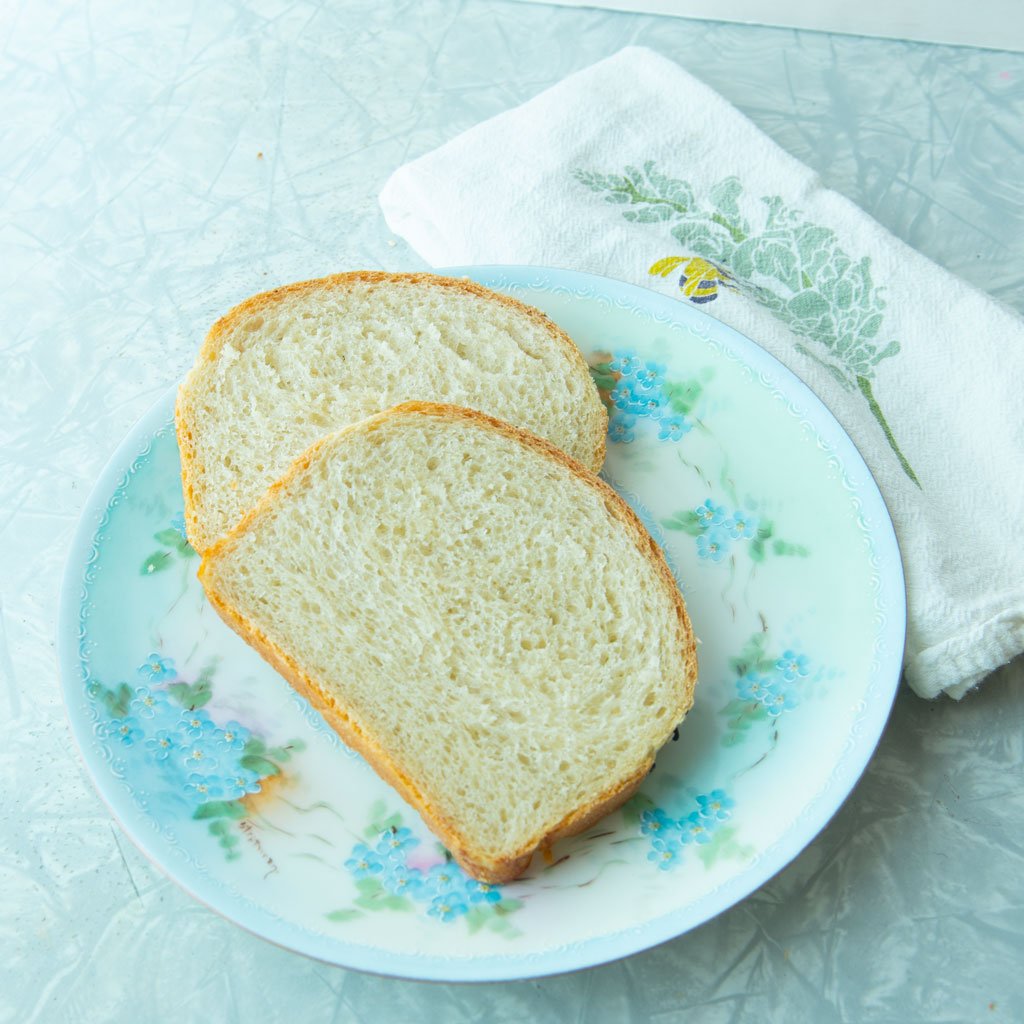
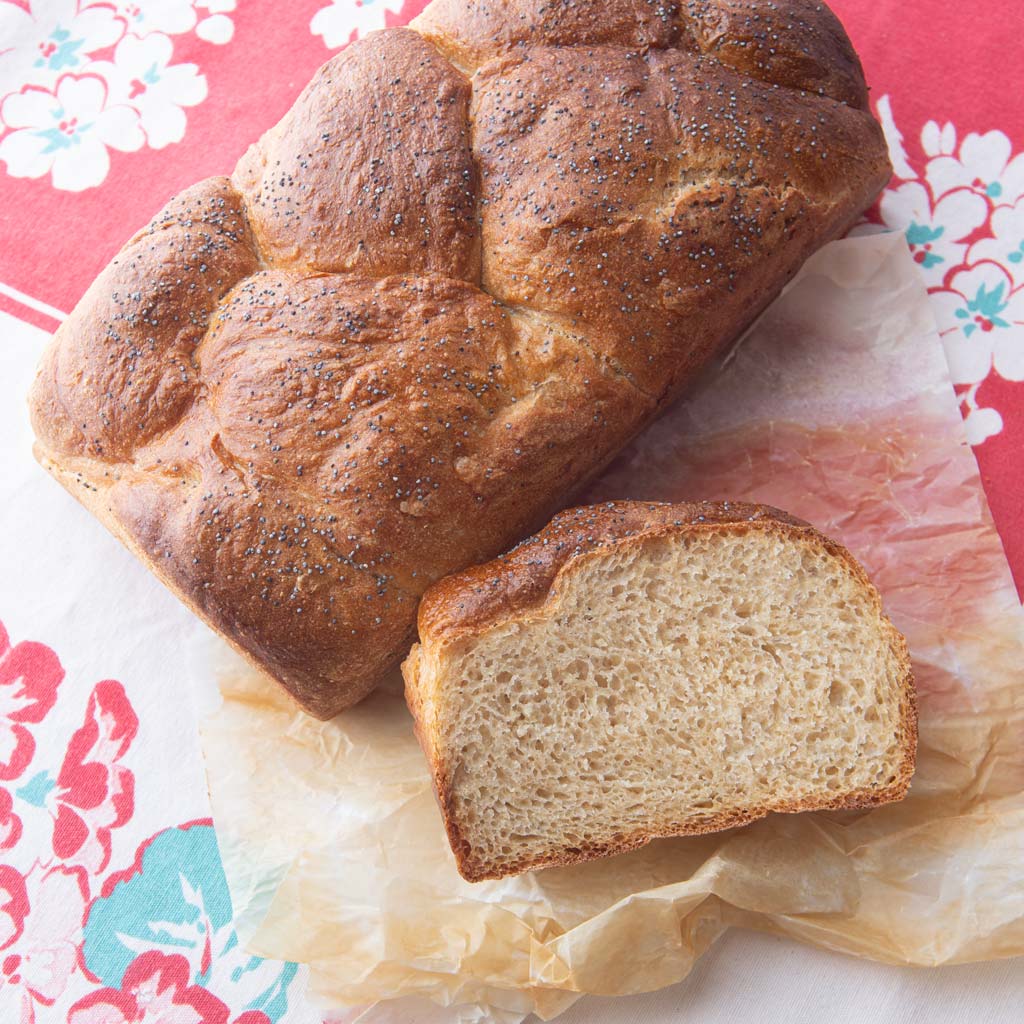
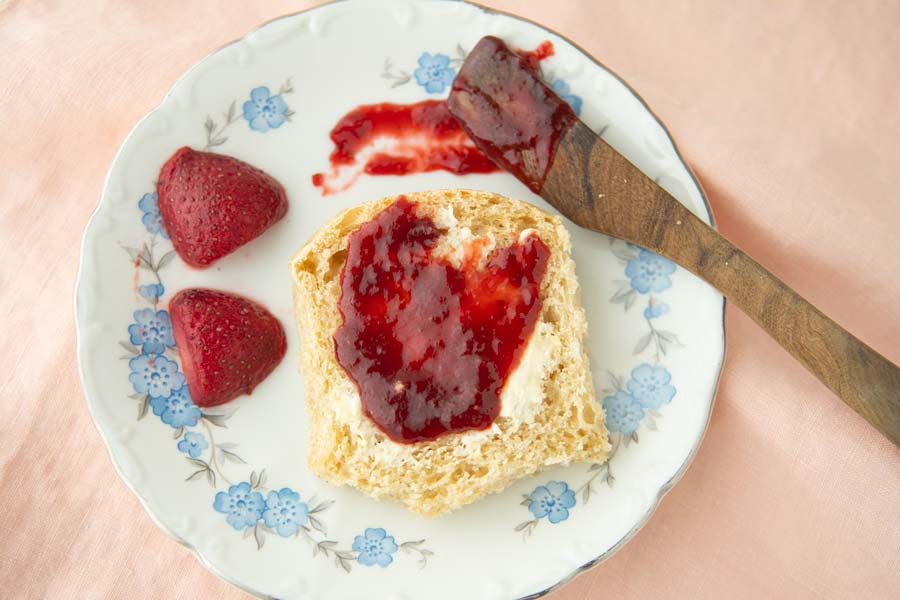

- Toast!: Toast up a slice of Easy Everyday Bread or Fresh Milled Wheat Bread and slather it on.
- Jam rolls: Use the raspberry jam instead for these Strawberry Jam Rolls.
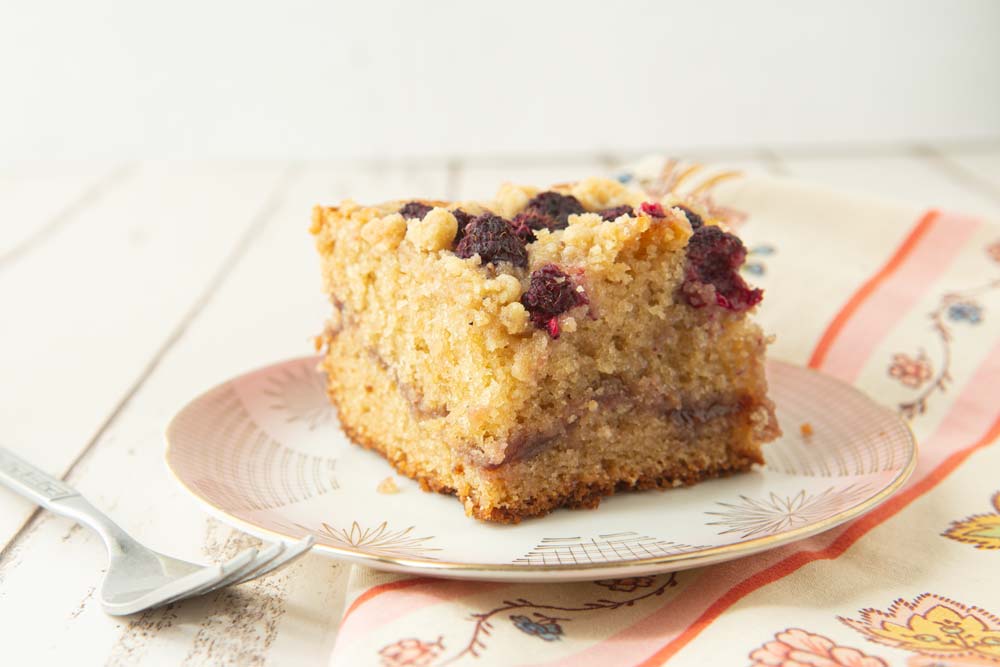
- Raspberry Sour Cream Coffee Cake: Homemade jam will bump this already divine cake up to an 11/10.
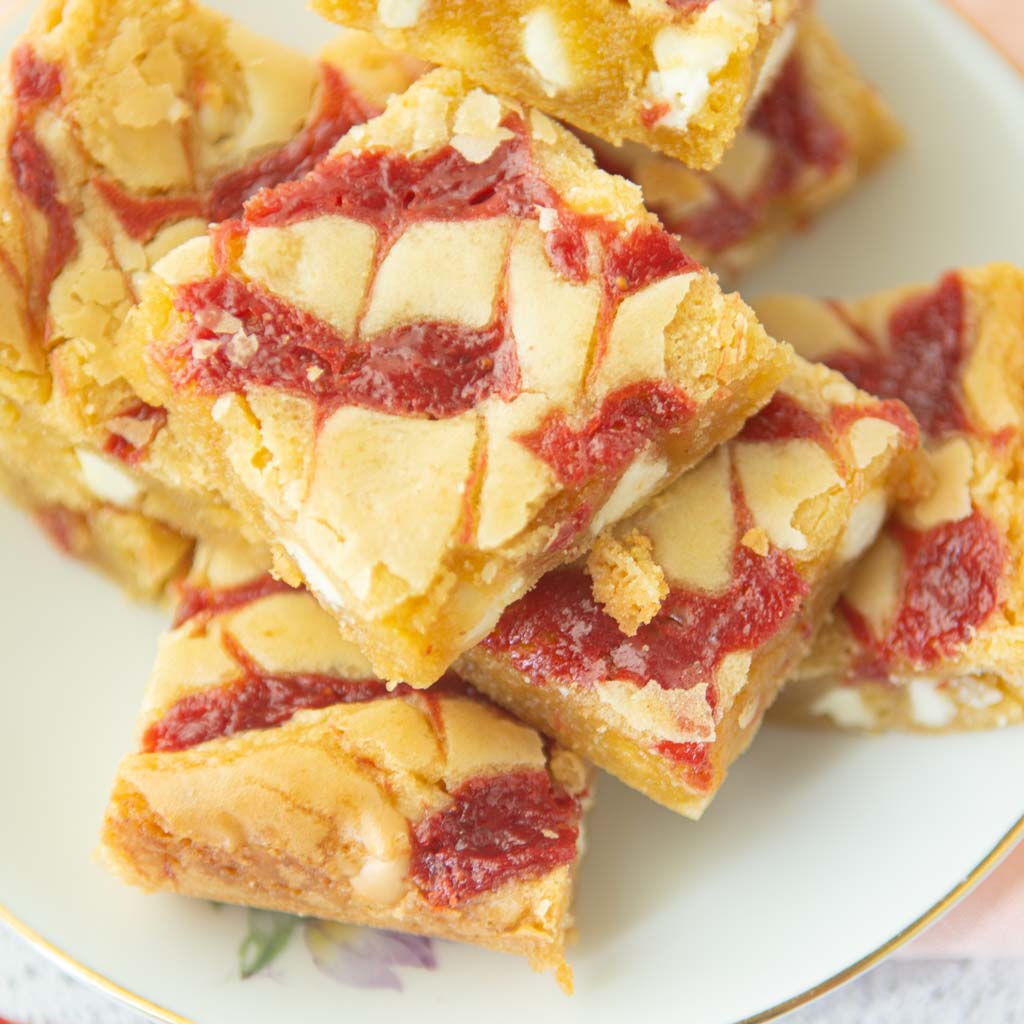
- Strawberry White Chocolate Blondies: use the raspberry jam instead for an even sharper contrast on these gorgeous bars.
Easy Raspberry Jam
- Total Time: 47 minutes
- Yield: 3/4 cup 1x
Description
Fresh or frozen berries come together into a tart, flavor filled jam that’s dying to be slathered on toast ASAP.
Ingredients
- 1 pound raspberries, fresh or frozen (454 g)
- 1/3 cup honey (112 g)
- 1 Tablespoon Amaretto liqueur (substitute 1 tsp vanilla paste if you want to make it non-alcoholic)
Instructions
- Pour the berries into a 1 quart pot along with the honey.
- Cook the berries over medium heat until they come up to a boil, about 5 minutes.
- Mash the berries with a potato masher periodically over the next 5-10 minutes until the raspberry flesh is broken down as much as possible.
- Set a fine-mesh strainer over a bowl it will fit into snugly.

- Use a big spoon to press the berries through the strainer. Scrape back and forth, forcing the raspberry flesh against the strainer to get all of the raspberry flesh and juice separated from the seeds. This will take a while, so change hands as needed to give your arms a break. Occasionally scrape off the raspberry puree into the bowl from the underside of the strainer to help clear it. Towards the end, change to a flexible bowl scraper to further spread and scrape the seeds through the strainer.
- At the end of straining, you should have about 2 tablespoons of dry seed paste left in the strainer. Discard or compost this.

- Clean your pot, then place the strained puree back into it and set it over low heat.
- Cover the pot, leaving the lid partially off. This will help the m from not splattering all over your kitchen.
- Set a small plate in the freezer while the jam is cooking.
- Continue to cook the jam for another 20-30 minutes, stirring frequently and scraping the bottom of the pan. Keep the heat low so that it doesn’t scorch.
- To test the doneness of the jam, place a small spoonful on the cold plate you put in the freezer. Tilt the plate in your hands. The jam should sit on the plate without running.
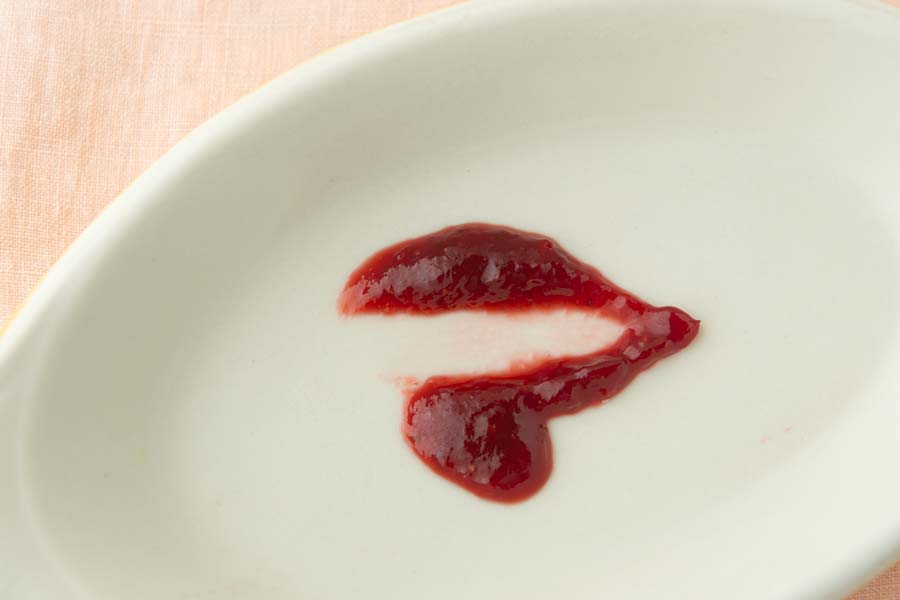
- Pour the hot jam into a clean jar with a sterilized lid.

- If you want to can the jam properly, following the processing advice in a standard canning book such as any of the Ball Canning Books.
- Jam will keep in the fridge without a water bath for up to 2 weeks, or in the freezer for up to 6 months. If you follow a water bath canning process, the jam will keep up to 1 year in the pantry.
Notes
Blackberries or Triple Berry Blend: This jam recipe also works well for blackberries or frozen Triple Berry Blend. In both cases, they’ll still have seeds, so follow the directions for getting rid of the seeds for the best results.
- Prep Time: 17 minutes
- Additional Time: 0 hours
- Cook Time: 30 minutes
- Category: Baking building blocks
- Cuisine: American
Nutrition
- Serving Size: 1 tablespoon
- Calories: 52
- Sugar: 10
- Sodium: 1
- Fat: 0
- Saturated Fat: 0
- Unsaturated Fat: 0
- Trans Fat: 0
- Carbohydrates: 13
- Fiber: 2
- Protein: 0
- Cholesterol: 0

