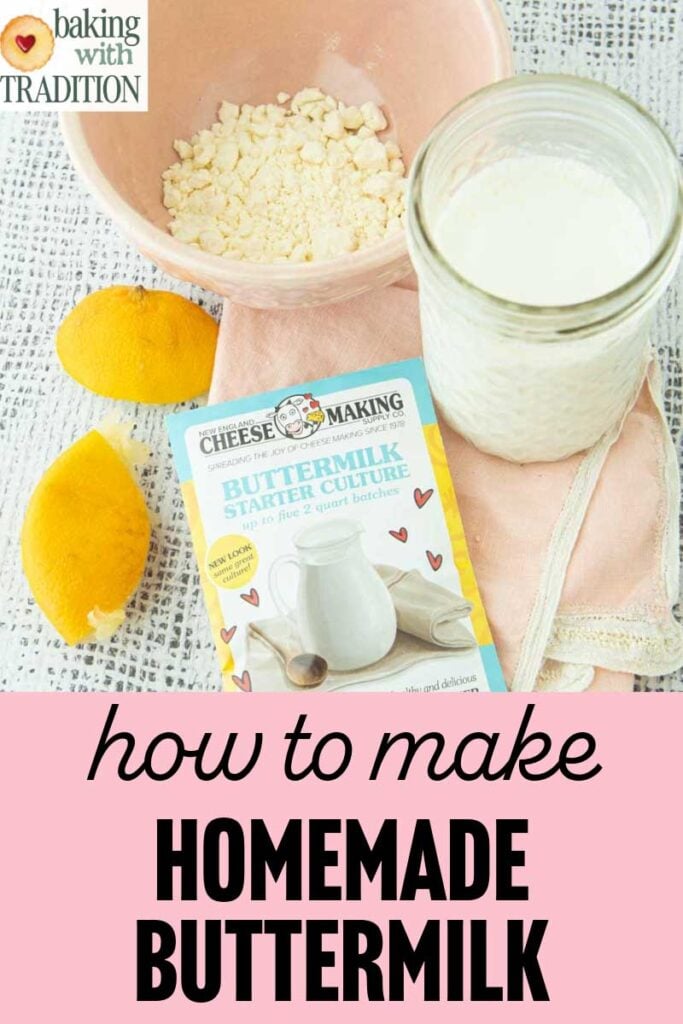
How to make buttermilk: good, better, and best
bakingwithtradition.com is a participant in the Amazon Services LLC Associates Program, an affiliate advertising program designed to provide a way for websites to earn advertising revenues by advertising and linking to recommended products. Some of the links below are affiliate links. This means that, at zero cost to you, I will earn an affiliate commission if you click through the link and finalize a purchase.
Let’s talk about how to make buttermilk, that tangy lovely milk product that does so much for us in baking.
I never thought much about buttermilk until I started making soda bread (see more about that saga below). To be true, it was an ingredient I took for granted. Sure I put it in cakes, but I was always annoyed with having to buy a specialized ingredient and using just 1/4 cup of it then forgetting about it until it went bad in a lonely corner of the fridge.
But the soda bread saga made me a believer in real buttermilk, and I’ve come to see what a perfect little ingredient buttermilk really is and how it can make so many things we bake just better.
Here my goal is to dive just a few feet down a rabbit hole, then I’ll show you how to make buttermilk 3 different ways: the fast and easy, from a pantry hero, and the best way.

How to Make Buttermilk
Why I became obsessed with buttermilk
While researching soda bread for my traditional baking class for my students, I came across Darina Allen‘s video on this very Irish bread. Scroll to about 1’55” in the video, and she pours out the yellowest thickest most beautiful buttermilk you will ever see. I thought, “Well that’s why Irish people love soda bread if you can get beautiful buttermilk like that!”
From there, I fell to the straight bottom of the rabbit hole, trying to find a local dairy that could make THAT. Where I ended up was culturing buttermilk myself, and I’ve been happy with that decision ever since.
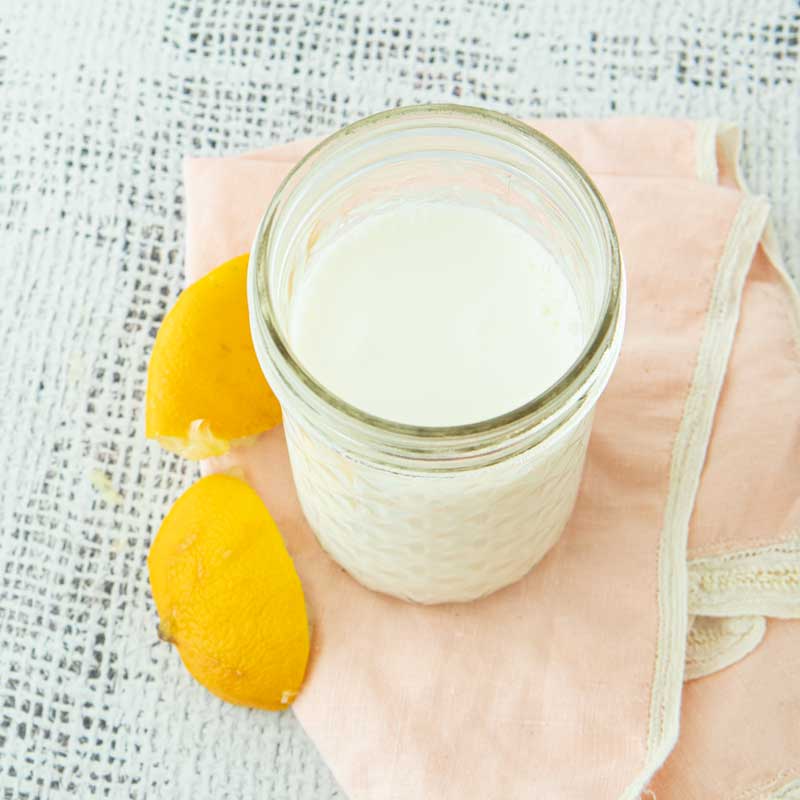
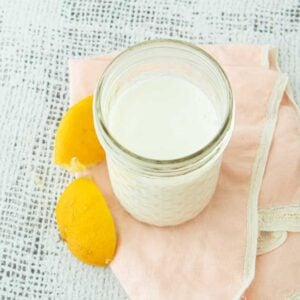
I use buttermilk for breads, cakes like this lemon buttermilk cake below for strawberry mini cakes, biscuits, for making cheese and more.
What really is buttermilk?
Buttermilk in the traditional sense is a by-product of butter making. Once the cream is churned enough for the fat to stick together into buttermilk, there is liquid leftover. This liquid is buttermilk. Since the fat in the milk was in the cream, the liquid is basically skim milk with very little fat. This is why buttermilk typically is low-fat or skim.
At this point, the buttermilk is sweet. When your grandparents talk about having a glass of buttermilk, this is what they’re talking about. I don’t think anyone would like a glass of sour cultured buttermilk.
If left out at room temperature, the sweet cream buttermilk then turns into cultured buttermilk as raw milk straight from the cow contains natural probiotics that will work to ferment the buttermilk.
What we usually encounter as cultured buttermilk at the store is low-fat or skim milk that’s had cultures added to it to recreate the raw milk fermented buttermilk flavor.
What kind of buttermilk is there?

- Sweet-cream buttermilk: I’ve personally never seen this at the store. If you have a cow, this is probably what you’re making. You may be lucky enough to live near a dairy farmer that offers this. If so, it’s probably not too expensive since it’s a by-product.
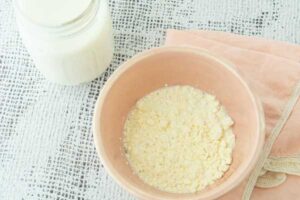
- Dried buttermilk: dried buttermilk is just dehydrated buttermilk. This could be sweet cream or cultured. My favorite brand of dried, Saco buttermilk makes a hybrid of sweet cream and cultured for the best of both worlds. Dried buttermilk is truly a hero of the pantry.
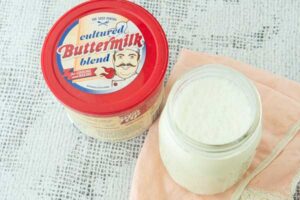
- Cultured: this is the most common you’ll find at the grocery store. Be careful and look at ingredients when you buy buttermilk as some cheaper varieties have thickeners like starches, or carrageenan. Always trying to avoid additives, I prefer homemade cultured buttermilk for a variety of reasons.
What does buttermilk do for baked goods?
- Flavor: the buttermilk we usually use has a tangy flavor that is unique. It’s not unlike yogurt or sour cream, but it’s also thinner than both.
- Adds acid: Acid in baking tenderizes. The slight acidity of buttermilk helps break down gluten, making for a softer crumb. If you make a cake with plain milk and one with buttermilk, the buttermilk one will be softer. This is simple food science.
- Leavening: in combination with a base like baking soda, that acid from the buttermilk reacts, creating bubbles in a batter. While it’s not a baking soda volcano strength reaction, it will add lightness to your baked goods.
Why making buttermilk at home is a good idea
- Control over flavor: When you make DIY buttermilk, you choose how much fat you add to your milk. That extra fat adds more flavor than what you can buy in the store. I typically start with whole milk with all three methods outlined in the recipe below.
- No waste: When you make your own, you can make a tiny amount with the easy buttermilk method, or you can culture a smaller amount to begin with. I often only make a pint at a time. A pint is significantly easier to use up before spoiling than a quart you’d buy at the store.
- Control over ingredients: I personally don’t want carrageenan or starches in my buttermilk and making my own keeps those and other additives out of my buttermilk.
- Beneficial bacteria: if you use a good buttermilk starter culture like one from Cultures for Health or New England Cheesemaking Supply, you’ll be adding good for your gut beneficial bacteria to your buttermilk. We all need more probiotics in our food!
3 easy ways to make buttermilk at home
- Easy buttermilk: Just add an acid like vinegar or lemon juice to milk. After a couple minutes, the acid will curdle the milk slightly. This is the simplest method, one that my Great-Grandma Bee often used in her “Poor Man’s Brownies.” You can use this with any type of milk, even plant milks.
- Rehydrating dried: Just add Saco buttermilk or another brand to water. I typically use milk for added flavor.
- Homemade cultured buttermilk: Add a cultured starter to milk and let it ferment on your counter. Just like with yogurt or a sourdough starter, you can continue making more batches by adding a little bit of the previous batch to a new batch.
Does it really matter which buttermilk you use?
It does not really from a food science perspective. All 3 of these buttermilk will perform the same in terms of tenderizing and leavening doughs and batters.
- Homemade buttermilk: If you use buttermilk in a recipe with few ingredients, I would use the homemade variety as it has the best flavor.
- Dried buttermilk: Use the dried when you have no milk in the house. It really is a pantry hero this way.
- Easy method: use the easy milk + vinegar variety when you need a tiny amount, when the flavor doesn’t matter, or when you want to use a non-dairy milk.
Homemade Buttermilk
- Total Time: 2 minutes for the easy, up to 24 hours for cultured
- Yield: 2 cups 1x
Description
Here are 3 easy methods for making your own buttermilk at home so you never have to get stuck with a quart that you can’t use up before it goes bad.
Ingredients
Easy buttermilk
- 2 cups whole milk preferred, but any type will work (472 mL)
- 2 Tablespoons lemon juice or vinegar (30 mL)
Dried buttermilk
- 2 cups milk, any type or water (472 mL)
- 1/2 cup buttermilk powder, such as Saco buttermilk (46 g), or up to 10 Tablespoons (see note)
Cultured buttermilk
- 2 cups milk, not non-dairy milks(472 mL)
- 1/2 packet of New England Cheesemaking buttermilk starter culture (0.7g)
Instructions
Easy buttermilk
- Stir the milk and lemon juice or vinegar together. Let the mixture sit for 5-10 minutes, though you can use it immediately in a recipe. You might notice some slight curdling; this is normal and completely fine.
Dried buttermilk
- Measure the dried buttermilk into a bowl. Pour over some of the milk and let it sit for a couple of minutes to rehydrate the powder.
- After about 2 minutes, whisk the mixture smooth, and then slowly stream in the rest of the milk while you keep on whisking. Alternatively, you can whiz the powder with a small amount of the milk in a blender and add the rest once it’s smooth. You can use this buttermilk directly in a recipe.
Cultured buttermilk
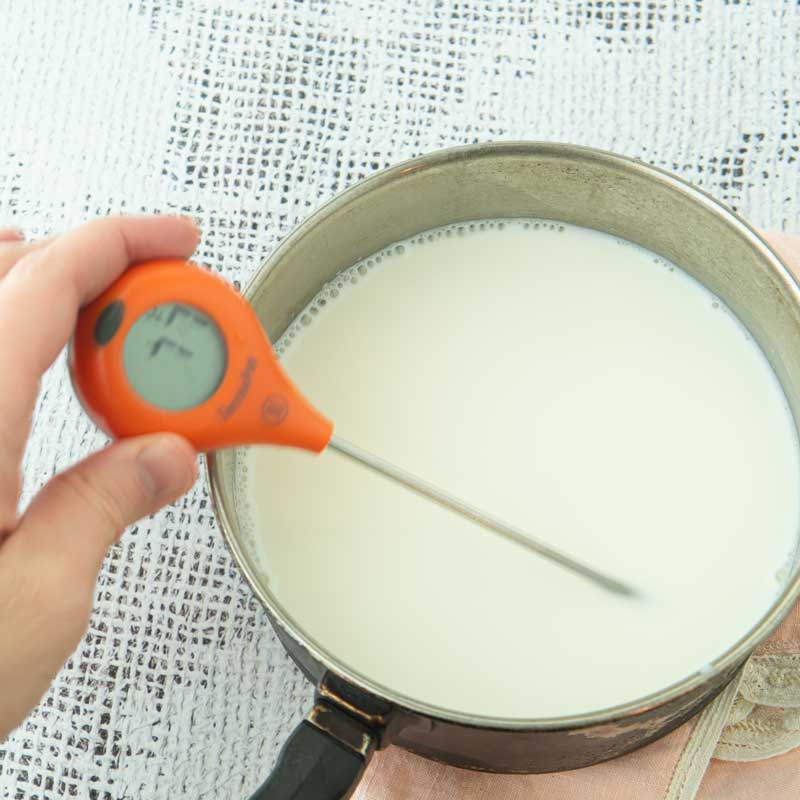
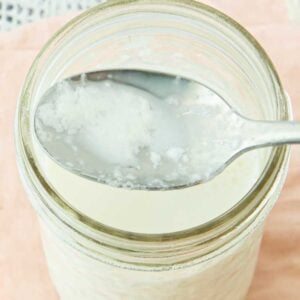
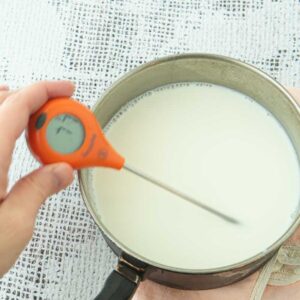
- Warm the milk to about 80 F. You do not want hot milk, you just want to take off the chill from the fridge. When the milk is about room temperature, stir in the culture. Pour the milk into a glass jar, and then set it out in a warm spot in your kitchen for 12-24 hours. By then, the milk will have thickened slightly and it will smell slightly sour. Note that if you wait longer than 24 hours, the whey might separate from the rest of the mixture. It’s still fine to use this!
- To make another batch of buttermilk, save 1/4 cup from the first one and add it as your culture for batch number 2 and so on. Done this way, you can keep culturing milk indefinitely. Though the package directions tell you that the buttermilk will keep for 1 week in the fridge, I’ve kept it up to 1 month without a problem providing you start with fresh milk.


Notes
Choose your culture: I’ve used both the New England Cheesemaking buttermilk culture and Cultures for Health buttermilk for a couple of years. They’re both excellent, though the NEC buttermilk is a better price point and gives you 5 packets (with 10 batches worth since I only make a pint at a time) vs. 2. Since technically you can keep your culture going forever, it doesn’t matter much, but if you’re like me and forget to make things with buttermilk for months, you might need to start a new batch.
More buttermilk flavor: for a stronger buttermilk flavor from the dried buttermilk, use 5 Tablespoons of powder per cup of milk. I like this strength better in general for flavor.
Bonus science fun: You can actually culture buttermilk from the dried buttermilk. Mix it up and set it on the counter as described for the cultured buttermilk. When I tried this, it had a different smell to it than the regular cultured buttermilk, but it still baked up great. You can do the same thing with the milk + vinegar/lemon. If you’re feeling science-y, both of these are a fun experiment.
- Prep Time: 2 minutes
- Category: Baking Building Blocks
- Method: no bake
- Cuisine: American
Nutrition
- Serving Size: 1/4 cup
- Calories: 37
- Sugar: 3
- Sodium: 23
- Fat: 2
- Saturated Fat: 1
- Unsaturated Fat: 0
- Trans Fat: 0
- Carbohydrates: 3
- Fiber: 0
- Protein: 2
- Cholesterol: 7