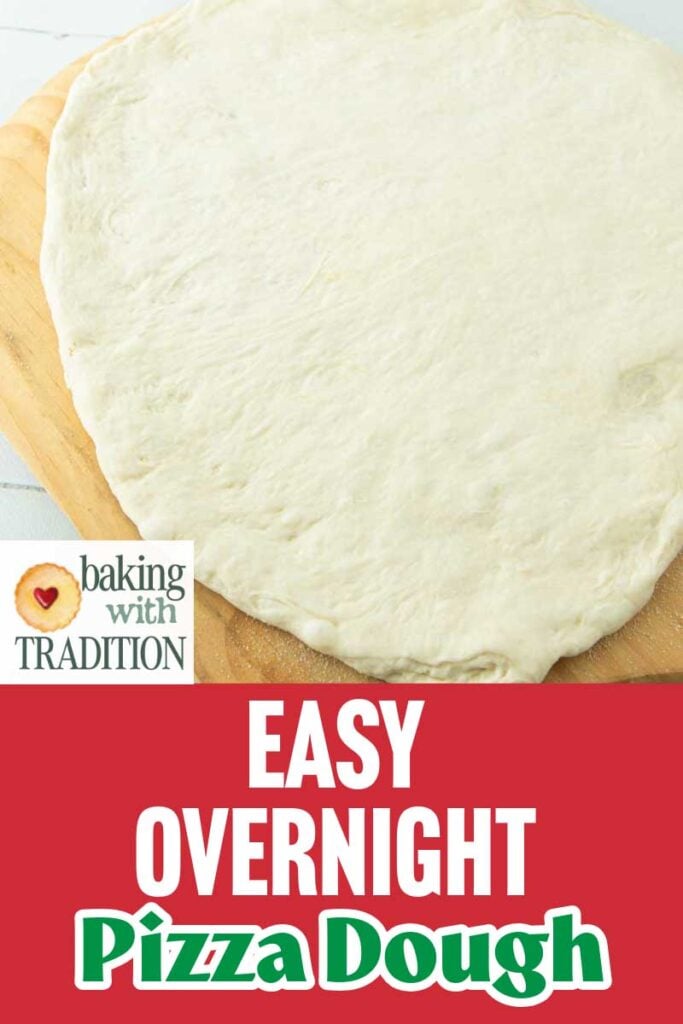
Easy overnight pizza dough: the dough that makes itself
bakingwithtradition.com is a participant in the Amazon Services LLC Associates Program, an affiliate advertising program designed to provide a way for websites to earn advertising revenues by advertising and linking to recommended products. Some of the links below are affiliate links. This means that, at zero cost to you, I will earn an affiliate commission if you click through the link and finalize a purchase.
This easy overnight pizza dough is truly fall off a log easy: with about 2 minutes of active time and a handful of ingredients you probably already have, you can truly make this practically on demand.

Actually it’s better than that. Once your yeast gets active, you can toss the dough into the fridge for a couple days and it’ll still be great. For someone whose plans often get sidetracked because of other people’s plans, this is my favorite kind of recipe. And once you’ve made this a couple times, I’m guessing it will be for you too.
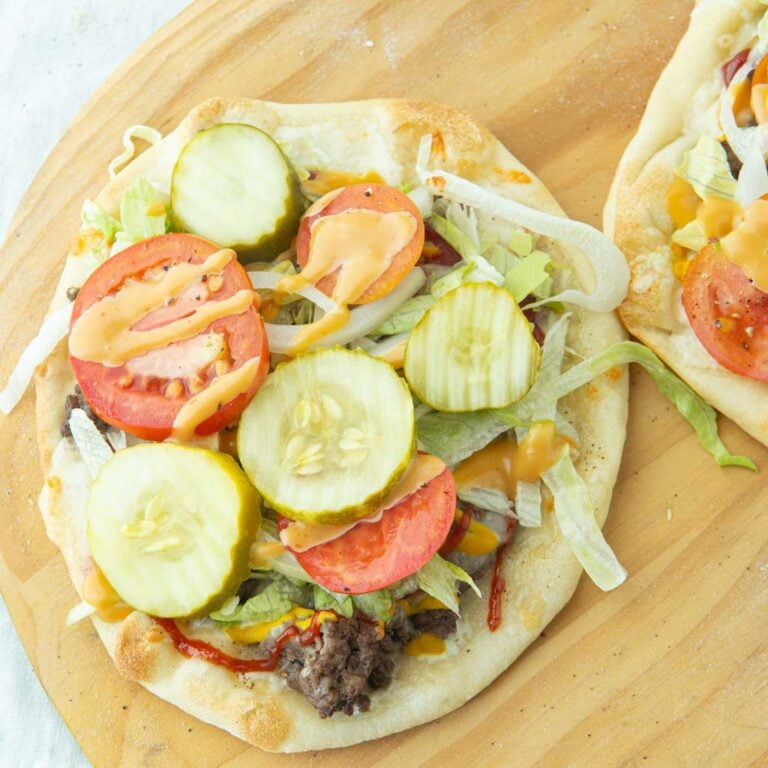
The best thing about overnight pizza dough is that you can top it with just about anything you have on hand. As long as you can crank up your oven, you can make good pizza at home, repurposing leftovers for toppings or using better quality toppings than what you could get in takeout pizza (and still saving money).
If this dough is in the fridge, you have an easy FAST meal at your fingertips that’ll make everyone happy. This is the kind of win you need!
Grab a pinch of yeast, and let’s make some overnight pizza dough.
Easy overnight pizza dough
Why this will become your favorite pizza dough
- Cheap!: Flour, water, a pinch of yeast, a little olive oil, and salt. All very affordable ingredients. Shoot, you could buy fancy imported 00 flour and it’s still cheap!
- Stupid easy: where’s the Staples voiceover guy hitting the giant red easy button? You need almost no skills to make this dough. Handling it takes a little more practice, but I have hacks further on here.
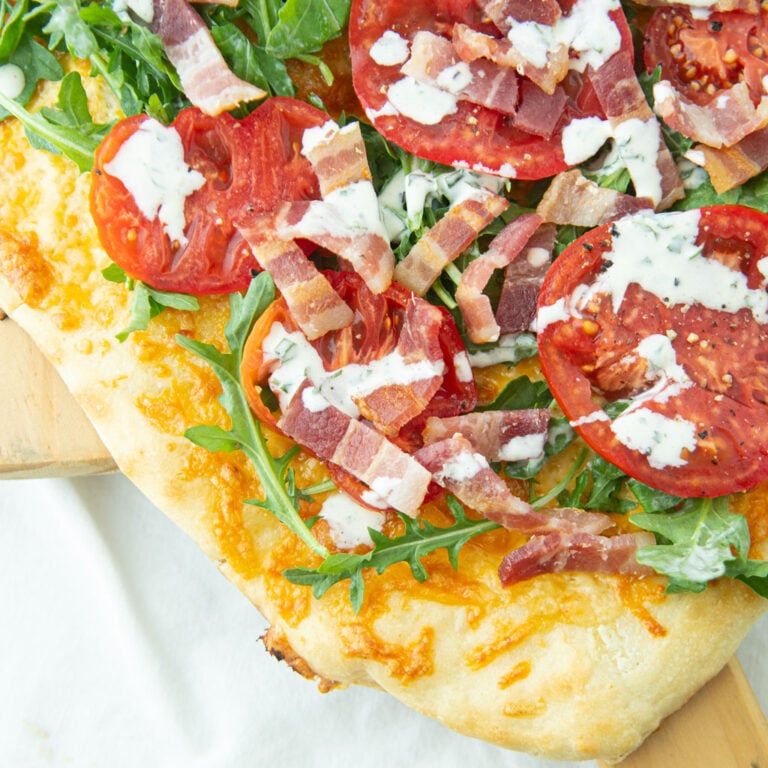
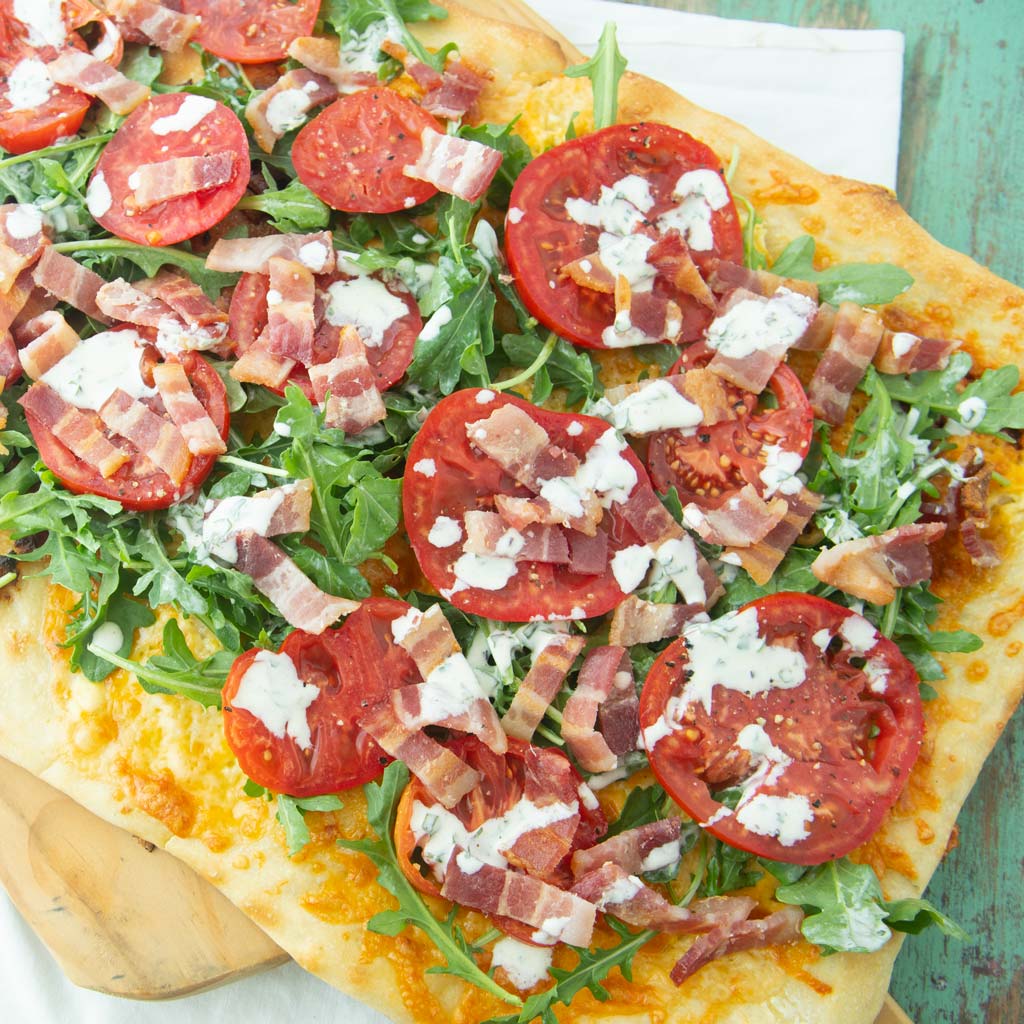
- Better flavor: the long slow cold fermentation develops flavor you can’t get in a quicker rise. Yes, I too run short on time and take shortcuts with the dough as I do in my BLT pizza or by using my pita bread as a base for pizza. Still, by planning ahead just a tiny bit, this overnight dough will give reward you with much tastier dough.
What’s the best kind of flour to use for overnight pizza dough?


Pizza makers get into heated arguments over this question. Are there finer points that have validity? No doubt.
Still, I’m a Mom with 4 kids, and if you’re here, I suspect you too have better things to do with your life than argue about the perfect flour for pizza.
The truth is, that you’ll never make pizza at home if you’re afraid of using the flour that you have on hand.
Hear me now: regular all-purpose flour makes perfectly edible pizza. Is organic better? Yes. Is organic 00 flour better–absolutely, but if buying better flour keeps you from making pizza, just stop it.
Use what you have! If I had to recommend flours, here’s what I’d use from favorite to least favorite. Know that I’ve used them all and none of my family members rejected any of them.
Flour recommendations (if you’re twisting my arm)
- Organic 00 flour: I buy mine from Central Milling. If you buy a giant bag, it’s actually pretty affordable if you think of it in terms of how many pizzas you can make from the flour. If you buy it from the mill and not Amazon, you’ll also save some money.
- Unbleached Bread flour: I use either King Arthur Unbleached Organic Bread Flour or Bob’s Red Mill Bread Flour.
- Organic unbleached all-purpose: I get this at Costco. I always have at least 20# on hand for all my baking.
- Conventional all-purpose flour: once in a while someone will gift me with a bag of this. I don’t waste flour, but this is not my favorite. Bromated bleached flour has an off chemical taste to it that I do not love. Again, if this is what you have, use it. Learning how to handle the dough is more important than the flour you use for it.
Ingredients for the best homemade pizza dough
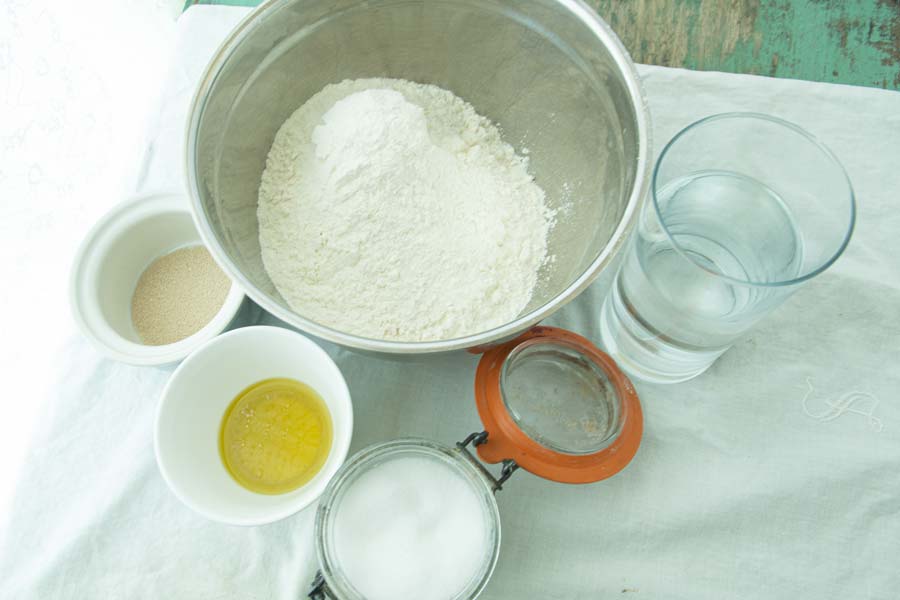
- flour
- water
- yeast: I’m using instant, and just enough to get the dough started.
- olive oil (not in traditional Neapolitan pizza dough, but it makes it easy to handle and adds more flavor)
- salt
How to make overnight pizza dough (the magic of time)
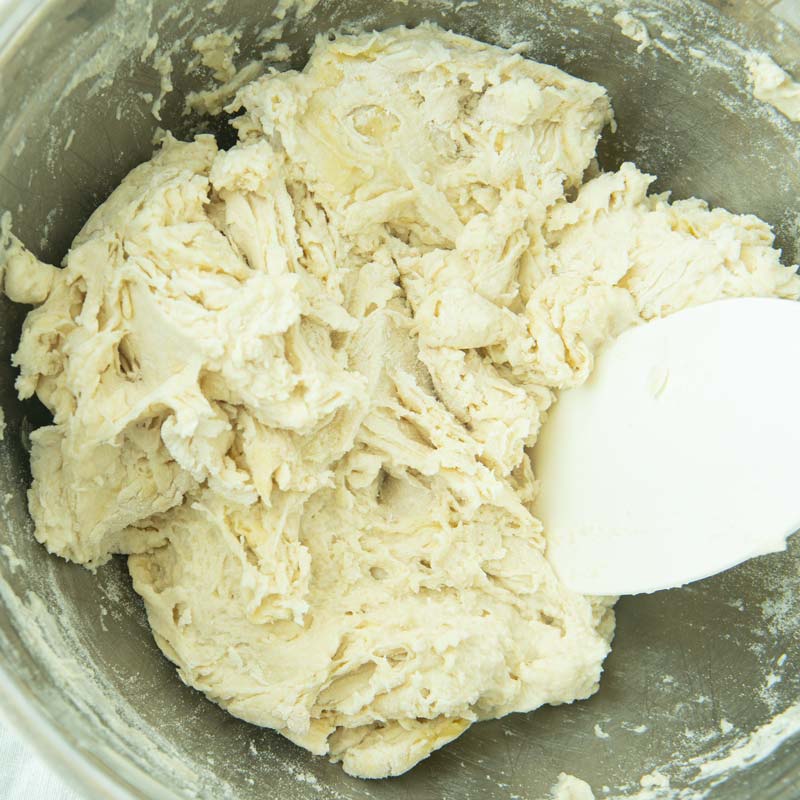

- Make the dough: Stir the flour, water, and yeast together. Knead a few times just to incorporate everything. Cover the dough.
- Add oil and salt: Once the yeast is bubbly and active, squish the olive oil and salt into the dough. You don’t want to add the salt initially as the salt can slow down the work of the yeast or kill it all together. Adding the oil at this stage will also loosen up the dough, making it easier to incorporate the salt.
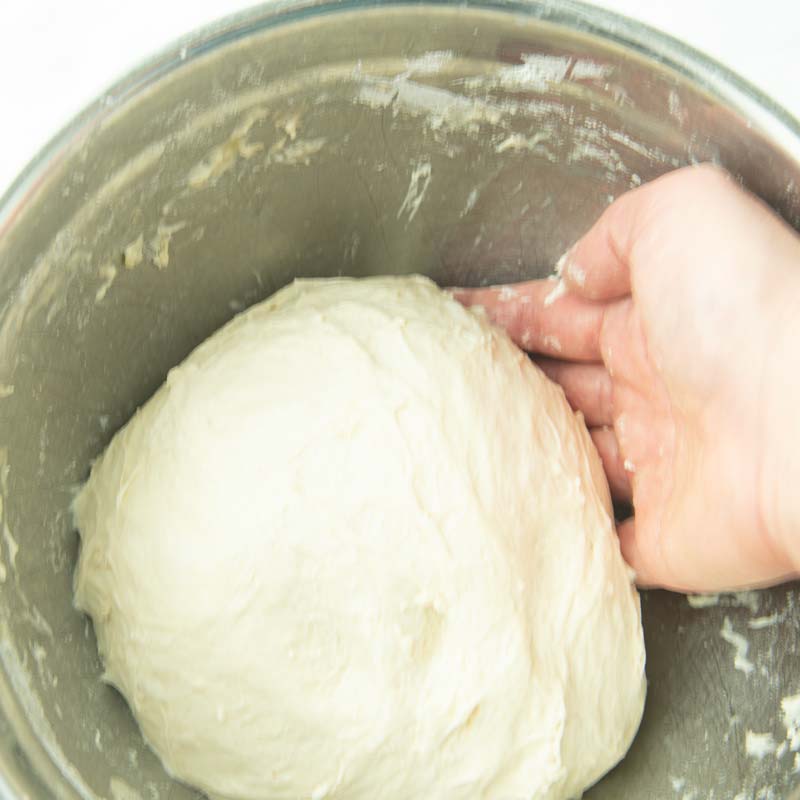
- Cover and sit: I like to let the dough continue to work at room temperature for a few hours. This allows the yeast to continue to rise in a comfortable temperature before you slow it down in the fridge.
- Fridge time: Resting the active dough in the fridge lets it develop more flavor and gives you flexibility in when you need to bake. The dough is really best used within 2 days, but I’ve used it up to 4.
Tips for making the best pizza
- Screaming hot oven: crank your oven up as high as it can go. Heat=more flavor and faster cooking time.
- Stone: I know a lot of people love their baking steels. For me, they’re too expensive and far too small. Baking on a hot stone transfers the heat to the pizza, giving you an airy crust with a lot of good color. I bought my stone from California Pizza Stones. You can buy a reasonably priced insanely strong stone from them that’s the literal size of your oven rack. If you’re like me and squidging the dough onto the hot stone is not your strong suit, a bigger target is better. I love the larger stone too because I can bake 3 pita bread at a time.
- Parbaking: I very often bake my pizza in a sheet tray first until it’s firm enough to pull out of the pan easily. From there, you can add your toppings or continue baking them directly on the stone. Parbaking the crust means for easier handling of the crust and ensures that you’ll get a crisp crust by the time that the toppings are finished cooking.
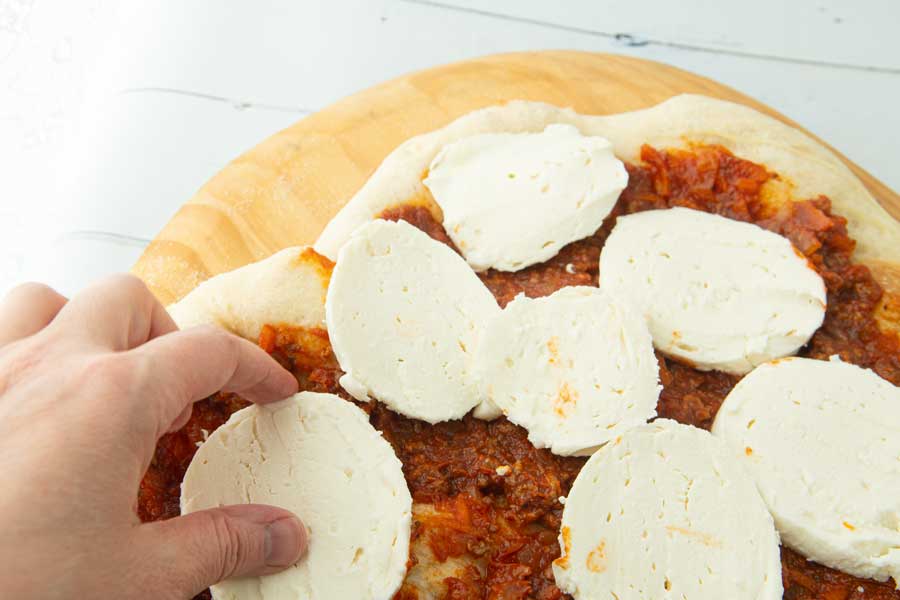
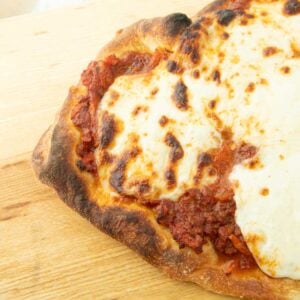
- Use your favorite toppings: my Gram’s pizza sauce was just pureed canned stewed tomatoes (underrated and delicious). This plus mozzarella and pepperoni or good salami is about all you need. Pick a sauce, add a meat, add a cheese. Try not to overload your crust with too much stuff, especially sauce. Nobody likes soggy crust!
- Use good tongs or a big spatula: Pizza making is hot work. Use long BBQ tongs or a big spatula to move the pizza into place if it gets unruly on you.
Easy overnight pizza dough
- Total Time: 24-36 hours inactive time + 30 minutes
- Yield: 2 half sheet tray size pizzas 1x
Description
This is the pizza dough that almost makes itself. Give it a little time, and you’ll have bubbly, incredibly flavorful cold fermented dough that’s ready to make into the light crispy pizza of your dreams.
Ingredients
- 1 pound all-purpose flour or 00 pizza flour (454 g)
- 1/4 teaspoon instant yeast
- 1 and 1/4 cups water (295 mL)
- 2 Tablespoons olive oil (30 mL), plus extra for drizzling
- 1 teaspoon salt
- Semolina flour or cornmeal for baking
Instructions
Make the dough
- Start this on the counter in the morning on a day you’ll be home. This dough almost thrives on neglect, yet it is best if you can eyeball it to check the dough’s progress periodically.
- Stir the flour, yeast, and water in a medium size bowl. Knead the dough together by folding it over on itself a few times just to incorporate all of the flour. Cover the dough.

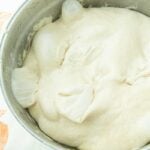
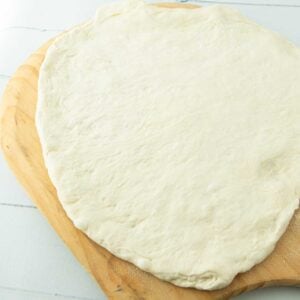
- Set the dough aside until it doubles in size and starts to get bubbly. This will take about 4 hours in a 70 degree kitchen.
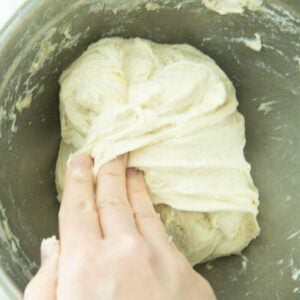
- Pour the olive oil and sprinkle on the salt on the active, bubbly dough. Squish the oil into the dough with your hands, folding the dough over on itself a few times to incorporate it. It’s okay if there’s a little oil on the surface of the dough.
- Cover the dough and let it sit for another 2-4 hours. This will give the yeast a little more time to work and rise at room temperature. After that time, you’ll notice large bubbles on the surface of your dough.

- Cover the dough well, and then place the dough in the refrigerator at least overnight, and up to 2 days.
Preheating the oven
- Preheat your oven to its highest setting (hopefully 500F) for about 30 minutes, with a pizza stone if you have one. Be sure the pizza stone is placed on the rack height closest to the top of the oven. If you don’t have one, place an overturned sheet tray in the oven to preheat in the place of a stone.
- After 30 minutes, turn the broiler on for an additional 20 minutes. Once the broiler has been on, turn your oven back on to its original highest setting. The broiler adds some additional heat, letting the stone pick up some more heat. If you want more color on your crust later, you can also turn the broiler on later in the baking process. After this, you can choose if you want to bake your pizza in a sheet tray (easier!) or freeform directly on the stone (more advanced).
Par-baking method on sheet trays (easy)
- When the oven is close to being preheated, divide your dough into 2 pieces.
- Pour a good drizzle of olive oil on 2 sheet trays, brushing the oil into all corners of each tray.
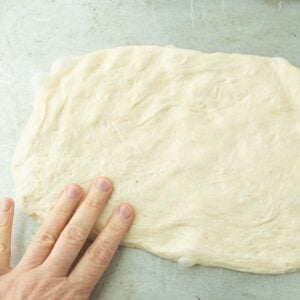
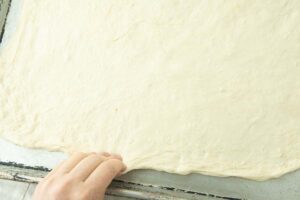
- Pat out a portion of the dough in the center of one of the trays. Do the same on the second tray. Stretch the dough into the 1st tray. When it resists and starts springing back, work on the 2nd tray. By going back and forth between the two trays, stretching the dough a little at a time, you’ll allow the dough to rest enough that it will relax enough to stretch further. After a few minutes, the dough should be stretched into 2 even crusts that fit the bottom of both your sheet trays. Cover them with kitchen towels while the oven finishes preheating.
- Place the first tray onto the hot stone. Bake for about 7 minutes, until the dough holds its shape and you can pull it out of the sheet tray easily.
- Remove the crust from the sheet tray onto either an overturned sheet tray or a pizza peel. Add your toppings to the par-baked crust. Slide the pizza back onto the hot stone and bake until the cheese is hot and bubbly. In my oven, this will take about 5-6 more minutes, but it may take less or more in your oven.

- If you want a little more color on your crust or cheese, turn the broiler back until you get the color you want.
Baking without a sheet tray (requires more practice)
- Preheat the oven as outlined above.
- When you’re ready to bake, divide the dough into 2 pieces or more, depending on how big you want your pizzas. Pat the dough out into a rough circle on a lightly floured surface. Gently stretch the dough into a larger circle about 1/4″ thick.
- Place the dough onto a pizza peel or an overturned sheet tray that’s been generously sprinkled with semolina or cornmeal. Do a little sliding test, making sure that the dough isn’t sticking to the peel/tray.
- Add the toppings straight onto the dough. Slide the dough onto the hot stone. Have some tongs on hand if you didn’t hit the target well. Quickly and safely push the dough onto the stone.
- Bake the pizza until the bottom is well browned and crisp. Broil the top for more color if you’d like.

- Prep Time: 10 minutes + 24-36 hours resting time
- Cook Time: 20 minutes
- Category: Pizza
- Method: Oven
- Cuisine: Italian