Make better sandwiches at home with this hoagie buns recipe
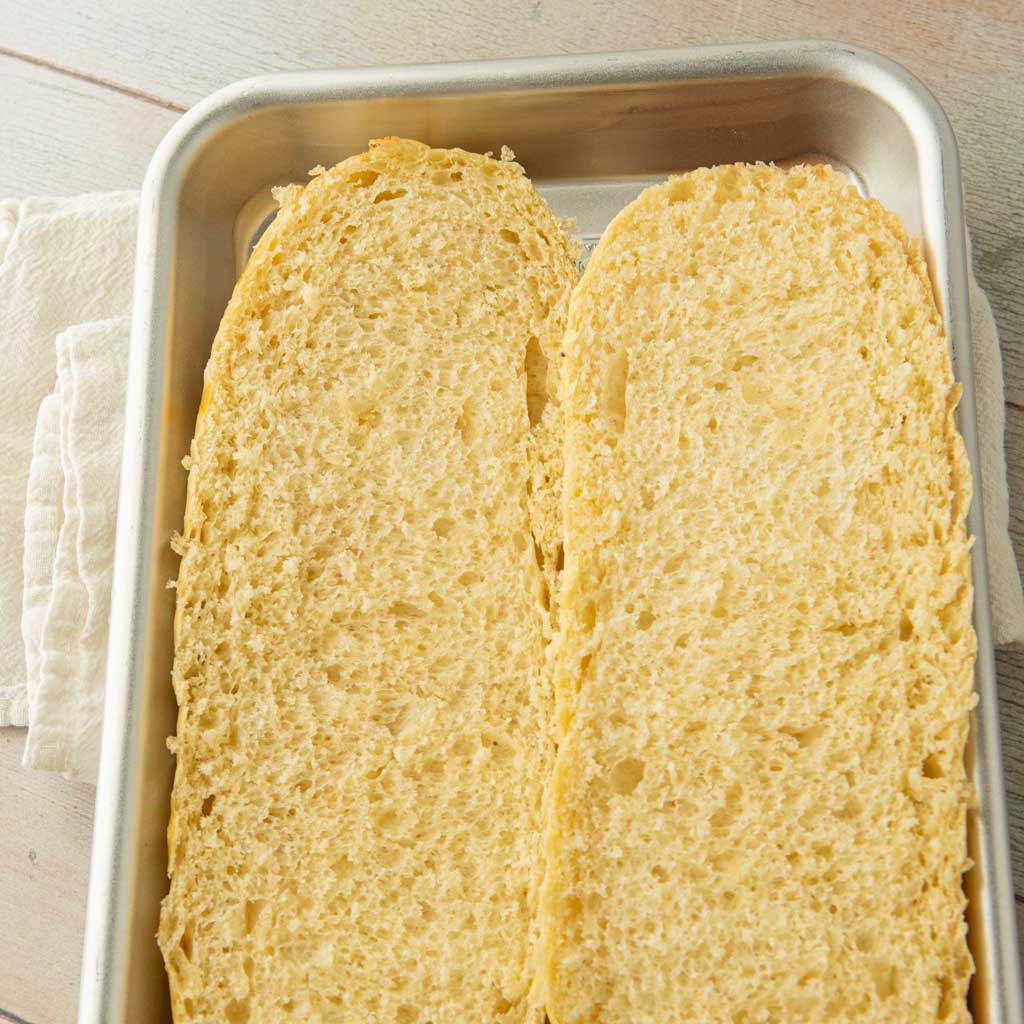
This hoagie buns recipe will have you making better sandwiches sturdy enough to hold big meaty fillings with a soft airy crumb that without the chewiness that makes a lot of homemade breads hard to eat.
All you need is one bowl and a couple minutes to shape these rolls, and you can make sub sandwiches that put every sandwich shop to serious shame.
| Taste | Texture |
| Classic sandwich bread | Soft, airy but not squishy |
| Active time | Total time | Yield | Difficulty |
| 10 min | 2 hours | 4-8 buns | Easy |


How I started making sandwich buns at home
We used to live by a Wal-Mart with a Subway in it. For years I had to hold my breath when walking into the store because the bread smelled like what I can only describe as chemicals. While they’re no longer making bread with azodicarbonamide (thanks Food Babe), I will die on the hill that we can make better bread at home 100% of the time.
I don’t think people realize how truly easy it is to make your own rolls and buns at home. You can shape them quickly and you can for the most part ignore them while they rise. As a mom of 4 very busy kids, I’ll tell you that breads like these absolutely can fit into a regular hectic day without a problem. I honestly haven’t bought buns in years because of my hamburger buns, hot dog buns, homemade Hawaiian sweet rolls, Deli Rye pan buns, countless pita breads, and more. My elementary-aged daughter even makes burger buns on occasion because she likes shaping them as much as I do.
What you gain by making hoagie buns at home

- You keep yourself from eating out: Eating out has become prohibitively expensive for most families, and I’m a solid believer that if you could make 1 thing ahead, you’d realize how quick it is to make the same meal you’d buy out at a restaurant. For a sandwich meal, it’s the bread.
- You can use better ingredients: These rolls contain no ingredients that require a chemistry degree for you to understand unlike nearly every packaged bread. I use organic flour, pastured eggs, and organic olive oil, and milk from a local dairy.
- Change up your flour: Half the time, I will make these with whole grain flours I mill myself (learn how to mill flour). Here you’ll get more interesting flavors that frankly go better with good sandwiches. Don’t believe me?: Bake a batch of Deli Rye Pan Buns.
- Save money: Unless you live by a bougie bakery offering rolls made with said better ingredients, you can’t buy this, and if you could, you’d spend easily $10 for a pack of buns.
- Buns for a rainy day: If you freeze these buns for later, you’ve quite literally given a gift to your future self. Big deli sandwiches are a quick and easy portable meal you can take anywhere, and if you have the bread on hand, you’ve just set yourself up for making a 20 minute meal even on the craziest of days.

Ingredients for Hoagie Buns
- Water
- Yeast
- Sugar
- Milk: Enriches the dough for a softer crumb.
- Olive oil: For flavor and a little fat in the dough.
- Eggs: Add protein, fat, flavor and structure so the buns can handle anything you put on them.
- All-purpose flour
- Salt
- Egg for egg wash
- Everything bagel seasoning, poppy seeds , or sesame seeds
Equipment needed
- Flexible dough scraper: Any will work. I’m currently using and loving this one from Breadtopia.
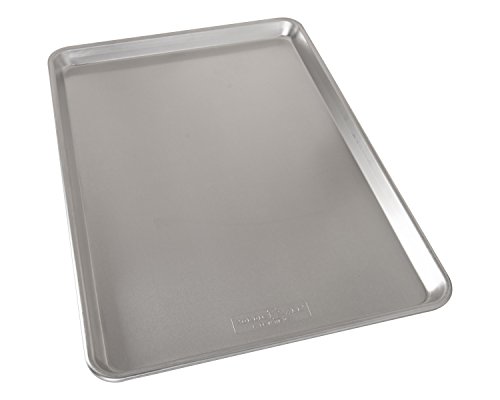
- Sheet trays
- Parchment
- Pastry brush
What is a hoagie and why I choose enriched doughs over 100% water-based dough
A hoagie is a variant of a submarine sandwich, called thus because the buns are shaped like a submarine. The word “hoagie” developed in Philadelphia amongst the Hog Island shipyards during WWII.
These long filled sandwiches originated amongst Italian Americans and became popular for workers wanting an easy portable meal. They showed up in my cafeteria when I went to a Catholic elementary school in Omaha. Let me tell you hoagie day was the day I begged to take hot lunch! A plain ham and cheese could never hold a candle to a nice sturdy bread loaded up with mountains of cold cuts, lettuce, tomato, cheese, and mustard. There might have been olives, but that’s probably me romanticizing the past…surely there weren’t olives.
Most Italian style breads are typically water based with very little enrichment other than olive oil. You absolutely could use my overnight pizza dough or pita dough and turn it into hoagies. I personally choose to add milk and egg to my dough for hoagies, more like what I’d use for my garlic bread rolls, hamburger buns, or hot dog buns. That is because the water doughs alone bake up a little crustier and more chewy. Personally, I like the slightly softer crumb of this dough.
Process for making hoagie buns


This could not be easier.
- Warm: Measure out the milk and water into a cup. Zap it in the microwave for about 15-20 seconds.
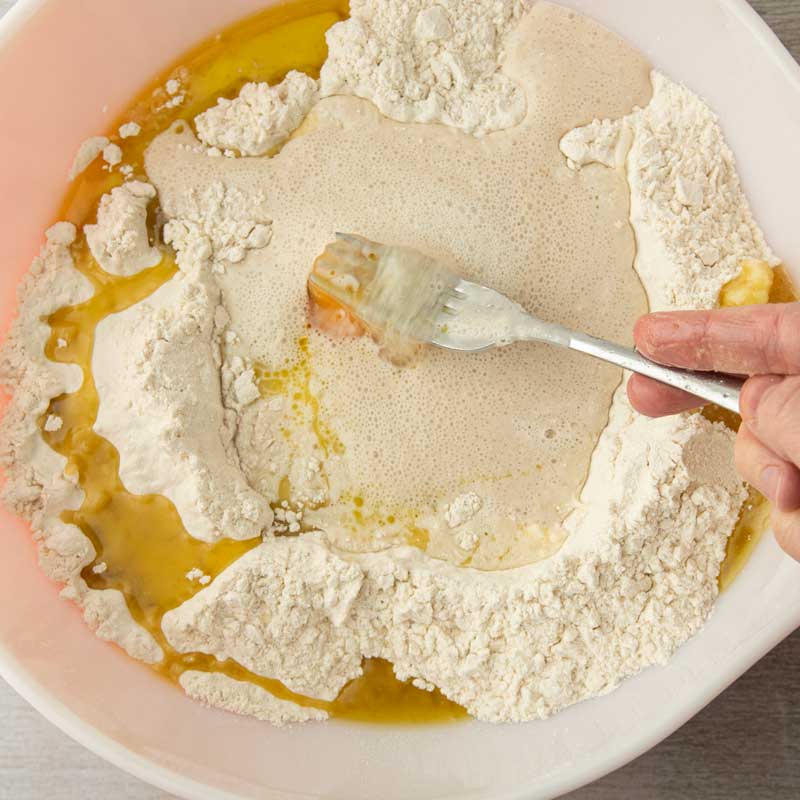
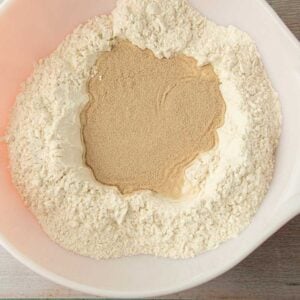
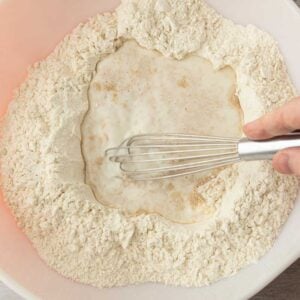
- Dissolve: Measure out the flour and salt into a bowl. Make a well in the middle of the flour and pour in the warmed up water and milk. Sprinkle the yeast and sugar over the liquid and let it dissolve for a minute.
- Mix: Crack in the eggs and add the olive oil to the liquid and beat the eggs to break them up into a scrambled egg consistency. Do your best to just beat the eggs, but if you get some flour in there, that’s okay.
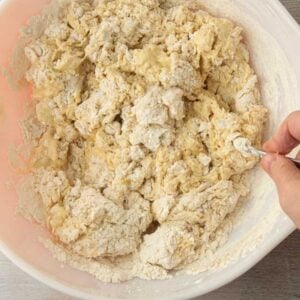
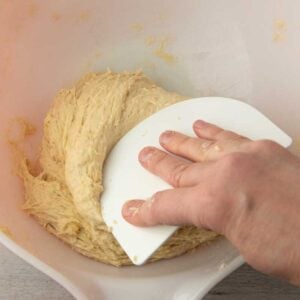
- Knead: Stir the liquid into the flour to make a shaggy dough. Use the dough scraper to scoop under the dough and bring the dough towards the center of the bowl. Do this about 10-15 times. The dough will be smooth, but still a little craggy, and that’s okay.
- First rise: Cover the bowl and let the dough rise for 1 hour.
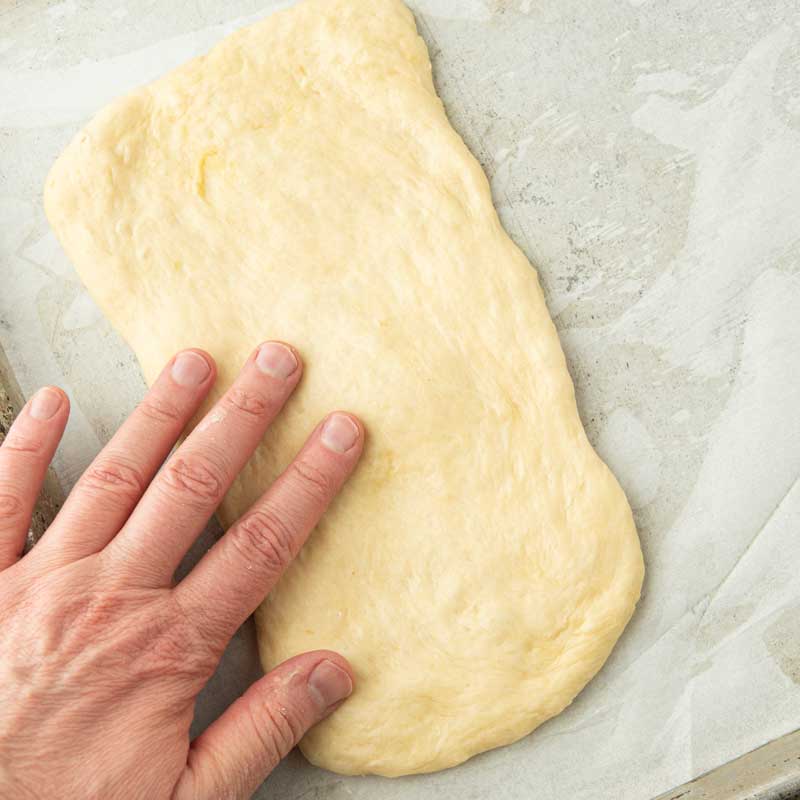
- Shape: Cut the dough into 6-8 pieces. Pat each log into a rough rectangle on a very lightly floured surface. Roll the dough onto itself along the long edge to form a log. Pinch the dough together to form a well-sealed seam. Tuck the ends in and flip the log onto a parchment lined sheet (don’t bake more than 4 loaves on a sheet).
- Second rise: Cover the loaves with a clean kitchen towel and let rise for about 30 minutes.
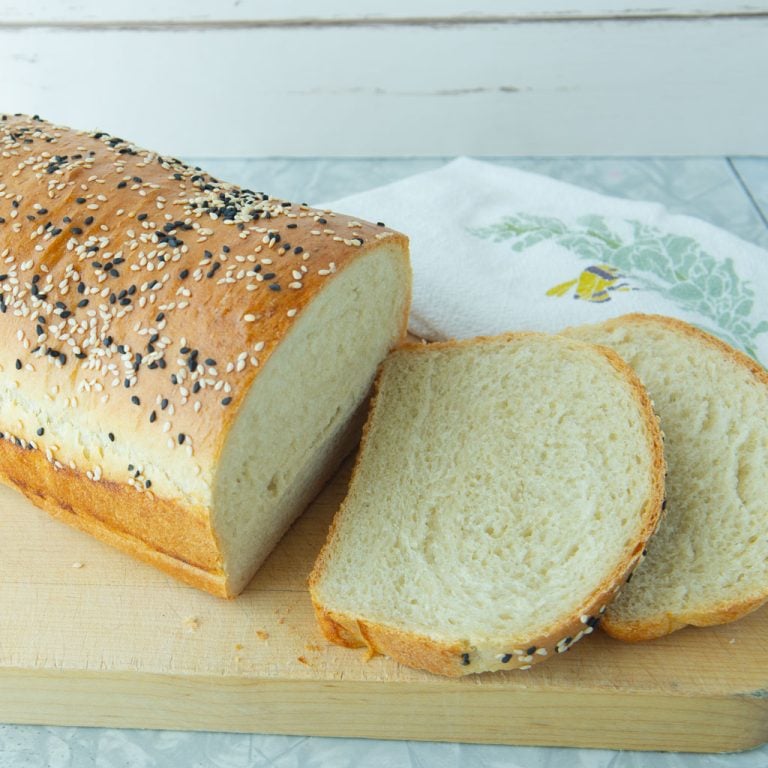
- Bake: Brush the loaves with egg wash and sprinkle on your favorite seeds (poppy, sesame, Everything Bagel seasoning). Bake for 20-25 minutes at 375 F until well-browned and hollow sounding when you tap the tops.
How to freeze hoagie buns for later
Stick the loaves in a plastic bag they fit in. If you’ve made larger loaves, you can cut them to fit. I love the 2.5 gallon bags for large batches of bread because almost anything fits in them.
Remove as much of the air as you can and freeze until you need them. They will easily keep in your freezer for up to 3 months.
Defrost them on the counter for a couple hours or wrap them in foil and bake at 350 for about 10 minutes before slicing and filling them up with your favorite meats and cheeses.
Ideas for using your homemade sub buns
- Philly cheesesteak
- Party subs (you can make 4 rolls the length of the sheet pan for bigger rolls).
- Italian subs
- Amazing club sandwiches
- Egg salad!!!: (pretty much my desert island sandwich).
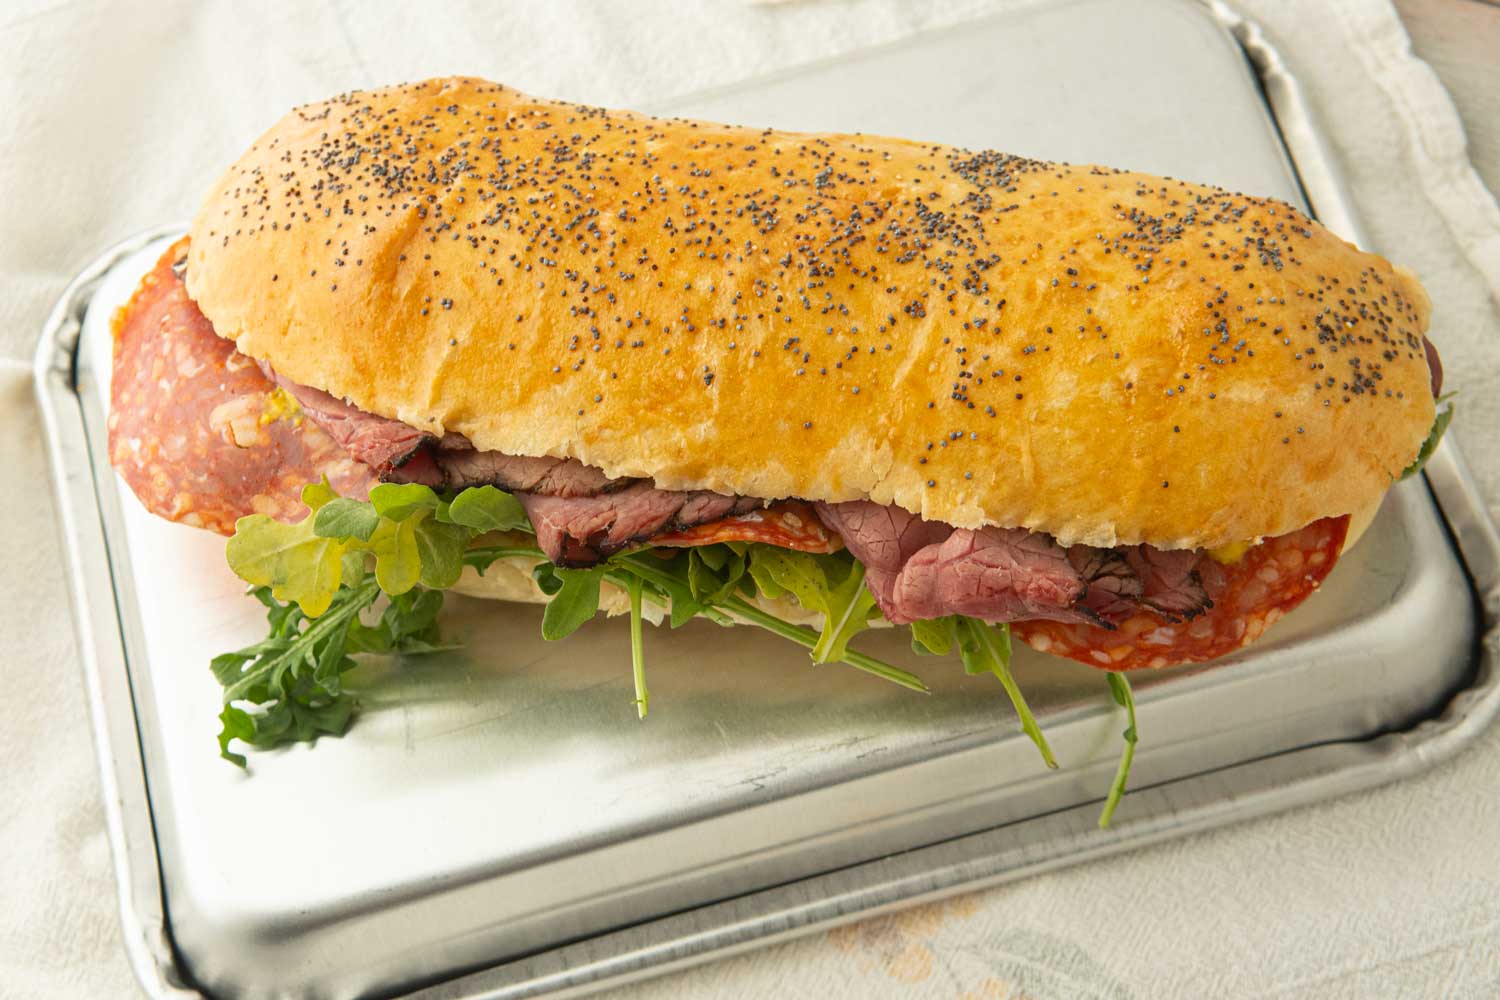
How to build a hoagie sandwich
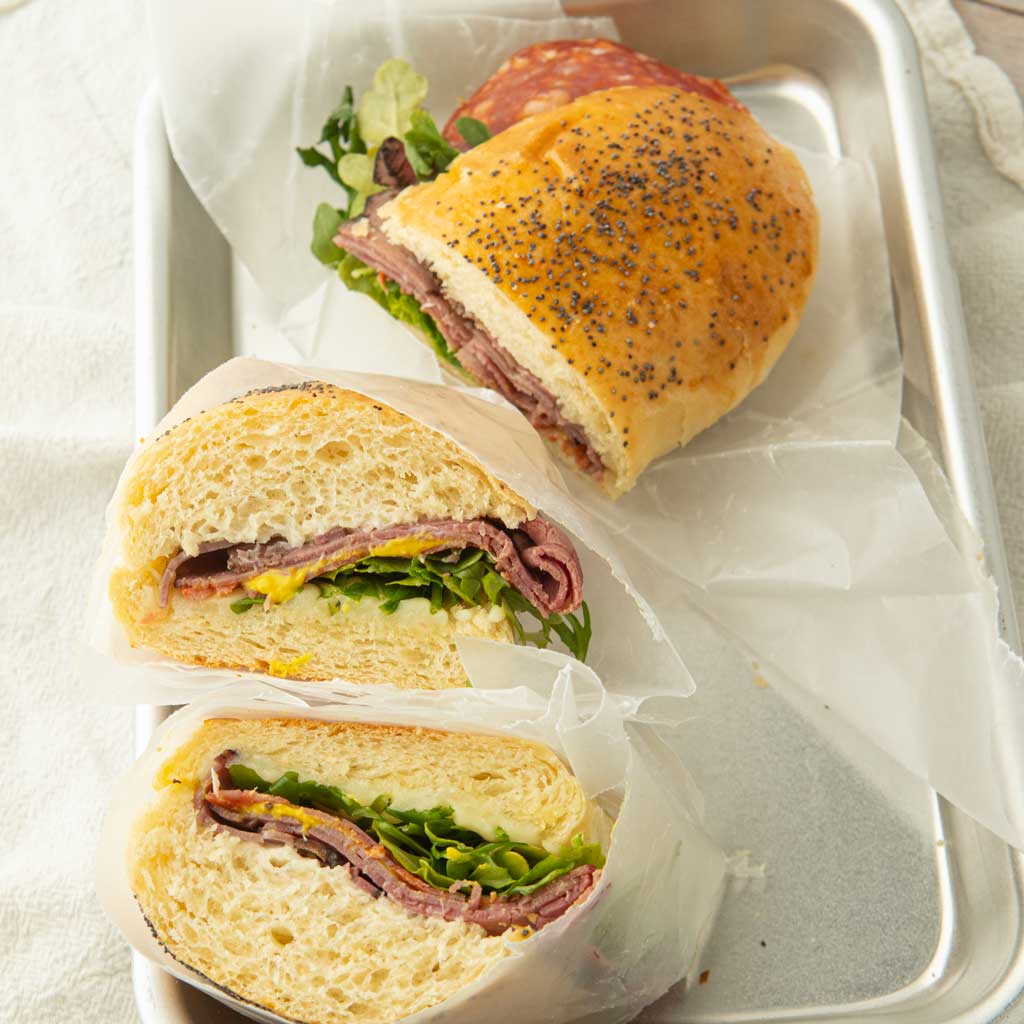
- Mayo or butter: Slice a hoagie bun and slather each side with mayo. Don’t tell your kid who hates mayo that it’s there. It’s there for moisture more than anything. If your kid truly hates mayo, use soft butter instead.
- Hot toast: Load up one side of the bun with your main meat. I’m using pastrami, but use ham, turkey, or whatever you’d like. Fill up the other side with sliced or shredded cheese. Toast the sandwich under the broiler until the cheese melts, and preferably starts to get a little bubbly and brown. Bubbly and brown is delicious.
- Mustard: Squeeze on a generous swizzle of mustard, preferably in wide zigzaggy swathes. Don’t be afraid to be dictatorial regarding the addition of mustard. Every deli sandwich requires mustard and people who think they hate mustard will never know it’s there. Actually, they’ll probably wonder why the sandwich tastes so good and then change their minds about mustard all together. You can come clean and they can thank you later.
- More meat: Add on salami, coppacolla, proscuitto or other similar meats and any other meat you’d like.
- Extras: Add on lettuce (arugula is so good here), tomato slices (definitely salt and pepper these before you put them on the sandwich), chopped up olives, and a drizzle of balsamic vinegar (great over the lettuce).
- Wrap and slice: Wrap your sandwich in waxed paper or a piece of parchment and slice through the paper for sandwich shop perfect pieces of the best hoagie sandwich you’ve ever eaten.


Hoagie buns
- Total Time: about 2 hours
- Yield: 8 sub buns 1x
Description
Forget the sandwich shops; you can make better sub sandwich rolls at home in just one bowl in about 10 minutes of active time. Save money making your own deli style sandwiches at home with soft airy bread that’s still sturdy enough to handle giant piles of cold cuts.
Ingredients
Hoagie bun dough
- 4 and 1/2 cups all-purpose flour (585 g)
- 1 and 1/4 teaspoons salt
- 3/4 cup water (177 mL)
- 2/3 cup whole milk (156 mL)
- 1 Tablespoon instant yeast or active dry
- 1/2 teaspoon sugar
- 3 Tablespoons olive oil (45 mL)
- 2 large eggs
For baking
- 1 egg or egg white
- Everything bagel seasoning, poppy seeds , or sesame seeds
Instructions
- Warm: Measure out the milk and water into a cup. Zap it in the microwave for about 15-20 seconds.
- Dissolve: Measure out the flour and salt into a bowl. Make a well in the middle of the flour and pour in the warmed up water and milk. Sprinkle the yeast and sugar over the liquid and let it dissolve for a minute. You can whisk it after a minute after it’s foamy.

- Mix: Crack in the eggs and add the olive oil to the liquid and beat the eggs to break them up into a scrambled egg consistency. Do your best to just beat the eggs, but if you get some flour in there, that’s okay.
- Knead: Stir the liquid into the flour to make a shaggy dough. Use the dough scraper to scoop under the dough and bring the dough towards the center of the bowl. Do this about 10-15 times. The dough will be smooth, but still a little craggy, and that’s okay.
- First rise: Cover the bowl and let the dough rise for 1 hour.
- Shape: Cut the dough into 6-8 pieces. Pat each log into a rough rectangle on a very lightly floured surface. Roll the dough onto itself along the long edge to form a log. Pinch the dough together to form a well-sealed seam. Tuck the ends in and flip the log onto a parchment lined sheet (don’t bake more than 4 loaves on a sheet).
- Second rise: Cover the loaves with a clean kitchen towel and let rise for about 30 minutes. Towards the end of the 30 minutes, preheat the oven to 375 F (190 C).
- Bake: If you’d like, you can slash the tops of each loaf with a sharp knife or lame. This will make for a nice evenly baked loaf, but these rolls aren’t big enough to make it 100% necessary. Beat the egg (or egg white) with about a teaspoon of water to make an egg wash. Brush the loaves with egg wash and sprinkle on your favorite seeds (poppy, sesame, Everything Bagel seasoning). Bake for 20-25 minutes until well-browned and hollow sounding when you tap the tops.


- Prep Time: 10 minutes
- Cook Time: 20 minutes
- Category: Breads
- Method: Baking
- Cuisine: Italian