Bigger better homemade Samoa cookies (copycat)
bakingwithtradition.com is a participant in the Amazon Services LLC Associates Program, an affiliate advertising program designed to provide a way for websites to earn advertising revenues by advertising and linking to recommended products. Some of the links below are affiliate links. This means that, at zero cost to you, I will earn an affiliate commission if you click through the link and finalize a purchase.
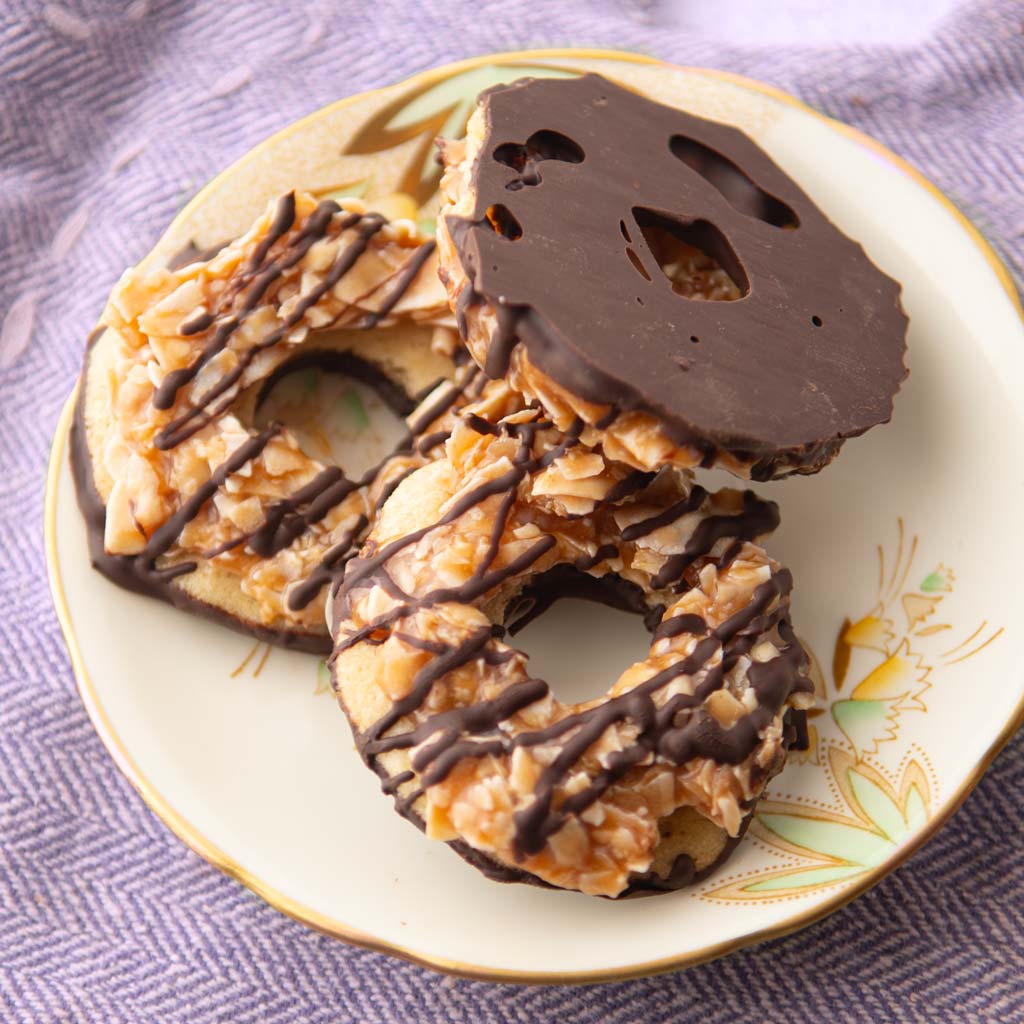
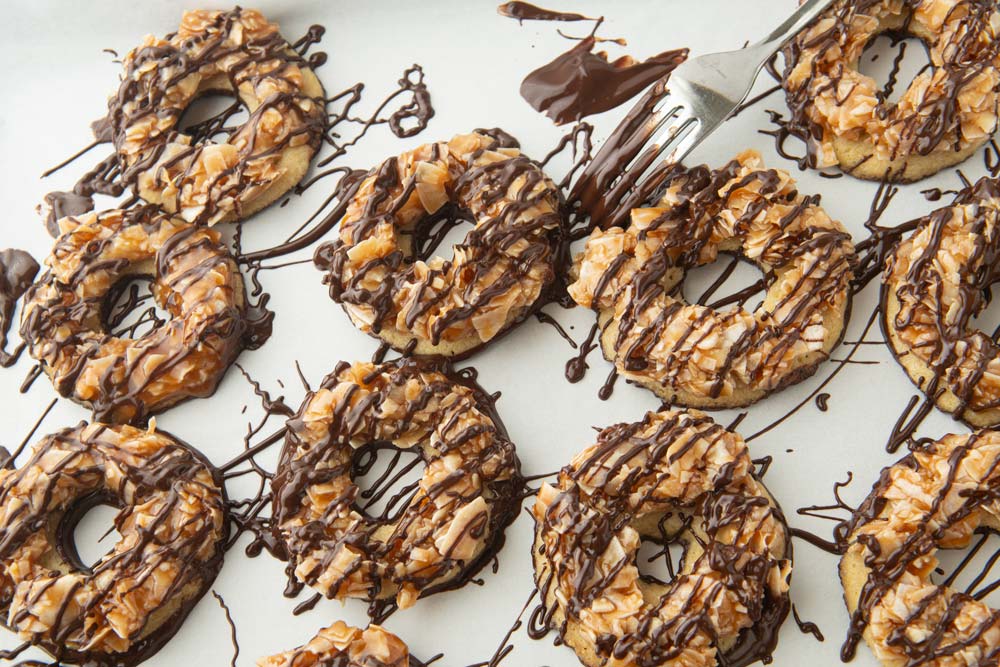
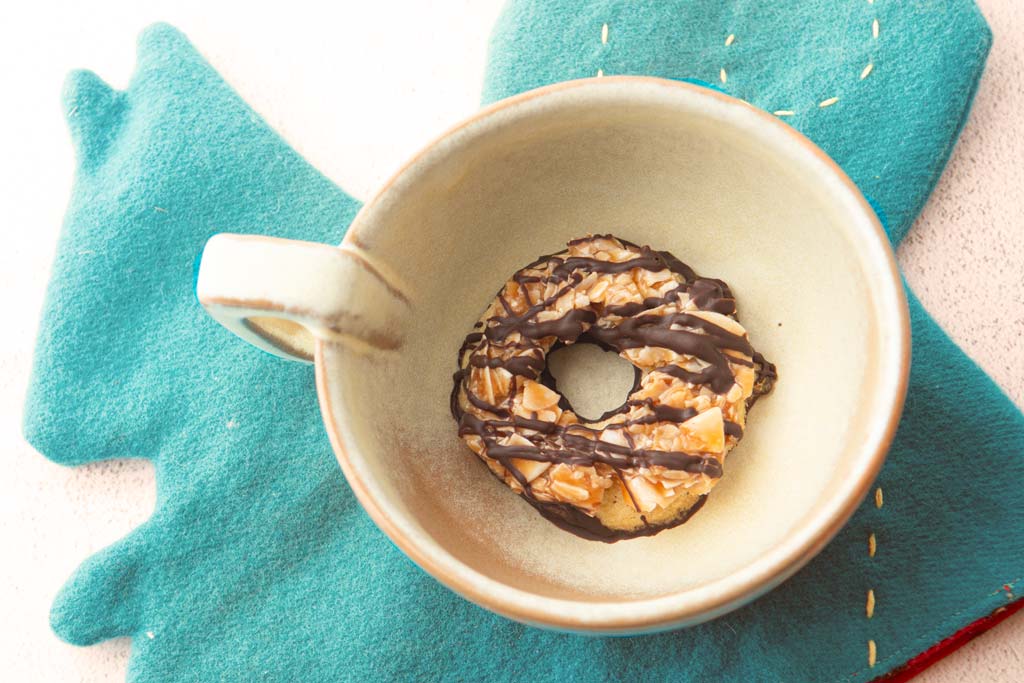
These homemade Samoa cookies have a crisp butter cookie base, topped with homemade caramel rolled around unsweetened coconut, then dipped and decorated with dark chocolate.
There’s so little not to love about the classic Girl Scout cookie Samoa. Coconut, chocolate and caramel are a winning combination on any day, but put them on top a cute butter cookie ring? I can never say no to these things.
Except my homemade Samoa cookies are bigger, richer and with no preservatives unlike their boxed counterparts. One taste of these copycat Girl Scout cookies, and you’ll never want another box (until a sweet cherub knocks on your door. At which point, buy the box, you heartless cheapskate!).
There are a couple components to this recipe: the honey caramel and the butter cookie bases. If you want to streamline your process, make the caramel ahead of time. If you have both caramel and the cookie bases or either one all ready to go, these will seem like way less of a project.
Serve them out of the freezer for the best homemade Samoa of your life.
Affiliate disclosure
bakingwithtradition.com is a participant in the Amazon Services LLC Associates Program, an affiliate advertising program designed to provide a way for websites to earn advertising revenues by advertising and linking to recommended products. Some of the links below are affiliate links. This means that, at zero cost to you, I will earn an affiliate commission if you click through the link and finalize a purchase.
Homemade Samoa Cookies
Ingredients and components
- Honey Caramel sauce: made exactly the same as the Vegan caramel sauce, just swapping out the non-vegan components with honey, cream, sour cream and butter for a richer taste. By all means use the vegan version if you’d prefer.
- Whole Wheat Butter Cookies: 1 batch of dough. You can make this recipe entirely with all-purpose flour for a slightly different texture if you’d like. It’ll make the bases slightly less prone to breaking when you add on the coconut caramel mixture.
- Coconut: unsweetened flakes
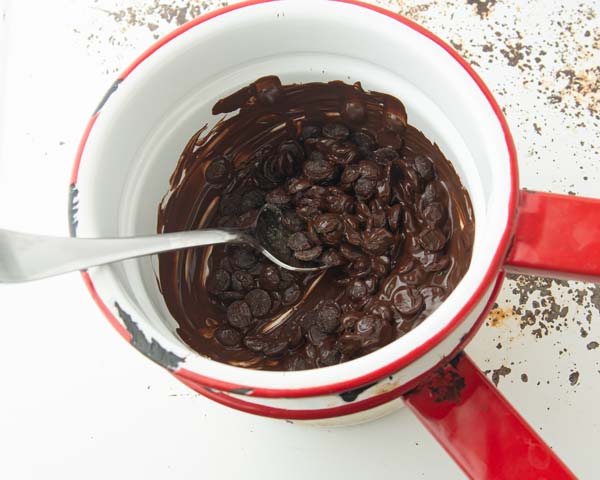
- Chocolate: dark chocolate chips
Timeline for making homemade Samoa cookies
If you’re wanting to make these cookies in one go, I’d save it for a weekend, as there are a lot of little steps.
You absolutely can make these in one go, and I have for this post, clocking in around 2 hours. If you are someone overwhelmed by the length of recipes, I’d absolutely break it up.
I very often make the components separately, or at least the caramel. This way, you can bring everything together a little more easily.
Here’s a timeline of what that could look like.
- Before bed sometime during the week: make the honey caramel. Pour it into a heatproof glass measuring cup, cover it, then pop it in the fridge.
- Another day during the week: make the cookie dough. Wrap it up in plastic wrap and refrigerate.
- Friday night: roll out and bake the cookie rings. Let them cool completely, then put them in an airtight container.
- Saturday morning: warm the caramel, mix with the coconut. Then roll the caramel and coconut to put on top of the cookies. Melt the chocolate, then dip the backs of the cookies and swizzle over the tops. Set in the fridge to set.
- Saturday lunchtime onward: eat you some homemade Samoa cookies!
Tips for making homemade Samoa cookies
- Use warm, not hot caramel.: Since you must roll the caramel in your hands, make sure the caramel is warm, not hot. Caramel burns are nasty.
- Recruit helpers: rolling the caramel and coconut takes a little bit of time, so adding kid helpers can make your process more fun and a little quicker. They’ll love it because it’s like playing with play dough (though much much tastier). And if they break a cookie base pressing the coconut onto it, oh well…treats for the kitchen helper!
- Watch the consistency of your chocolate.: I’ve found that if the chocolate is too liquid, it can be hard to coat the back of the cookies without losing your cookie straight down into the pot. Instead, melt about 3/4 of the chocolate over the double boiler, then take it off the heat and add in the rest. The cooled chocolate added to the warm will cool the rest of the chocolate. This will help it be the right temperature for dipping as well as making the chocolate nice and shiny.
- Freeze the finished cookies: This will help the chocolate to set fast. Beyond that, my family loves these things cold. It’s nice to have a batch in the freezer to be able to bring out for guests.
- Break off excess chocolate.: When you drizzle the chocolate over the tops of the cookies, inevitably, there will be little stripes of chocolate that stick to the parchment and set. When you go to store the cookies or serve them, simply break off those extra bits for a cleaner look.

Bigger Better Homemade Samoa cookies (copycat)
- Total Time: 1 hour 45 minutes
- Yield: 30 cookies 1x
Description
What’s not to love about the classic Girl Scout Cookies Samoas? The coconut, caramel and chocolate on a shortbread base is one of the tastiest combinations of all time. Make them yourself with rich honey caramel, delicate butter cookie bases, and dark chocolate. It’s a worthwhile weekend project.
Ingredients
Honey Caramel
- 1 and 1/2 cups sugar (300 g)
- 6 tablespoons water
- 3 tablespoons honey (63 grams)
- 1/8 tsp salt
- 6 tablespoons heavy cream
- 3 tablespoons sour cream
- 3 tablespoons butter, cut in pieces
Shortbread Cookie ring bases
Finishing the cookies
- 3 cups unsweetened coconut flakes (180 g)
- 8 oz dark chocolate chips (227 g)
Instructions
Make the honey caramel:
- Combine the sugar, water, honey, and salt in a small bowl just to moisten the sugar evenly.
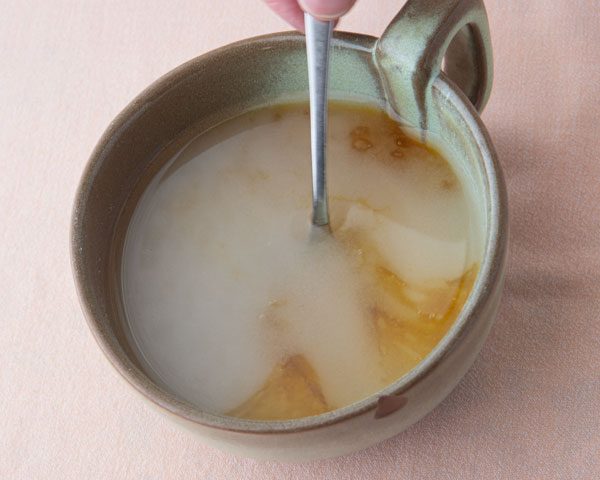
- Pour the sugar into a heavy bottom saucepan. Turn the heat on medium.
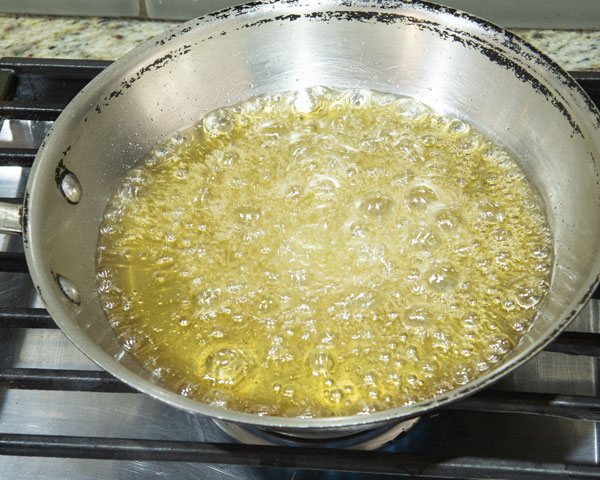
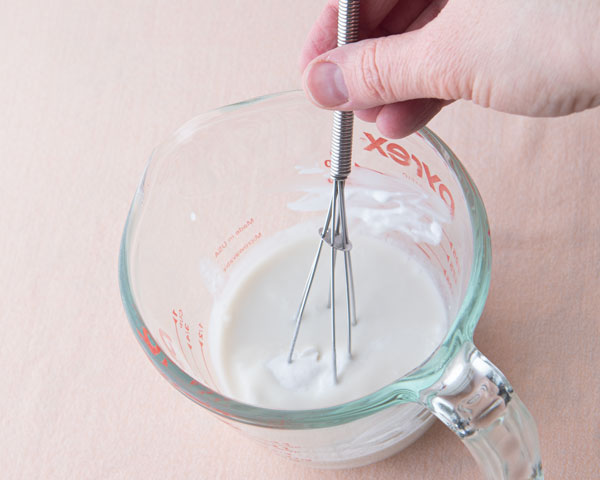
- Whisk the heavy cream and the sour cream together, then place this and the butter near the stove.
- Cook the sugar until you start seeing color around the edges of the pan.
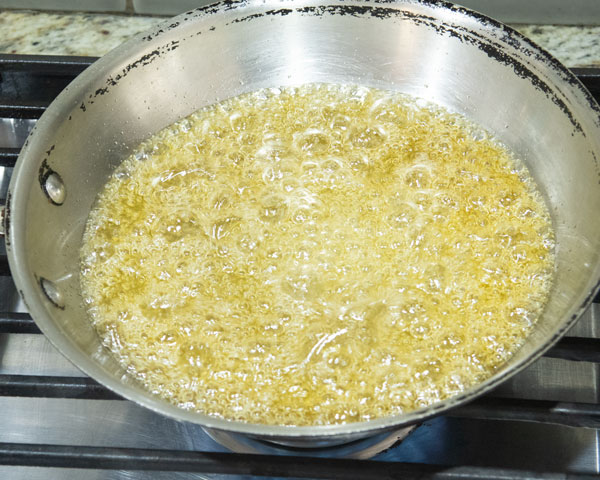
- If you notice that the color seems to be in one spot of the pan but not the rest, gently swirl the sugar in the pan. You may also turn the pan around 180 degrees on the burner to even out the heat.
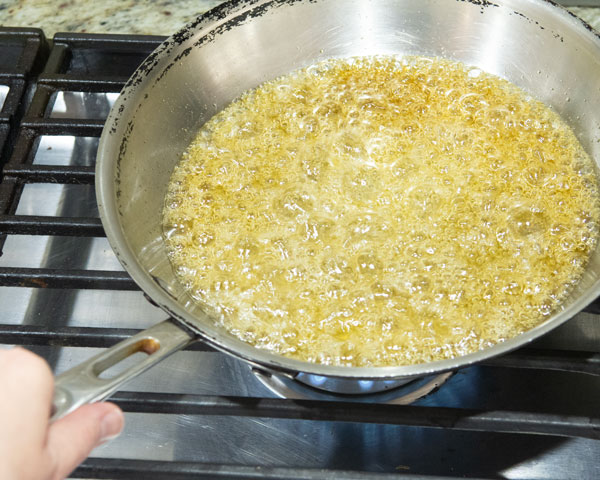
- Do not stir with a spoon or whisk at this point as you can create sugar crystals and threads you will not be able to incorporate back into the caramel.
- Do not leave the stove. Once you start seeing color watch carefully. As the sugar begins to color, you’ll notice the bubbles start to slow down considerably.
- Caramel can go from pale amber to burnt in a few seconds. Start looking for more deep amber color form across the pan. Right at the end of cooking, you should smell just a hint of burnt sugar and you may see a puff of smoky steam. Once you see this, count to 5 and turn off the heat.
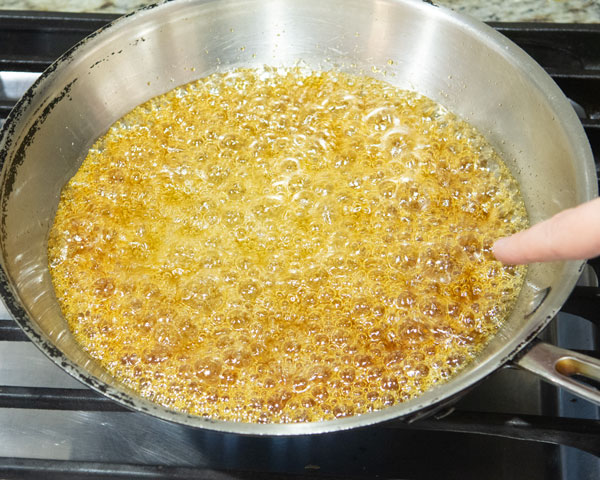
- Have a long whisk handy, then pour in the cream all at once. The caramel will bubble up furiously, so stay back from the steam and whisk furiously until it’s all incorporated.
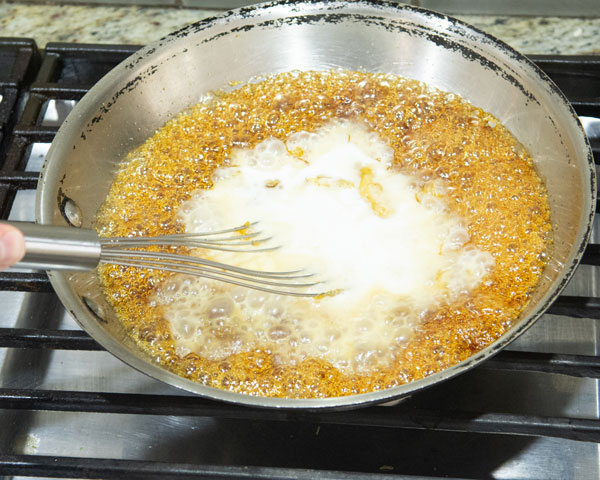
- Carefully drop in the butter, then whisk to incorporate it.
- Pour the caramel into a glass measuring cup to cool while you make the cookies.
Make the ring cookie bases:
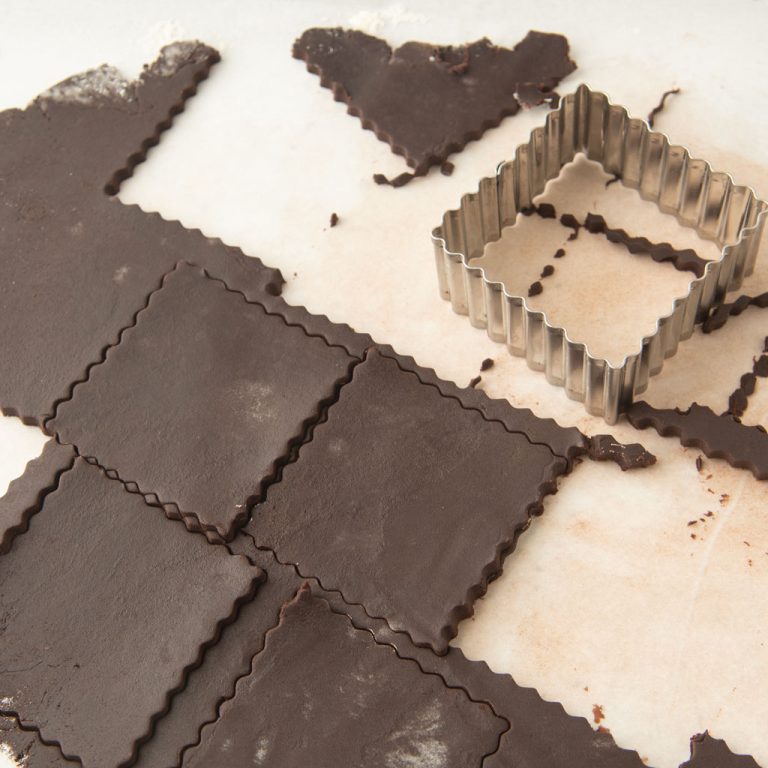
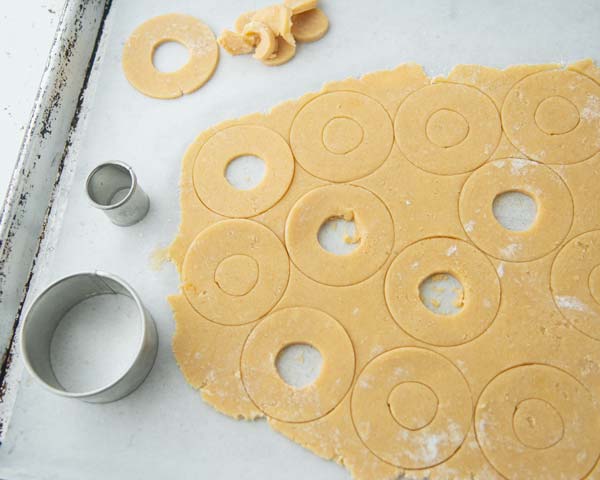
- Make the whole wheat butter cookies recipe, using a 2 1/2″ ring cutter to cut out the cookies. Use the smallest ring cutter you have or the bottom of a pastry tip to cut out the center of each cookie. Bake per the directions. After rolling and cutting, you should end up with about 30 ring cookies.

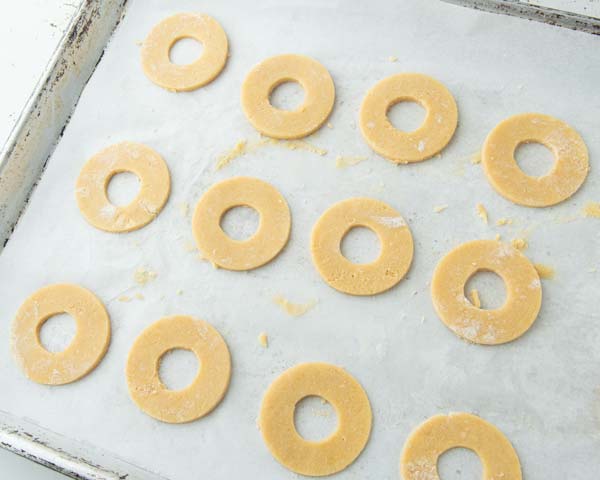
- Leave the cookies on their baking sheets to cool.
Assembling the cookies:
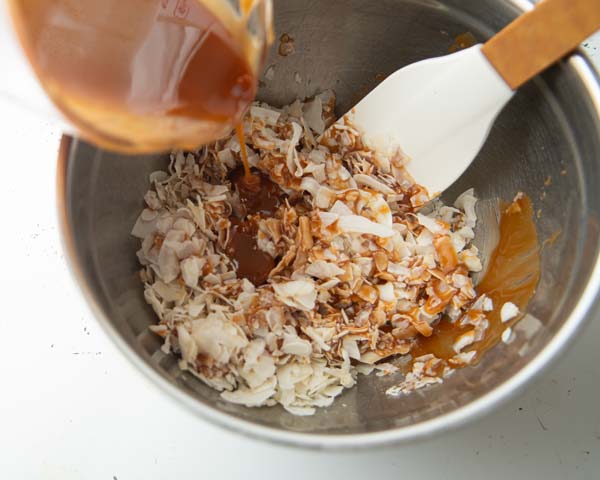
- Check your caramel–it should be warm enough to be pourable, but not so hot you won’t be able to handle it. If it’s not pourable, pop it in the microwave at intervals of about 10 seconds until it is a pourable consistency. When the caramel is warm, measure the coconut into a bowl, then pour over the caramel. Mix with a spatula to coat the coconut with the caramel.

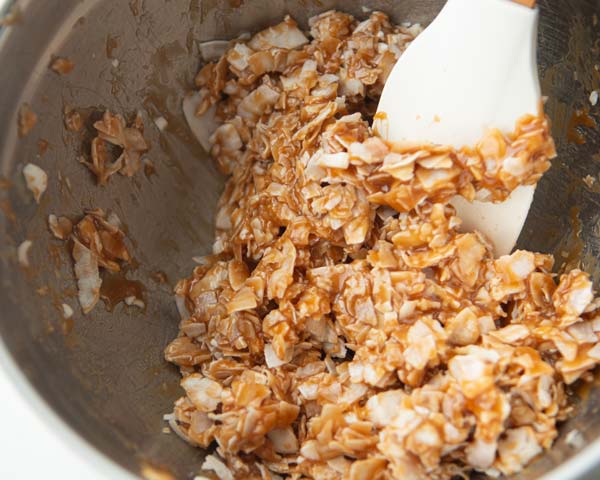
- Scoop out about 1 tablespoon of coconut caramel , then roll it in your hands into a thin snake.
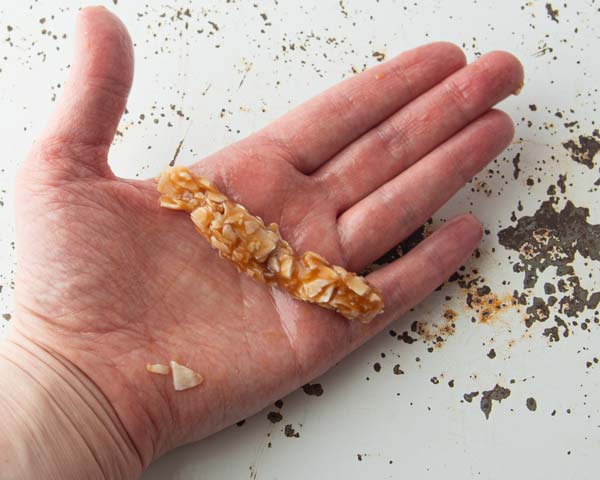
- Gently press the rolled caramel onto one of the cookie bases, adding more if needed to cover the entire ring. Keep on rolling and pressing until you’ve covered the cookies with the caramel.
- Bring about 1″ of water to a boil in a double boiler. Turn down the heat to its lowest setting. In the top of the double boiler, stir about 3/4 of the chocolate chips until they’re melted. Take the top of the double boiler off the heat, then stir in the rest of the chocolate chips, stirring until melted. Doing it this way, the melted chocolate should be still liquid, but a little thicker than if you had melted all of the chocolate all at once, so that you won’t sink your cookies in the next step.
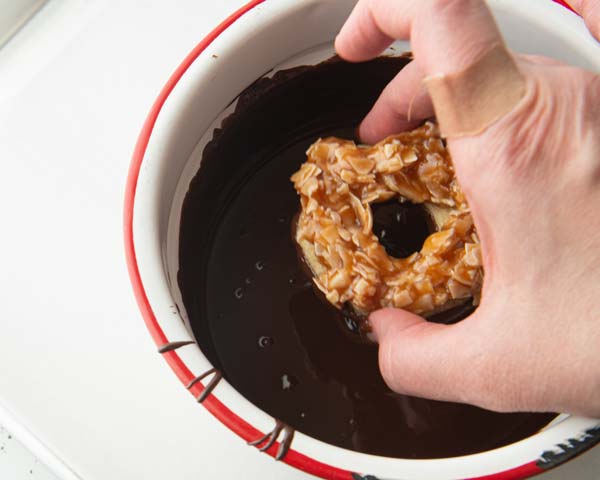
- With one hand, drop one of the cookies into the chocolate, cookie side down. With your second hand, quickly grab the cookie out of the chocolate, shaking off the excess chocolate back into the pot. I find dropping them gets a better coating than just dipping them.
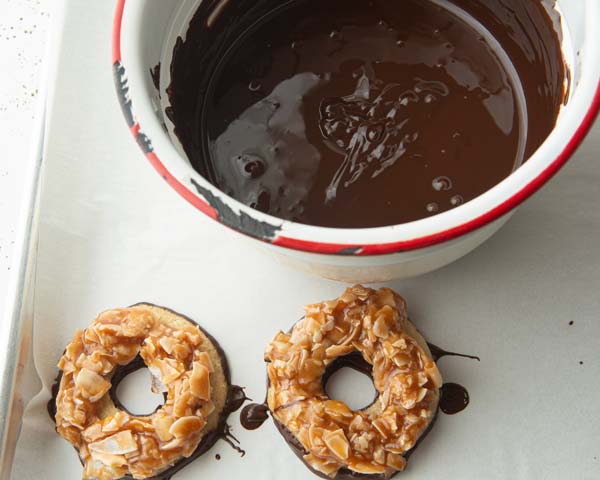
- Place the coated cookie onto a clean piece of parchment placed on a baking sheet.
- Continue coating the bottoms of the cookies until you’re through the batch.
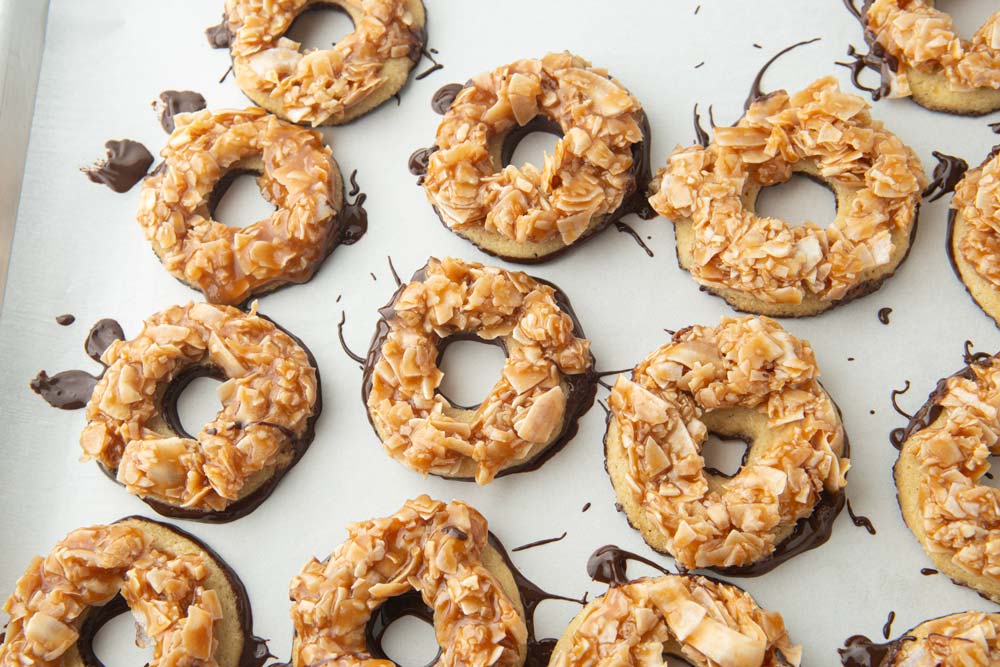
- Once you’ve coated the bottoms of the cookies, swizzle stripes of chocolate off the end of a fork over each cookie.

- Set the cookies in the fridge or freezer until the chocolate is set.
- Freeze cookies in an airtight container for up to 2 months. Set them out for about 10 minutes before serving.
Notes
- Make ahead then assemble: you can make both the caramel and the cookies well ahead of time. Refrigerated, the caramel will easily keep up to 2 weeks, and you can freeze the cookie bases for up to 3 months.
- Recruit helpers: the rolling of the caramel takes a little bit of effort. Recruit your kids to help you top the cookie bases with the caramel coconut. It’s like caramel play dough!
- Break off excess chocolate.: When you drizzle the chocolate over the tops of the cookies, inevitably, there will be little stripes of chocolate that stick to the parchment and set. When you go to store the cookies or serve them, simply break off those extra bits for a cleaner look.
- Prep Time: 25 minutes
- Additional Time: 50 minutes
- Cook Time: 30 minutes
- Category: Cookies
- Cuisine: American
Nutrition
- Serving Size: 1 cookie
- Calories: 200
- Sugar: 16
- Sodium: 56
- Fat: 11
- Saturated Fat: 9
- Carbohydrates: 22
- Fiber: 1
- Protein: 1
- Cholesterol: 21
You’ll love making these homemade Samoa cookies. They are a project that is more than worth your effort. You’ll be amazed at how much better these taste!
Love making cookies? Try out these recipes:

