Description
What’s not to love about the classic Girl Scout Cookies Samoas? The coconut, caramel and chocolate on a shortbread base is one of the tastiest combinations of all time. Make them yourself with rich honey caramel, delicate butter cookie bases, and dark chocolate. It’s a worthwhile weekend project.
Ingredients
Scale
Honey Caramel
- 1 and 1/2 cups sugar (300 g)
- 6 tablespoons water
- 3 tablespoons honey (63 grams)
- 1/8 tsp salt
- 6 tablespoons heavy cream
- 3 tablespoons sour cream
- 3 tablespoons butter, cut in pieces
Shortbread Cookie ring bases
Finishing the cookies
- 3 cups unsweetened coconut flakes (180 g)
- 8 oz dark chocolate chips (227 g)
Instructions
Make the honey caramel:
- Combine the sugar, water, honey, and salt in a small bowl just to moisten the sugar evenly.
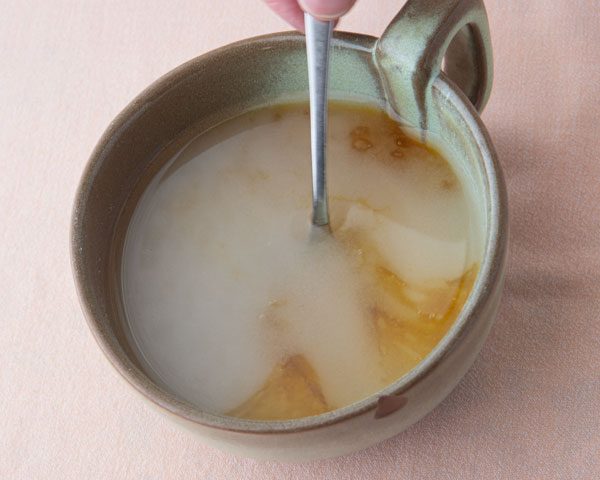
- Pour the sugar into a heavy bottom saucepan. Turn the heat on medium.
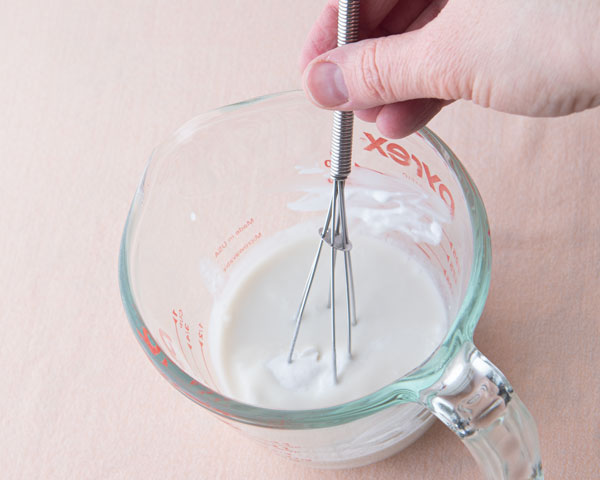
- Whisk the heavy cream and the sour cream together, then place this and the butter near the stove.
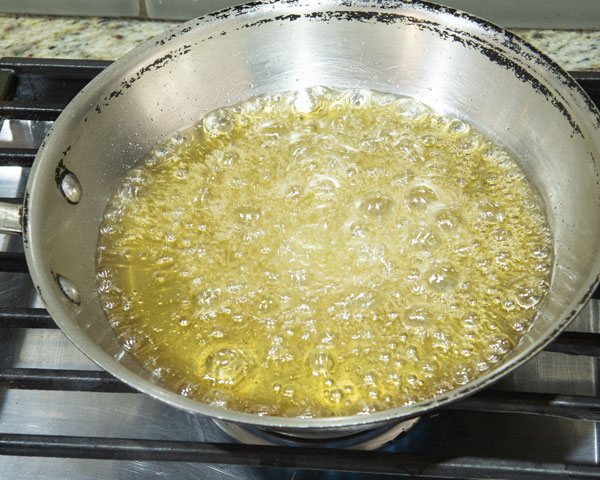
- Cook the sugar until you start seeing color around the edges of the pan.
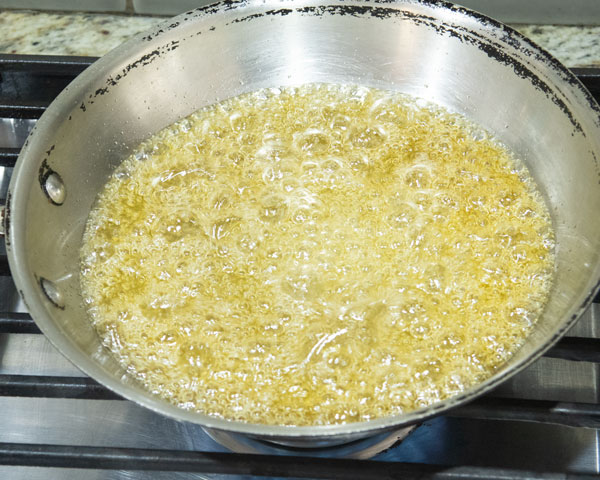
- If you notice that the color seems to be in one spot of the pan but not the rest, gently swirl the sugar in the pan. You may also turn the pan around 180 degrees on the burner to even out the heat.
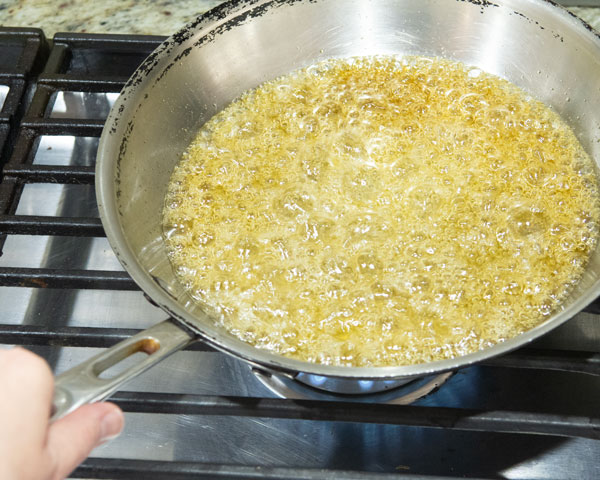
- Do not stir with a spoon or whisk at this point as you can create sugar crystals and threads you will not be able to incorporate back into the caramel.
- Do not leave the stove. Once you start seeing color watch carefully. As the sugar begins to color, you’ll notice the bubbles start to slow down considerably.
- Caramel can go from pale amber to burnt in a few seconds. Start looking for more deep amber color form across the pan. Right at the end of cooking, you should smell just a hint of burnt sugar and you may see a puff of smoky steam. Once you see this, count to 5 and turn off the heat.
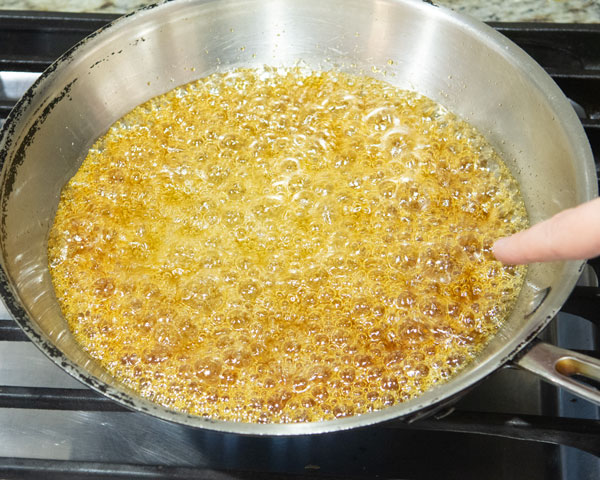
- Have a long whisk handy, then pour in the cream all at once. The caramel will bubble up furiously, so stay back from the steam and whisk furiously until it’s all incorporated.
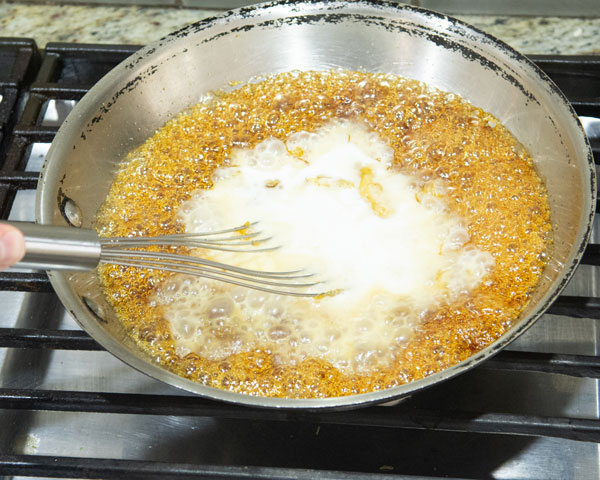
- Carefully drop in the butter, then whisk to incorporate it.
- Pour the caramel into a glass measuring cup to cool while you make the cookies.
Make the ring cookie bases:
- Make the whole wheat butter cookies recipe, using a 2 1/2″ ring cutter to cut out the cookies. Use the smallest ring cutter you have or the bottom of a pastry tip to cut out the center of each cookie. Bake per the directions. After rolling and cutting, you should end up with about 30 ring cookies.
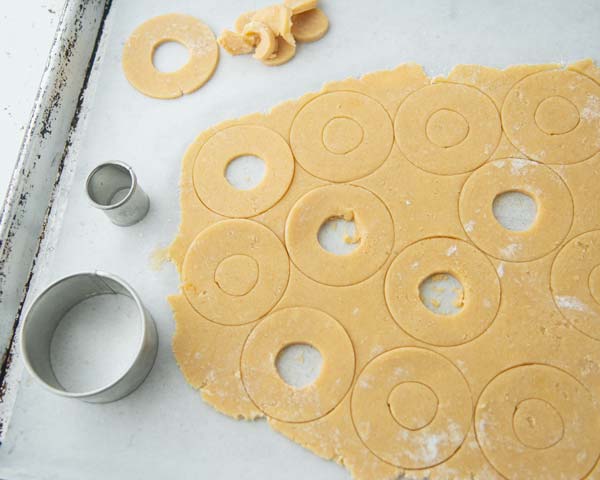
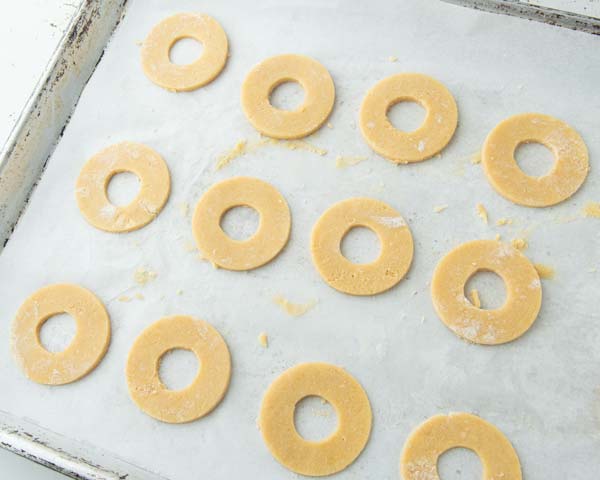
- Leave the cookies on their baking sheets to cool.
Assembling the cookies:
- Check your caramel–it should be warm enough to be pourable, but not so hot you won’t be able to handle it. If it’s not pourable, pop it in the microwave at intervals of about 10 seconds until it is a pourable consistency. When the caramel is warm, measure the coconut into a bowl, then pour over the caramel. Mix with a spatula to coat the coconut with the caramel.
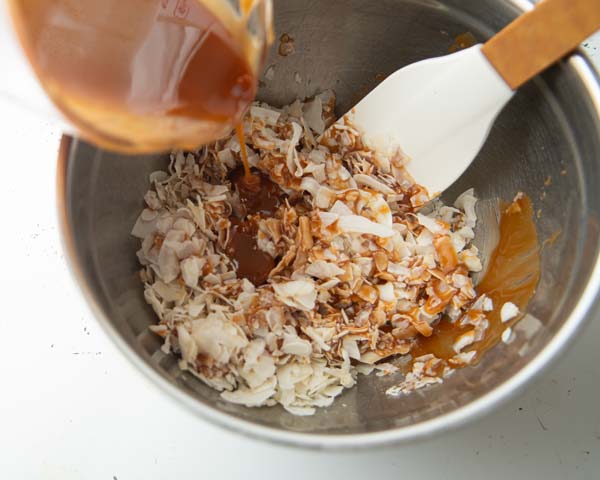
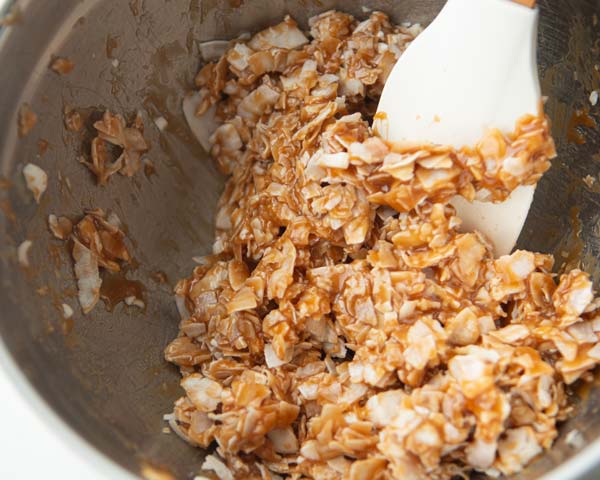
- Scoop out about 1 tablespoon of coconut caramel , then roll it in your hands into a thin snake.
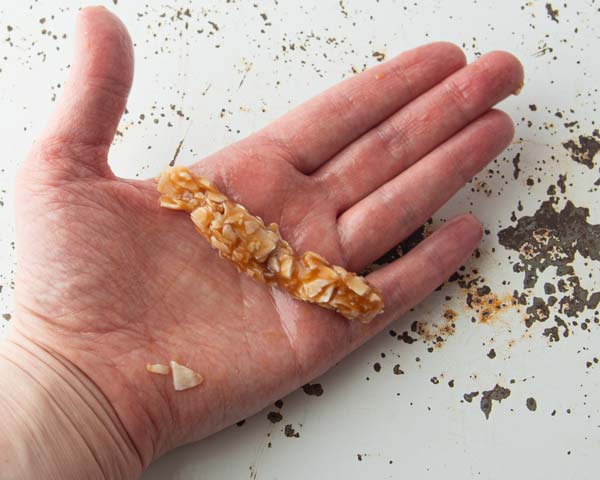
- Gently press the rolled caramel onto one of the cookie bases, adding more if needed to cover the entire ring. Keep on rolling and pressing until you’ve covered the cookies with the caramel.
- Bring about 1″ of water to a boil in a double boiler. Turn down the heat to its lowest setting. In the top of the double boiler, stir about 3/4 of the chocolate chips until they’re melted. Take the top of the double boiler off the heat, then stir in the rest of the chocolate chips, stirring until melted. Doing it this way, the melted chocolate should be still liquid, but a little thicker than if you had melted all of the chocolate all at once, so that you won’t sink your cookies in the next step.
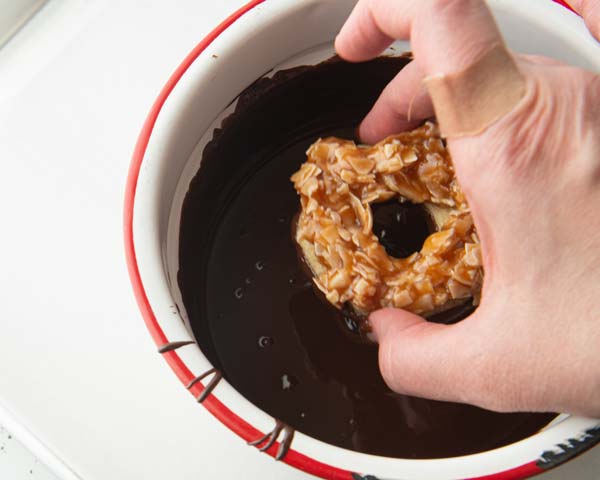
- With one hand, drop one of the cookies into the chocolate, cookie side down. With your second hand, quickly grab the cookie out of the chocolate, shaking off the excess chocolate back into the pot. I find dropping them gets a better coating than just dipping them.
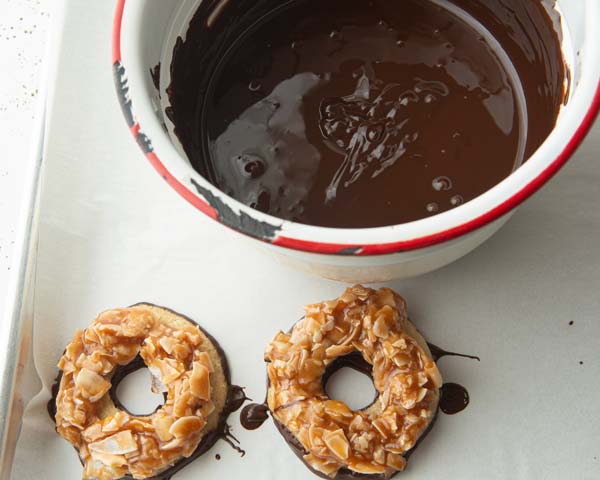
- Place the coated cookie onto a clean piece of parchment placed on a baking sheet.
- Continue coating the bottoms of the cookies until you’re through the batch.
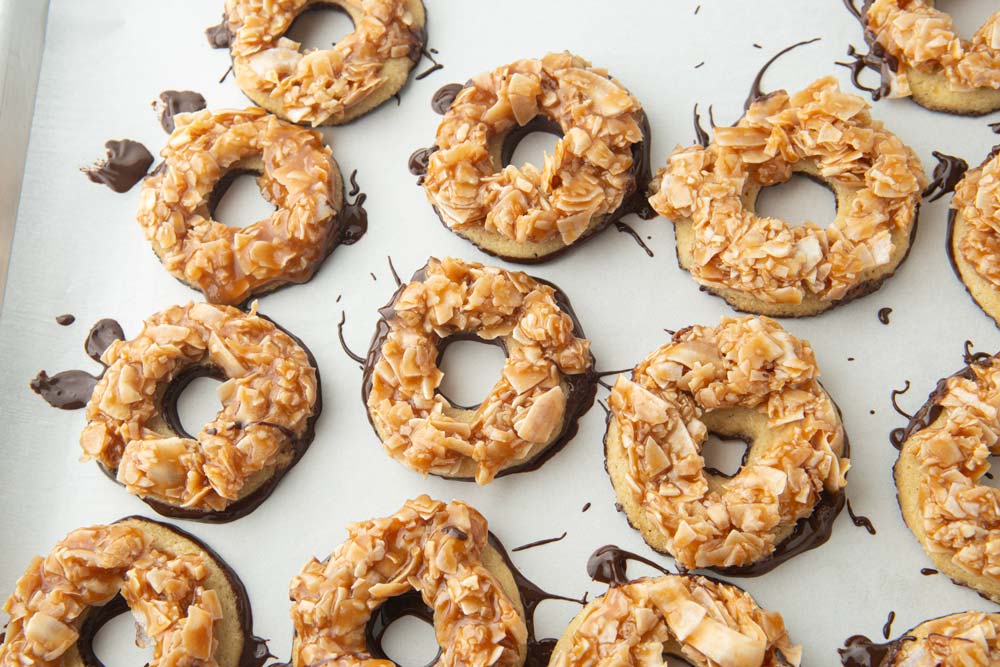
- Once you’ve coated the bottoms of the cookies, swizzle stripes of chocolate off the end of a fork over each cookie.
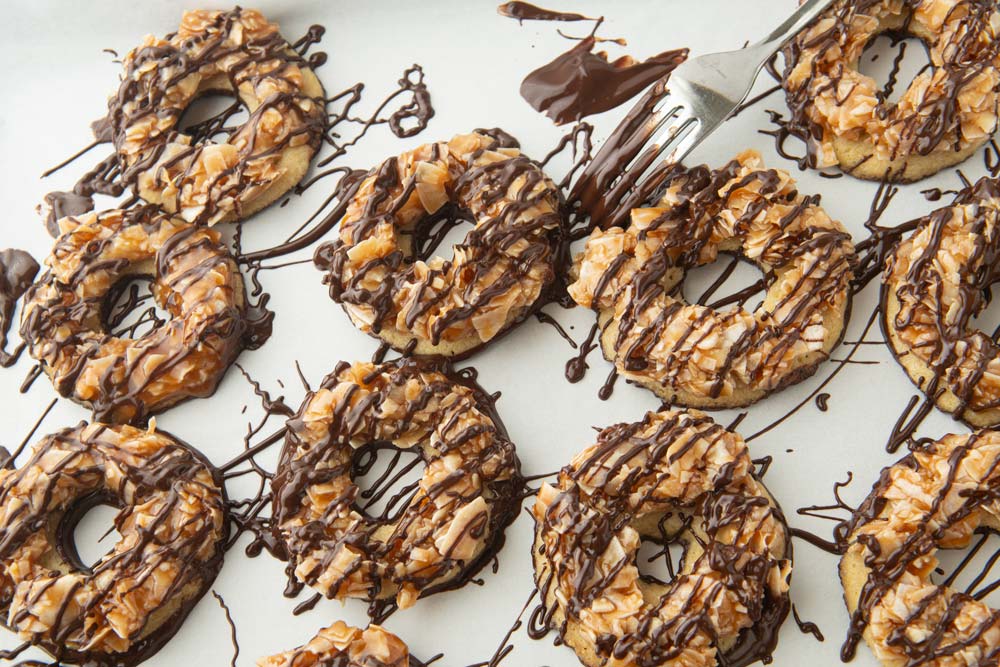
- Set the cookies in the fridge or freezer until the chocolate is set.
- Freeze cookies in an airtight container for up to 2 months. Set them out for about 10 minutes before serving.
Notes
- Make ahead then assemble: you can make both the caramel and the cookies well ahead of time. Refrigerated, the caramel will easily keep up to 2 weeks, and you can freeze the cookie bases for up to 3 months.
- Recruit helpers: the rolling of the caramel takes a little bit of effort. Recruit your kids to help you top the cookie bases with the caramel coconut. It’s like caramel play dough!
- Break off excess chocolate.: When you drizzle the chocolate over the tops of the cookies, inevitably, there will be little stripes of chocolate that stick to the parchment and set. When you go to store the cookies or serve them, simply break off those extra bits for a cleaner look.
- Prep Time: 25 minutes
- Additional Time: 50 minutes
- Cook Time: 30 minutes
- Category: Cookies
- Cuisine: American
Nutrition
- Serving Size: 1 cookie
- Calories: 200
- Sugar: 16
- Sodium: 56
- Fat: 11
- Saturated Fat: 9
- Carbohydrates: 22
- Fiber: 1
- Protein: 1
- Cholesterol: 21
