Make Ahead Apple Pie Filling that takes out all the guesswork
bakingwithtradition.com is a participant in the Amazon Services LLC Associates Program, an affiliate advertising program designed to provide a way for websites to earn advertising revenues by advertising and linking to recommended products. Some of the links below are affiliate links. This means that, at zero cost to you, I will earn an affiliate commission if you click through the link and finalize a purchase.
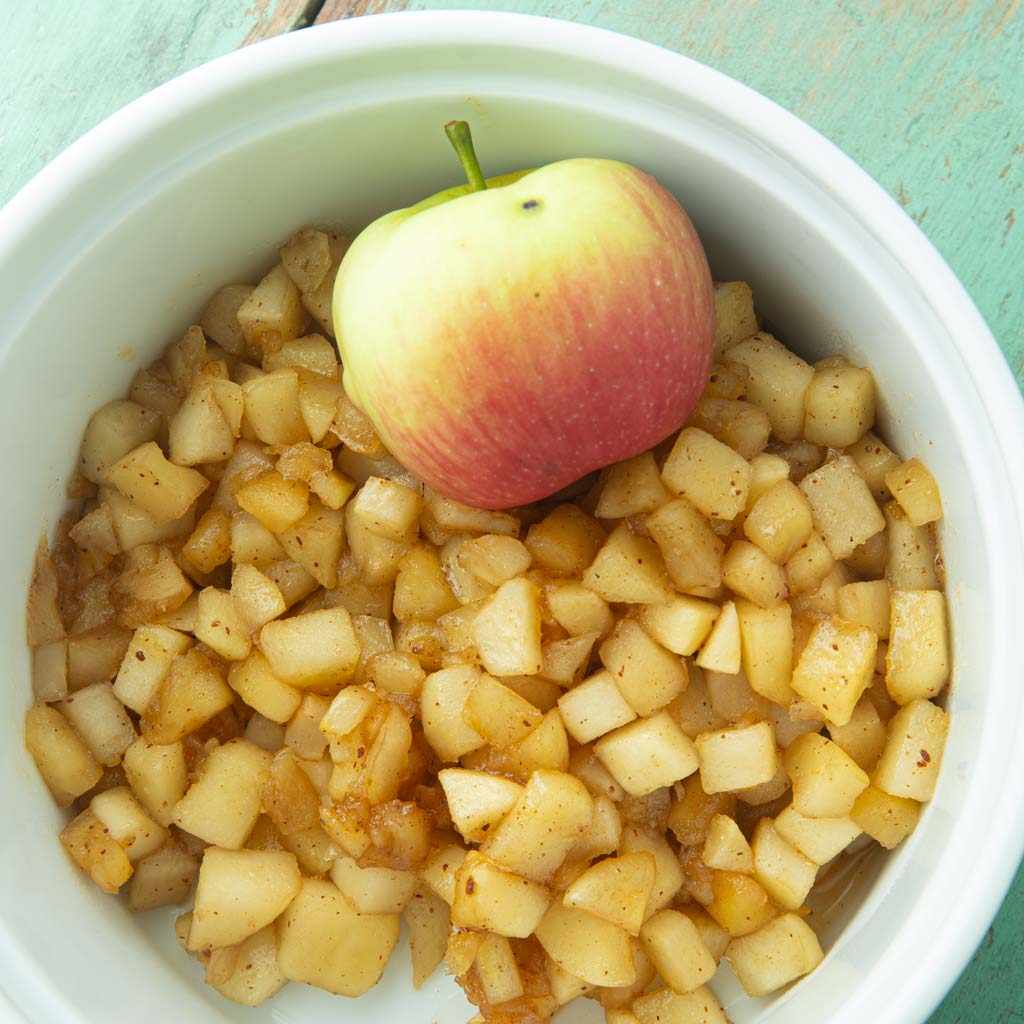
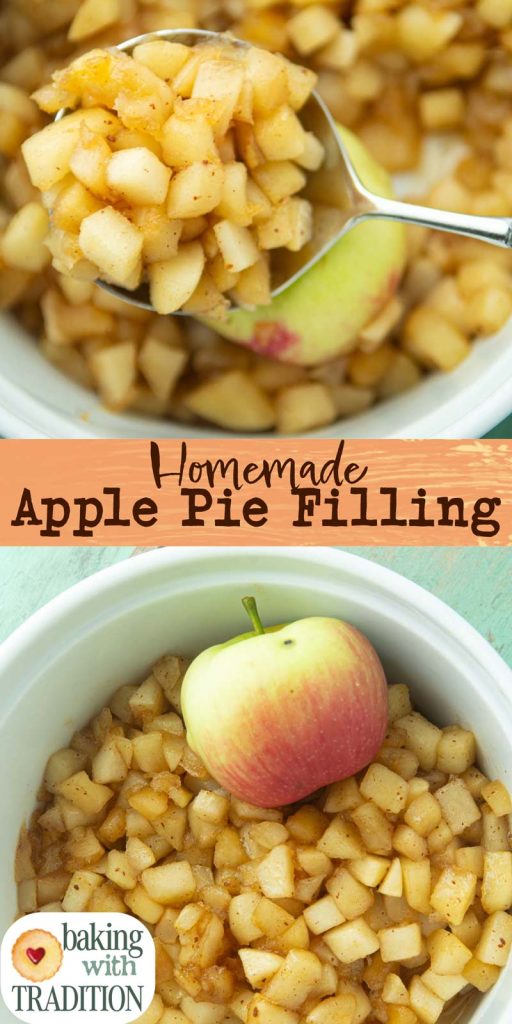
My make ahead apple pie filling is made with apples slowly cooked in butter and caramelized with just the right amount of sugar and apple pie spice and finished off with whiskey if you’d like.
I always always make apple pie filling for my various apple pastries, chief among them being apple strudel. While most people make strudel and apple pie with raw, thinly sliced apples, my cooked apple filling has distinct advantages.
This filling will save you time, fill your homemade apple pie with maximum flavor, and most importantly you won’t ever have to guess if your apples are cooked well.
Of all the things I make ahead to save time later, this might be one of the best. Grab a bag of apples; your kitchen is about to smell like Heaven.
Make Ahead Apple Pie Filling
Why you’ll give canned apple pie filling the stink eye after making a batch of homemade
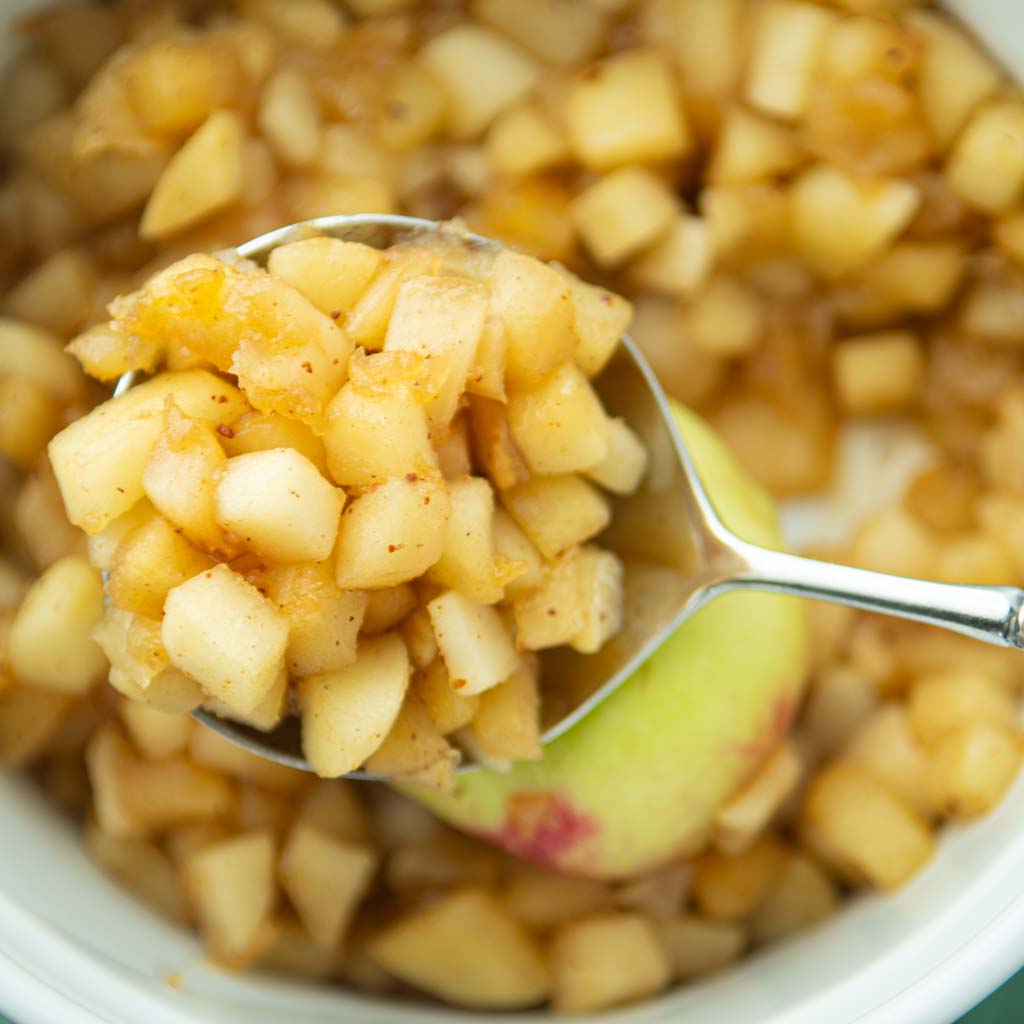
- Better ingredients, no starch: Start with good ingredients, and you get more flavor in general in all cooking. In this case, you’ll saute the apples in batches such that they’re not weeping out moisture that requires starch to thicken them. They will be perfect before they hit the crust!
- Make ahead: I can’t stress this enough, but having a freezer with a bag of this filling is pure gold. I swear people reach for canned filling because they don’t want to have to bother with the filling AND the pastry. If you’re looking to save time, buy the crust, make the apples!
- Incredible flavor: You’ll taste these apples and question everything you know about apple filling. They’re that good. Between cooking the apples in butter and waiting for them to caramelize perfectly, you’re building in layers of flavor you cannot get from raw apples.
- No guesswork: Making pies is often a crapshoot. With pre-cooked filling you’re ensuring that you won’t have soggy crust or watery filling. You’re also making sure that there won’t be the dreaded gap between the filling and the crust. There are enough things to troubleshoot when you’re making pies. The filling shouldn’t be one of them.
Ingredients for the best homemade apple pie filling
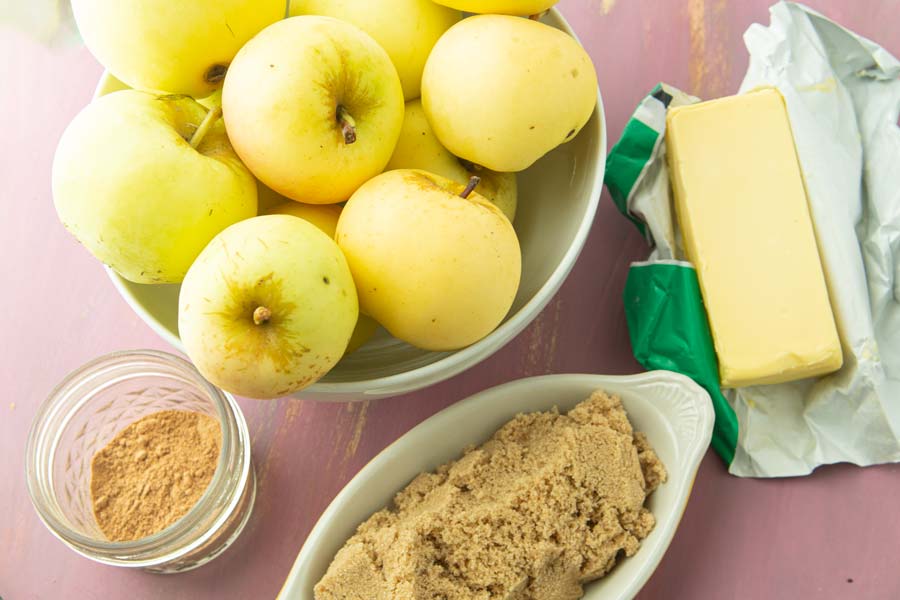
- Apples: see note below
- Brown sugar
- Salt
- Apple pie spice or ground cinnamon
- Butter
- Whiskey, bourbon, or rum (optional): You can skip this, though both these alcohols have underlying flavors that support the flavor of apples particularly well.
- Vanilla paste (optional): Adds more flavor still.
- Raisins (optional): I always add these if I’m making strudel, but feel free to omit them if you don’t like them or want them for pie.
What apples are best for homemade apple pie filling?
Choose apples that will hold their shape while cooking but also have a good balance of sweet and tart flavors. My favorite choices:
- Jonathan:
- McIntosh
- Pink Lady
- Braeburn
- Ginger gold: if you can get these very fresh they’re great, though they can break down too much when they get older.
- Gala: on the sweeter side, but they hold up well in filling.
Notice what’s not on the list: Granny Smith. I’m a longtime Granny Smith hater as I think they are far too sour and hence require too much sugar to balance that out. If you love them, you do you. Something like a yellow delicious or red delicious are also not good choices because they break down too easily. Use them for homemade applesauce or fresh apple butter.
Tips for making the best apple pie filling
- Season your apples with sugar like you would add salt to savory ingredients: sugar, like salt is an ingredient that draws out the moisture of the apples. Add it too early in the cooking process, and you’ll be swamped in liquid, and the apples won’t develop the delicious caramel edges that you get when you cook them my way. Let them develop a little color first, then add just enough sugar to barely coat them in the pan and allow the sugar to melt and caramelize as they finish cooking. They will get tender but never mushy and they won’t be swimming in liquid. This is how I get away with not adding starch in my filling.
- Take your time: I love shortcuts, but making good apple filling is not the place for it. If you cook all of the apples at one time, they will cook unevenly and steam instead of caramelize. Take your time you’ll be rewarded with apples that are loaded with flavor. If you want to speed things up, use a second pan to cook another batch.
- Dice the apples: I know a lot of people love the aesthetic of apple pies (or strudel) with thin slices of apples. For cooked filling, dicing the apples will give you more surface area for the apples to hit inside the pan, making for more even and better caramelization. Try it my way and then grump at me…you won’t be!
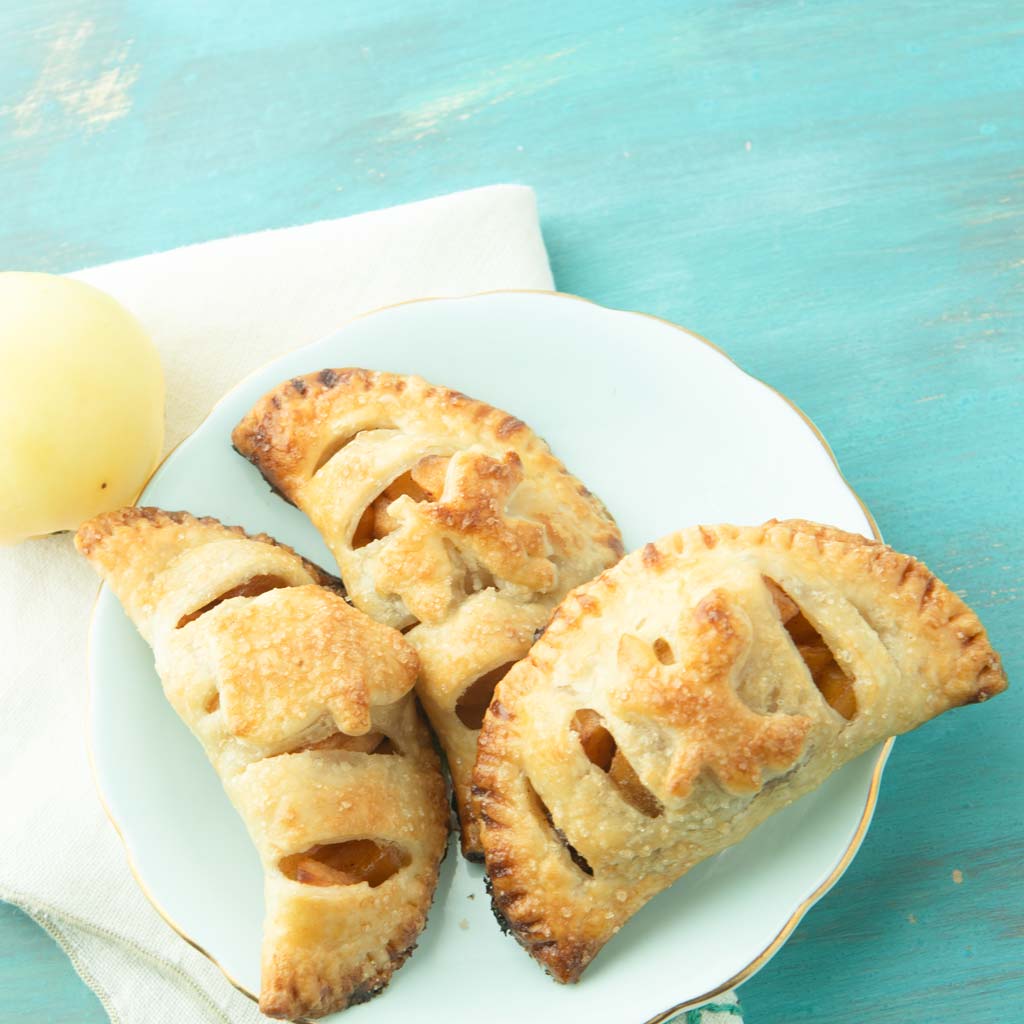
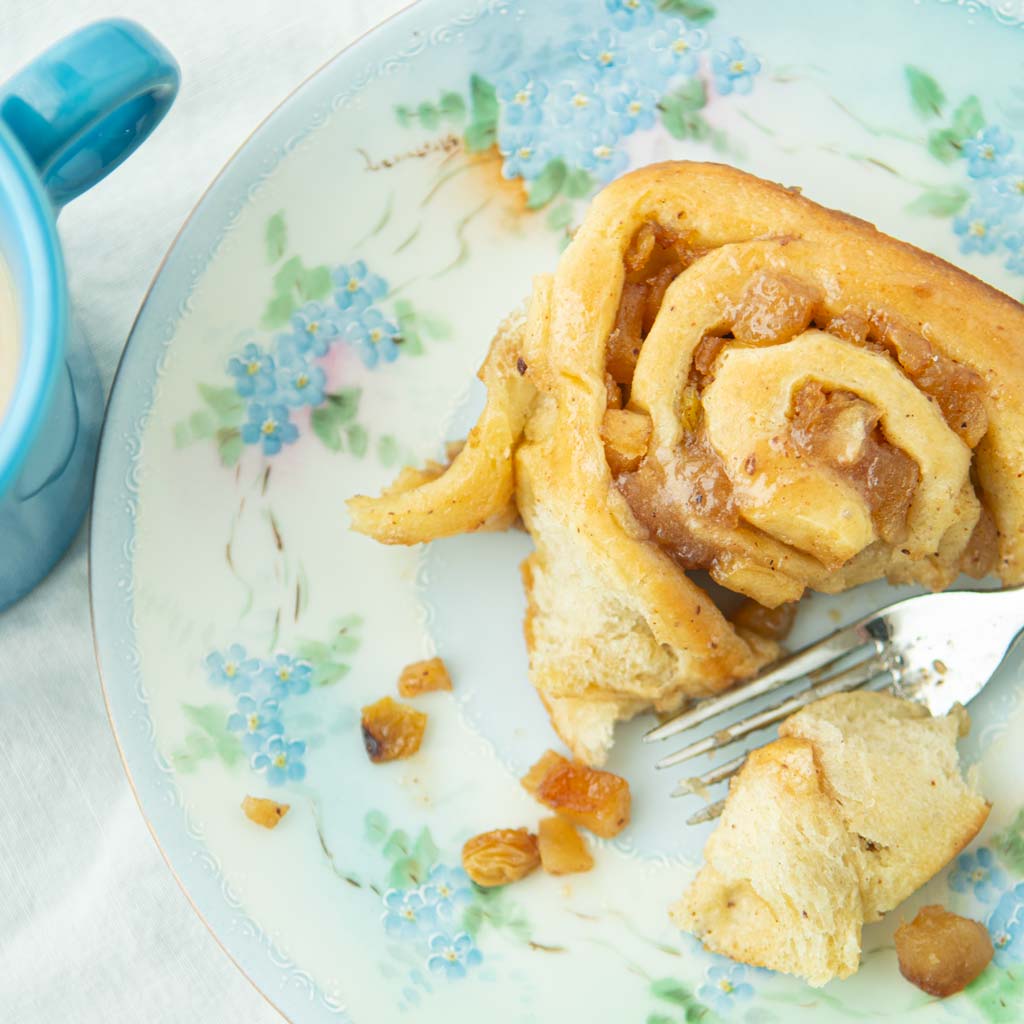
- Make ahead: While the apples themselves take a little time and effort, they freeze well. If you have a batch of these apples in your freezer, you’re so much closer to apple hand pies, apple strudel, apple cinnamon rolls, or easy apple pie.
Ideas for using your apple filling

- Mini Apple Hand Pies: with frozen crust and this filling, these are a quick bake.
- Cinnamon Apple Pie Rolls: cinnamon roll meets apples. Yes, please.
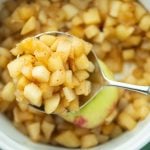
Make Ahead Apple Pie Filling
- Total Time: 1 hour, 5 minutes
- Yield: 4 cups of filling 1x
Description
Save time in your pie-making ventures by making your own incredible caramelized apple filling. A bag in the freezer, and you’re ready to make a pie on demand with no fuss.
Ingredients
- 3 pounds apples like Gala or Pink Lady (or about 1.5 kg)
- 1/2 cup brown sugar (106 g)
- pinch salt
- 1 tsp apple pie spice or ground cinnamon
- 6 T butter (85 g)
- 1/4cup whiskey or rum (optional)
- 1 tsp vanilla paste (optional)
- 1/2cup raisins (optional)
- Juice of half a lemon (optional)
Instructions
- Peel the apples. Next, dice the apples into 1/2″ pieces.
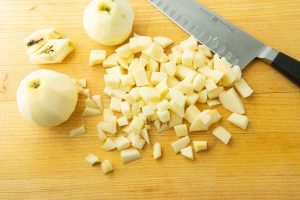
- Mix the sugar, cinnamon and salt together in a small bowl. Measure out the other ingredients and keep them close to the stove as you work.
- Melt about 2 Tablespoons of the butter in a large 12” skillet over medium heat. Add just enough apples to cover the bottom of the pan; this should be about one third of the apples. Stir to coat the apples in butter.
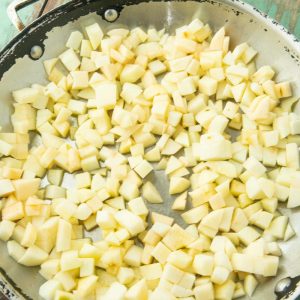
- Saute the apples, stirring them occasionally for about 5 minutes. Once they have some brown around the edges and bottom of the pieces, sprinkle them with the sugar mix. Don’t worry about how much you’re adding since you’ll add all of the sugar and cinnamon eventually and mix the batches of apples together at the end.
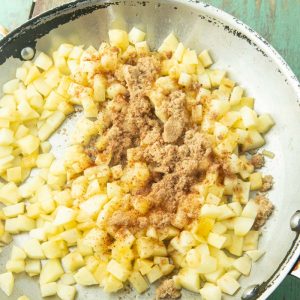
- Keep cooking until the sugar starts to caramelize—another 5-10 minutes. You’ll notice that the sugar will start making trails along the bottom of the pan.
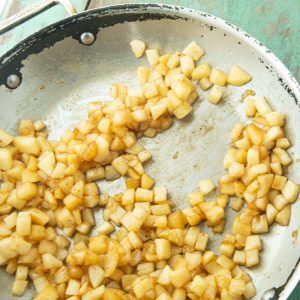
- Taste the apples at this point. The apples should be close to tender, but if they still need a little cooking, pour a small amount of water into the pan. Stir the bottom to loosen the sugar, then cover the apples for 2 minutes or so. Check the doneness again and repeat adding water until the apples are tender.
- If you’re adding the alcohol, first turn on your exhaust fan. Pour in about 1/3 of the measured whiskey. Stir to coat the apples, then tilt the pan and light the alcohol with a BBQ lighter. Swirl or toss the apples until the flames subside.
- Transfer the apples to a bowl to cool.
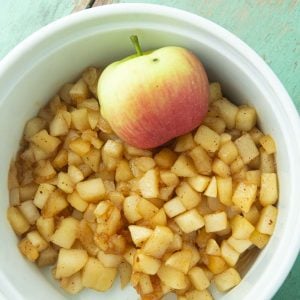
- Make the other two batches of apples the same way.
- Mix all the apples together in the bowl, then add the vanilla if you’re using. Add in the raisins if you’re using them.
- You can use the apples straight away, refrigerate them, covered for up to 1 week, or freeze them for up to 3 months in an airtight plastic bag.
Notes
- Raisins: Feel free to skip the raisins, though I always add them for strudel. They’re particularly important in the strudel as they will soak up any extra juices that can make your strudel soggy.
- Lemon: If you like your apple filling a little more tart, add in the juice of half a lemon with the whiskey. Sometimes lemon is a good addition if your apples seem too sweet or if you start with an extra sweet apple like a honeycrisp. Sometimes I add it, sometimes not. You taste and decide.
- Prep Time: 20 minutes
- Cook Time: 45 minutes
- Category: Baking building blocks
- Method: Stovetop
- Cuisine: American, German
Nutrition
- Serving Size: 1/4 cup
- Calories: 118
- Sugar: 15
- Sodium: 39
- Fat: 4
- Saturated Fat: 3
- Unsaturated Fat: 0
- Trans Fat: 0
- Carbohydrates: 19
- Fiber: 2
- Protein: 0
- Cholesterol: 11

