Make these mini bread bowls for a fun soup night
bakingwithtradition.com is a participant in the Amazon Services LLC Associates Program, an affiliate advertising program designed to provide a way for websites to earn advertising revenues by advertising and linking to recommended products. Some of the links below are affiliate links. This means that, at zero cost to you, I will earn an affiliate commission if you click through the link and finalize a purchase.
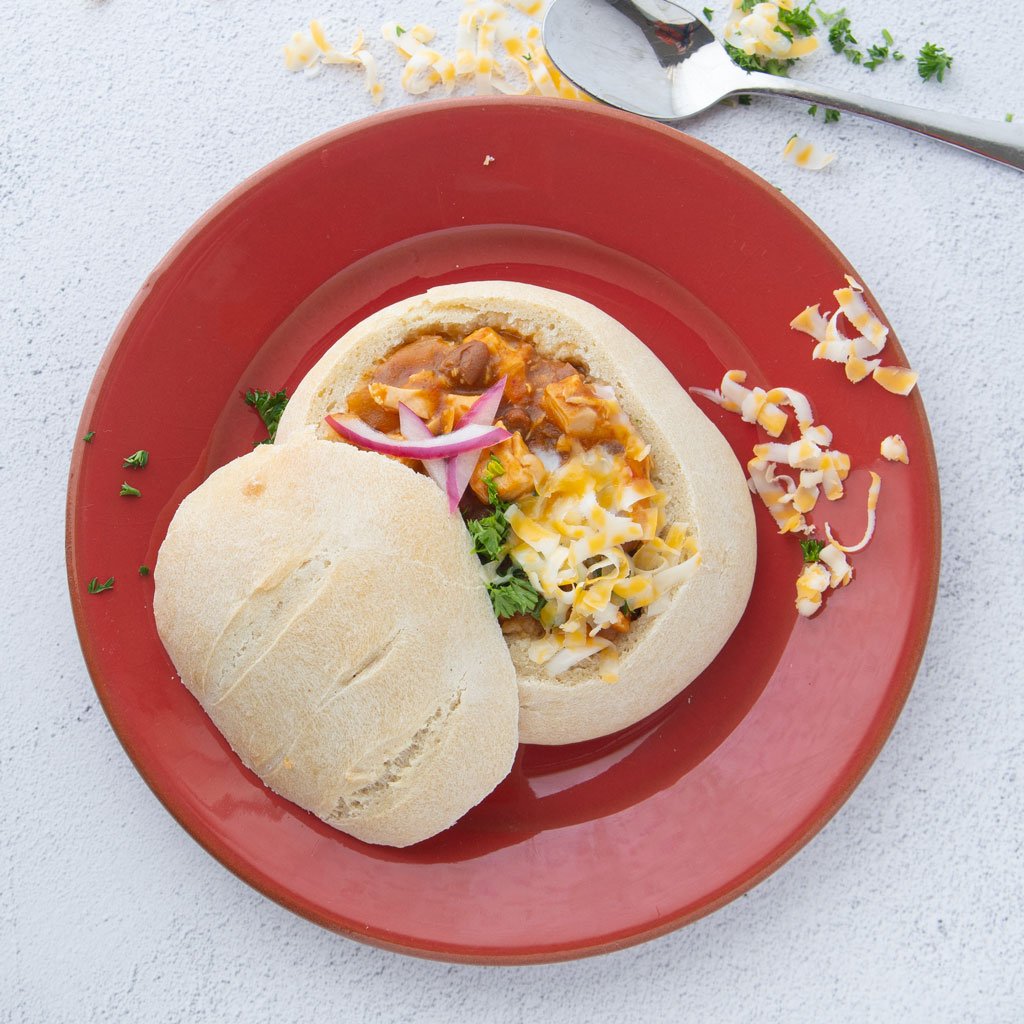
These mini bread bowls are the perfect size for an individual bowl of soup; they are crusty and chewy and sturdy enough to stand up to the heartiest chili around.
I’ve avoided bread bowls for years because so often I see them with so.much.bread.
I am my grandmothers’ granddaughter in that wasting bread is a crime I cannot support. But if you think about it, bread bowls are the perfect dish to hold hot soup, stews, party dips or other appetizers.
The idea of pulling off hunks of bread as you eat down the contents is inherently fun. Still, my grandmotherly soul wonders how much of that bread ends up in the trash.
Then I started thinking–what if you shrunk down the size of a bread bowl to a manageable portion size for any one person. Mini bread bowls are the perfect solution! Cut off the top, fill, and you have the perfect individual size bread bowl for dinner.
This recipe uses an easy 1 day soudough starter, just 4 basic ingredients, and needs only about 15 minutes of hands on time. As long as you plan ahead to make your starter, I’ll give you some tips for how to fit these easy bread bowls into a weeknight time crunch. So unthaw that creamy soup from your freezer, and let’s make some mini bread bowls.
Affiliate disclosure
bakingwithtradition.com is a participant in the Amazon Services LLC Associates Program, an affiliate advertising program designed to provide a way for websites to earn advertising revenues by advertising and linking to recommended products. Some of the links below are affiliate links. This means that, at zero cost to you, I will earn an affiliate commission if you click through the link and finalize a purchase.
Mini bread bowls
Why you need a biga in your life (1 day sourdough starter)
Biga is an Italian style bread dough starter. You can think of it as a 1 day sourdough starter, though it technically is what bakers call a “pre-ferment”. Biga is also called an “old dough” starter or in French, Pate Fermentee. Basically, you mix a small amount of water and flour together with just a little bit of yeast. After that, you let it sit for a couple hours at room temperature, then in the refrigerator for about a day.
In that time, in the cold environment, the biga is developing lots of flavor as well. That tiny bit of yeast is also developing into a bubbly mix that is strong enough to raise all of the flour in the final dough. A biga will not give you the same aggressively sour taste of a sourdough starter; it’s much more subtle and sweeter. I much prefer the flavor of a biga over sourdough bread bowls.
I love using biga in breads like these mini bread bowls but also focaccia and ciabatta as it can produce really lovely internal bubbles when you bake your bread.
You get all this joyful texture but without the hassle of maintaining a traditional sourdough. There’s no worrying about what to do with the discard, no need to bother feeding the starter. It’s my favorite way to “sourdough”.
If you want to be even lazier, you can save a chunk of your dough from this recipe, and it’ll become the biga for the next batch of bread bowls.
Mini bread bowls ingredients
- Biga starter (flour, water, instant yeast and time).
- Flour: all-purpose. Italian 00 flour is also lovely for these.
- Water
- Olive oil: for flavor and texture
- Salt: for flavor.
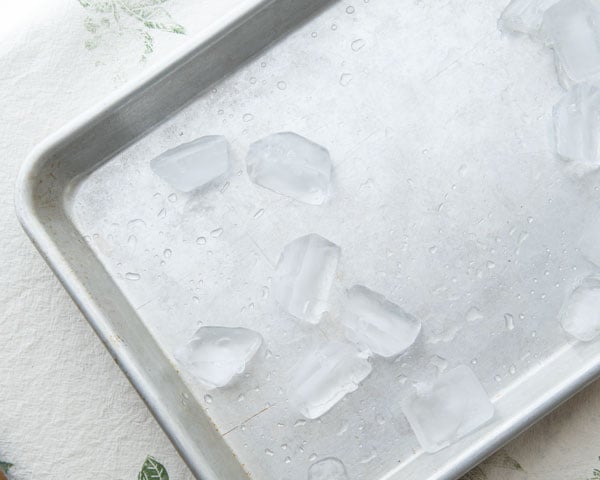
- Ice: it doesn’t go in the dough, but you set it in a tray UNDER the dough while the bowls bake to produce steam in the oven for the best texture.
Equipment for mini bread bowls
- Stand mixer: This is a fairly wet dough, so a stand mixer with a dough hook is helpful as kneading sticky dough is not the most fun process.
- Gram scale: Because this is a wet dough, make sure to measure out things per the recipe with a gram scale. Otherwise the dough could become too wet or too dry to make the best bread bowls.
- Spray bottle: spraying the dough a few times before and during baking will help develop the crust on the bread bowls.
Timeline for making mini bread bowls on a weekday
We’re all busy these days. Sometimes it’s helpful for me to see what my time commitment looks like for a recipe before I make it. I hope it helps you too!
- 12 pm, day 1 : the day before you want to make, mix biga, cover, and sit on counter for 2 hours.
- 2 pm, day 1 : the day before you want to bake: refrigerate biga until the next day.
- 12 pm, day 2: Mix biga with final dough, let rise 2 hours.
- 2 pm, day 2: Divide proofed dough, form balls into bread bowls, cover, and let rise for 1 hour.
- 3 pm, day 2: Bake bread bowls
- 3:30 pm, day 2: Let bread bowls cool until dinner.
Mini bread bowls recipe
Print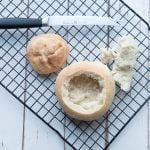
Mini Bread Bowls
- Total Time: 27 hours 45 minutes
- Yield: 4 bowls 1x
Description
Chewy bread bowls sturdy enough to stand up to the heartiest chili. With very little yeast, the dough develops its delicious flavor over some lazy time in the fridge. These are big enough for an individual sized bread bowl or for a smaller side of dip for a party. You’ll need to plan ahead for this, even though the bread doesn’t take much effort.
Ingredients
Starter (Biga)
- 60 grams room temperature water
- 60 grams all-purpose flour
- 1/8 tsp yeast
Final dough
- All of the starter (120 g)
- 600 grams all-purpose flour
- 360 grams room temperature water
- 15 grams extra virgin olive oil
- 10 grams salt
- Ice for baking
Instructions
- The day before you want to make your mini bread bowls, mix together the starter ingredients in a small bowl. It will look like a loose paste. Cover the bowl then let it sit out at room temperature for 2 hours.
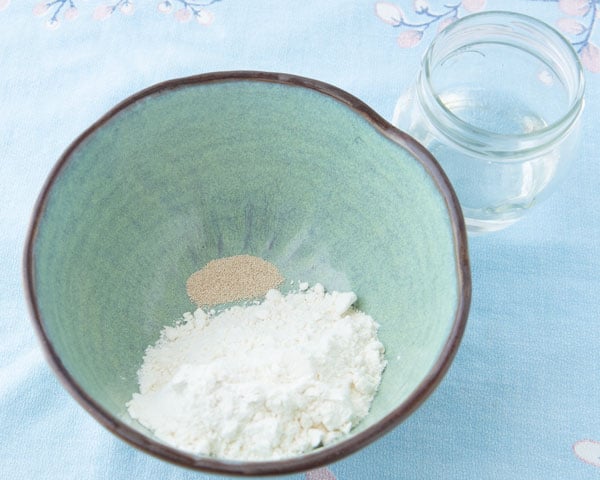
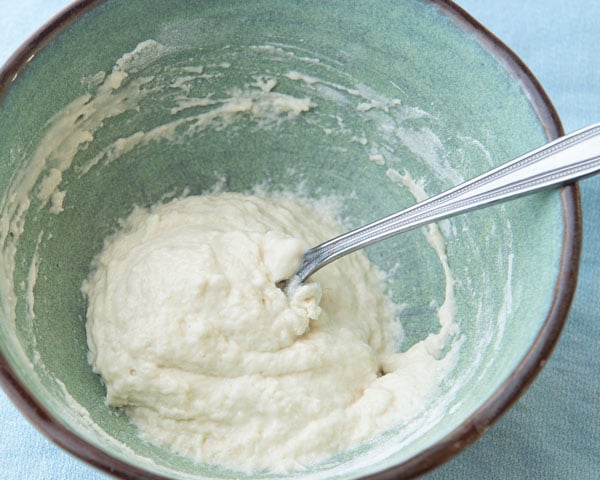
- Refrigerate the dough for 16 to 24 hours.
- The next day, remove the starter from the fridge. It should have expanded in size and the top of the dough will be very active and bubbly.
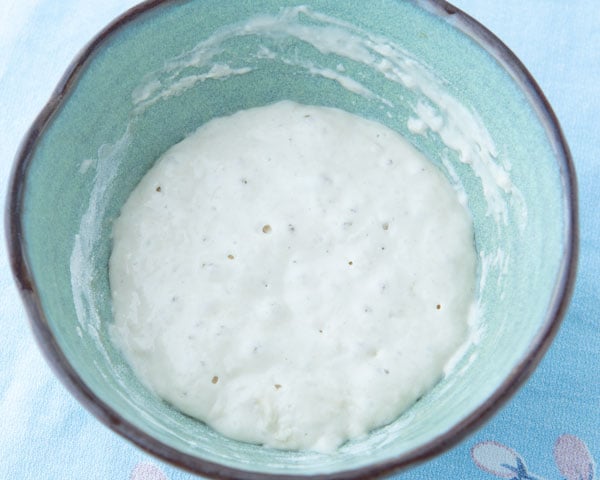
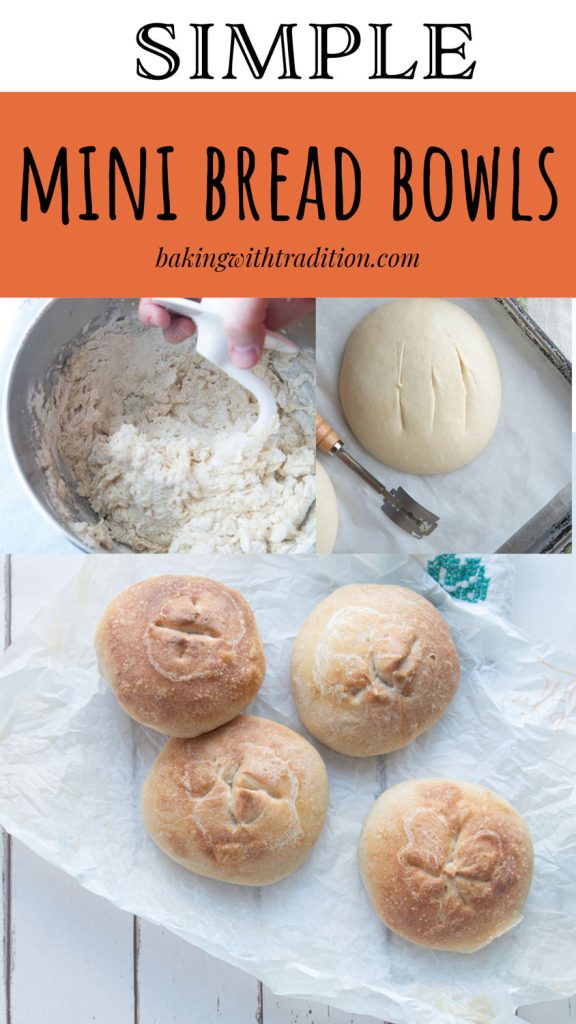
- Mix the starter with the rest of the ingredients in the bowl of a stand mixer with a wooden spoon. When you have a shaggy looking dough, fit your mixer with the dough hook and knead by machine for 10 minutes. The dough will be elastic and clinging to the dough hook.
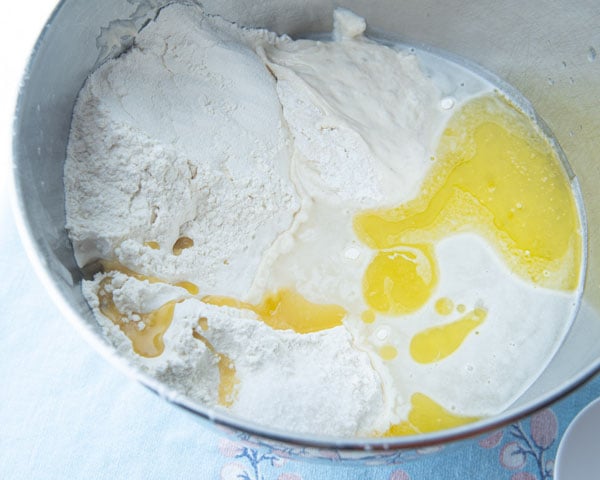
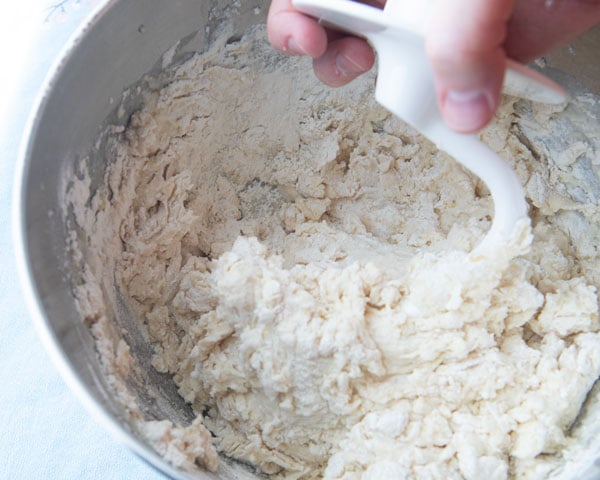
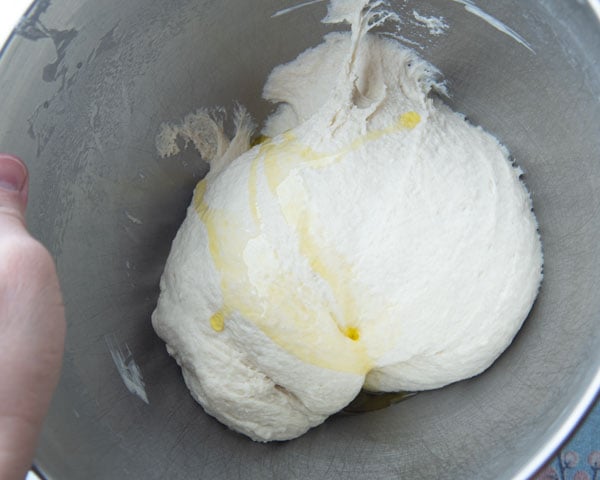
- Cover the bowl with plastic wrap and let it rise in a warm spot (like a turned off oven) for 2 hours.
- After 2 hours, the dough will be puffy, light, and will have doubled in size.
- Line 1 baking tray with parchment paper.
- On a lightly floured surface, cut the dough into 4 roughly equal pieces.
- Roll each piece of dough into a ball, then set it on a parchment lined baking sheet. Cover the dough balls and let them rise for 1 more hour.
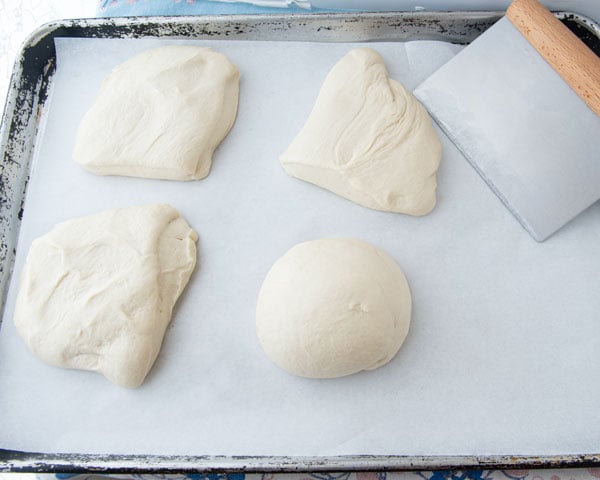
- 15 minutes before the rising time is done, preheat the oven to 425 F (220 F).
- Set a tray of ice on the bottom rack of the oven.
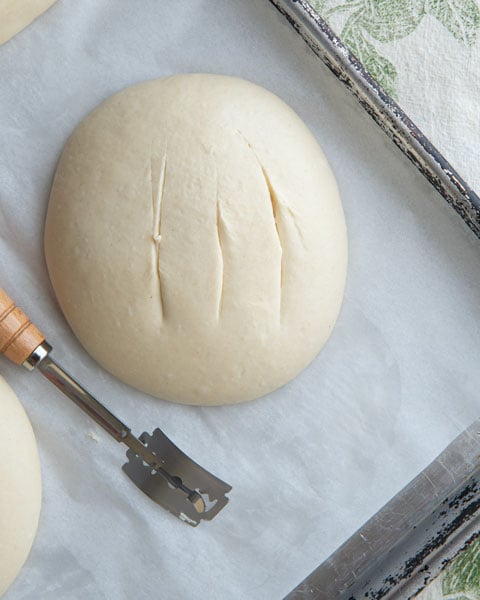
- If you like, score the tops of the dough balls a few times with a sharp knife or kitchen shears before baking.
- Spray the dough with water, then bake the bread bowls for 30 minutes, spraying them with more water every 10 minutes.
- They are done when they make a hollow sound when tapped. If you have an instant read thermometer, they should register 200 degrees F when you poke the tip of the thermometer into the center of one of the bread bowls.
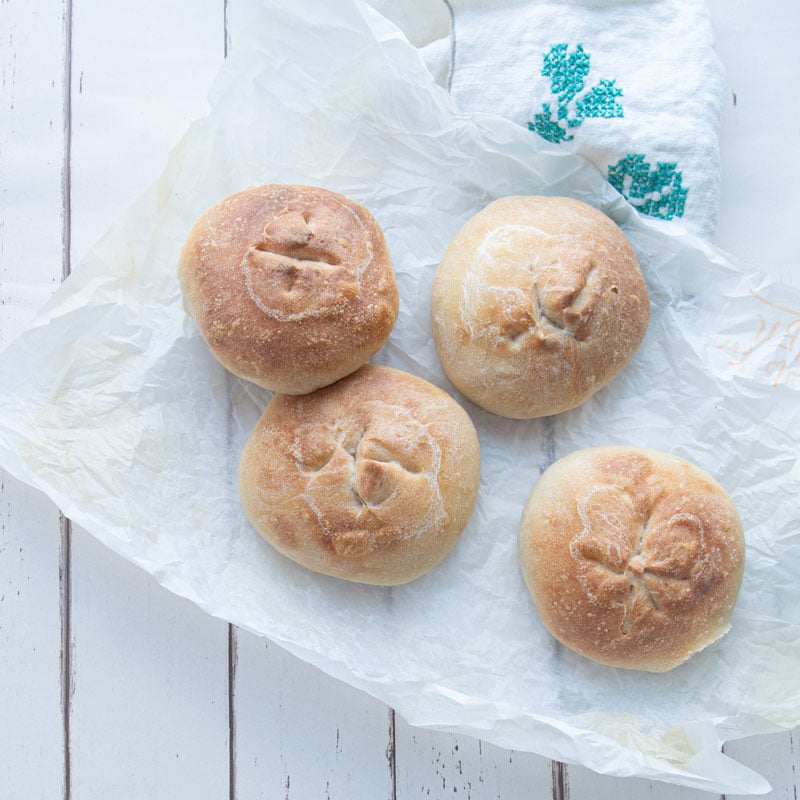
- Let the bread bowls cool completely before serving.
- To serve, slice off a horizontal slice from the top of each bread bowl with a serrated knife, then scoop out the middle. Serve with thick stews or chili to avoid the bread bowl from getting water-logged.
Notes
- Serving: to serve, cut off the top of a mini bread bowl, then pull out pieces of the inside bread, making a hollow inside. Fill it with your soup, favorite party dip, or bake them with eggs for a mini breakfast casserole.
- Easy breadcrumbs: Save the scooped out middles of the bread bowls. You can dry them in a low oven or dehydrator until they’re hard and grind them into breadcrumbs in a food processor.
- Prep Time: 15 minutes
- Additional Time: 27 hours
- Cook Time: 30 minutes
- Category: Breads
- Cuisine: American
Nutrition
- Serving Size: 1 bread bowl
- Calories: 634
- Sugar: .45
- Sodium: 977
- Fat: 5
- Saturated Fat: .77
- Carbohydrates: 125
- Fiber: 4
- Protein: 17
Serving mini bread bowls

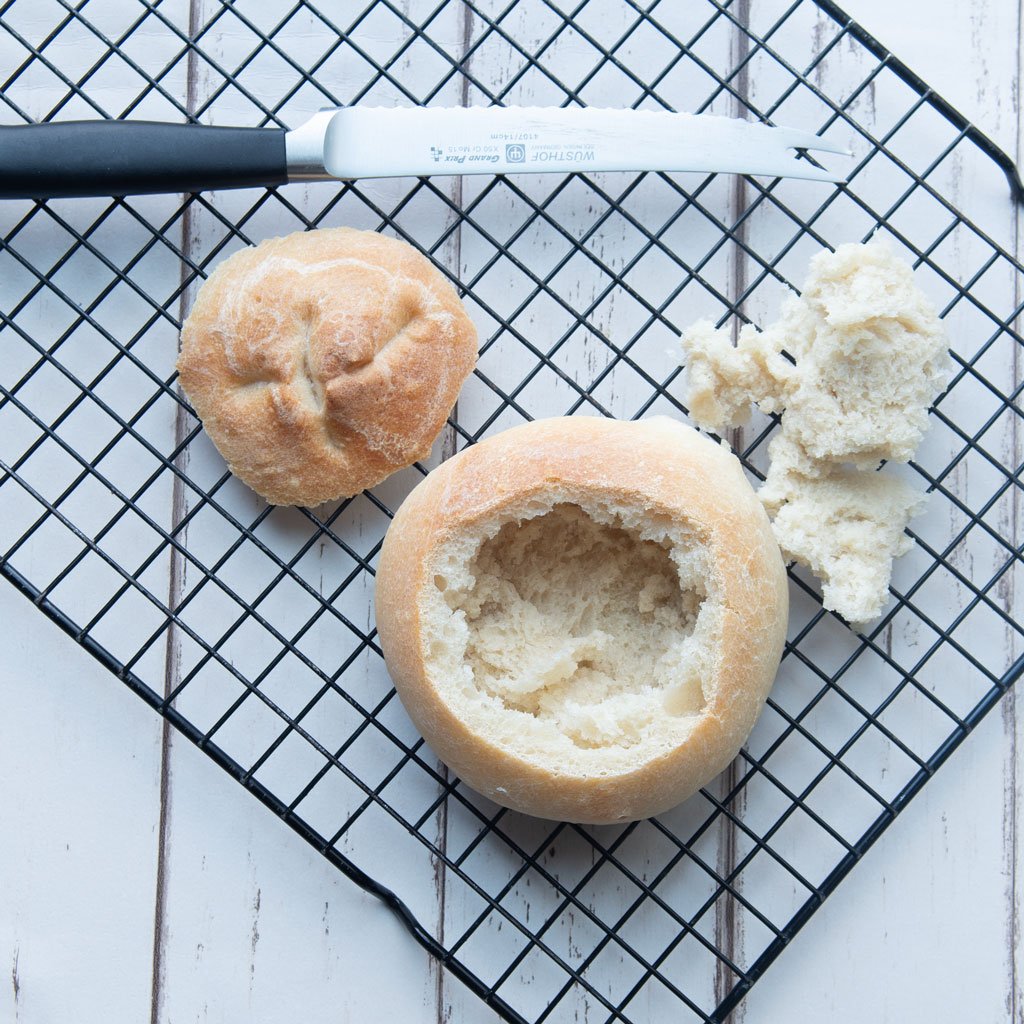

To serve, cut off the top of a mini bread bowl, then pull out pieces of the inside bread, making a hollow inside. Fill it with your soup, favorite party dip, or bake them with eggs for a mini breakfast casserole.
Serving ideas for your bread bowls
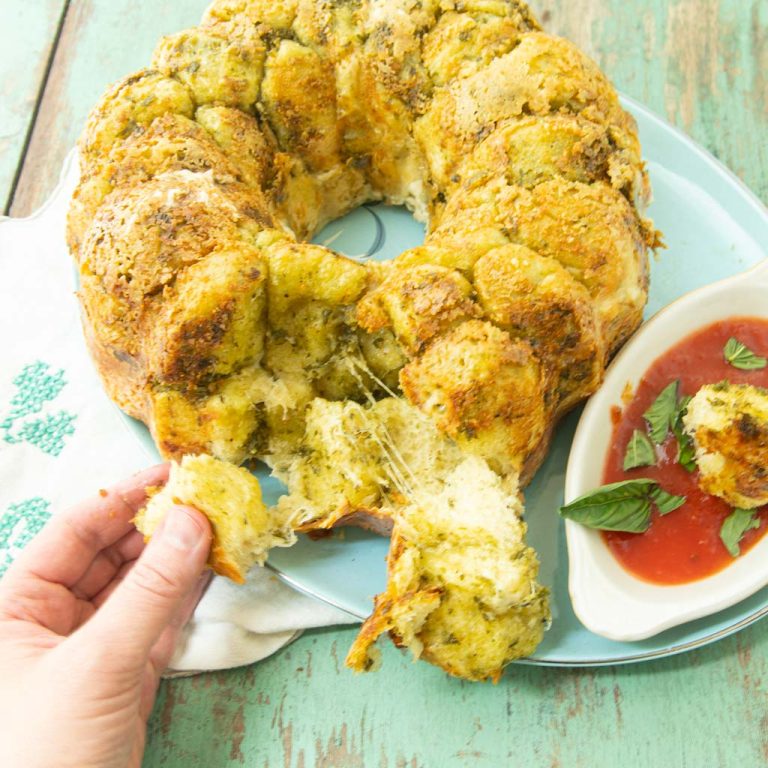
- Garlic Cheese Bread: Cover with garlic butter (see Potato Garlic Knots for a garlic butter recipe) and parsley and fill with cheese for a pull-apart garlic cheese bread.
- Breakfast casserole: bake your favorite breakfast casserole inside the bread bowl.
- Bread bowl Salads: brush your hollowed out bread bowl with olive oil and bake for a little longer, and you’ll have some extra crusty bread to go with a salad you can serve in the middle of the bowl.
- Baked eggs: crack a couple eggs inside the bread bowl and bake.
- Party dip: fill with your favorite spinach dip or hummus or other party dips and surround the bowl with cut up veggies or chips.
- Pizza bread bowl: layer the inside of your pizza with pepperoni, sauce, and cheese for a stuffed crust kind of pull apart pizza.
- Best soups: thicker soups work better for serving in bread bowls. Thinner soups like chicken noodle can water-log your bowls quickly. Choose chili, French onion soup, clam chowder or stews.
What bread bowl ideas do you have?
What kinds of things do you like to do with bread bowls? Let me know in the comments. If you use my recipe, let me know how it turned out for you!

