Description
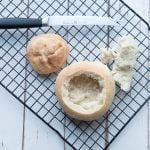
Chewy bread bowls sturdy enough to stand up to the heartiest chili. With very little yeast, the dough develops its delicious flavor over some lazy time in the fridge. These are big enough for an individual sized bread bowl or for a smaller side of dip for a party. You’ll need to plan ahead for this, even though the bread doesn’t take much effort.
Ingredients
Scale
Starter (Biga)
- 60 grams room temperature water
- 60 grams all-purpose flour
- 1/8 tsp yeast
Final dough
- All of the starter (120 g)
- 600 grams all-purpose flour
- 360 grams room temperature water
- 15 grams extra virgin olive oil
- 10 grams salt
- Ice for baking
Instructions
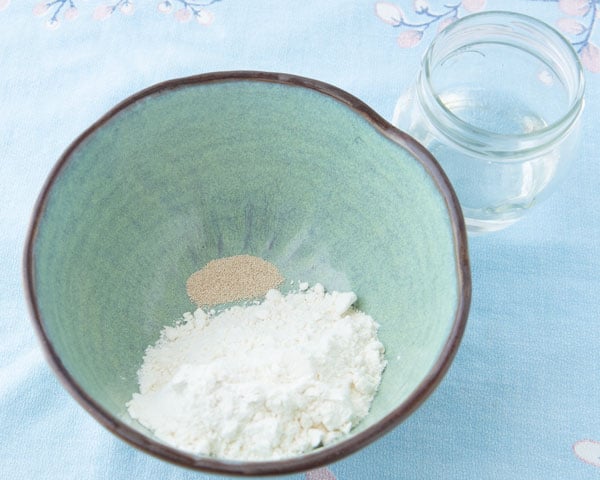
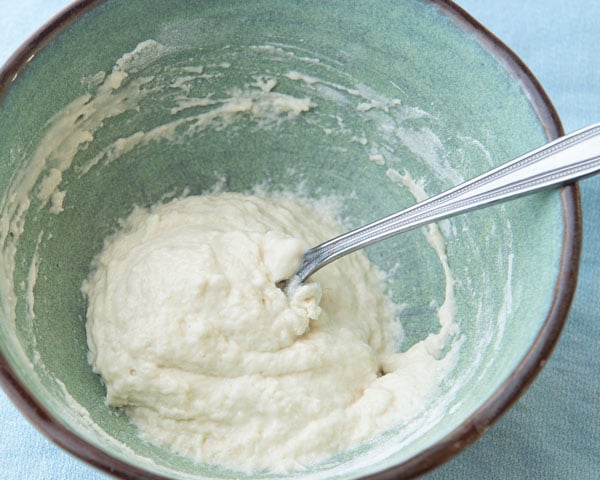
- The day before you want to make your mini bread bowls, mix together the starter ingredients in a small bowl. It will look like a loose paste. Cover the bowl then let it sit out at room temperature for 2 hours.
- Refrigerate the dough for 16 to 24 hours.
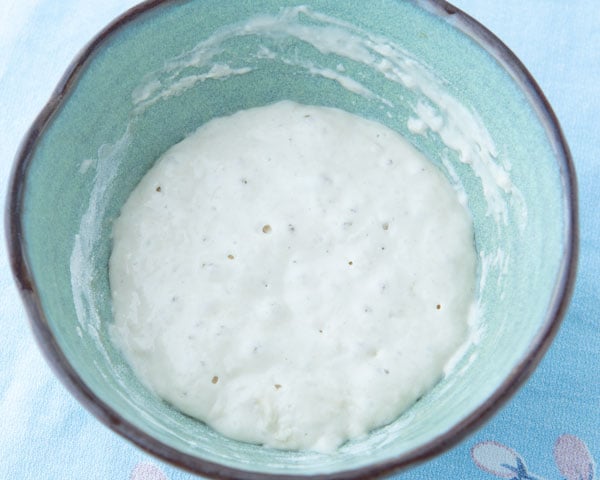
- The next day, remove the starter from the fridge. It should have expanded in size and the top of the dough will be very active and bubbly.
- Mix the starter with the rest of the ingredients in the bowl of a stand mixer with a wooden spoon. When you have a shaggy looking dough, fit your mixer with the dough hook and knead by machine for 10 minutes. The dough will be elastic and clinging to the dough hook.
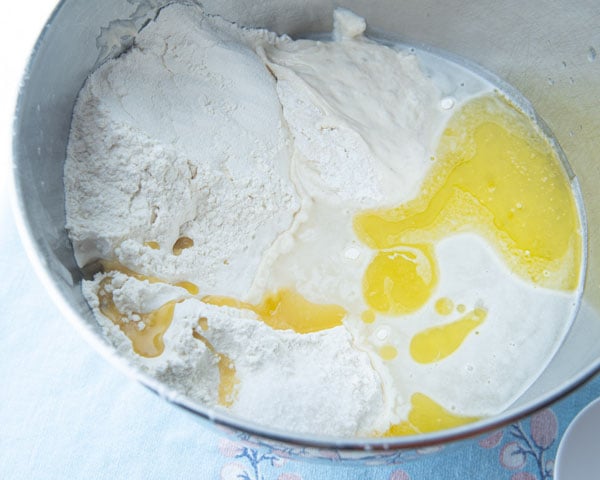
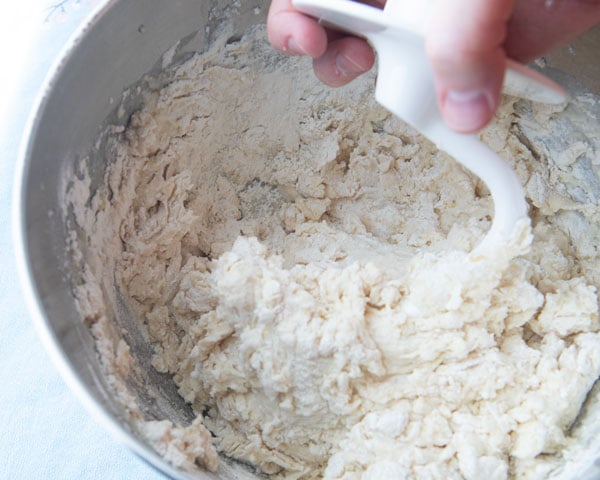
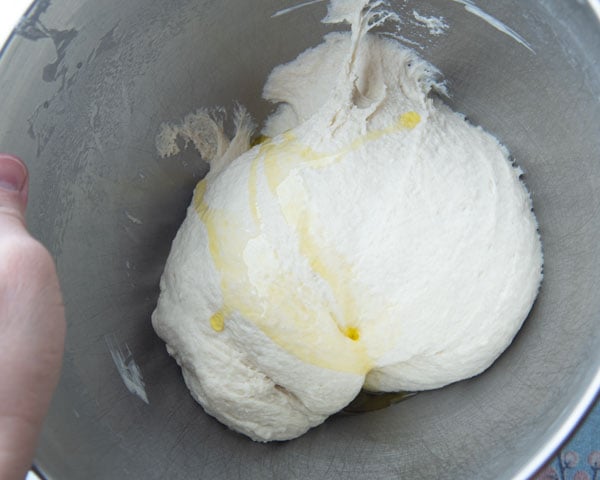
- Cover the bowl with plastic wrap and let it rise in a warm spot (like a turned off oven) for 2 hours.
- After 2 hours, the dough will be puffy, light, and will have doubled in size.
- Line 1 baking tray with parchment paper.
- On a lightly floured surface, cut the dough into 4 roughly equal pieces.
- Roll each piece of dough into a ball, then set it on a parchment lined baking sheet. Cover the dough balls and let them rise for 1 more hour.
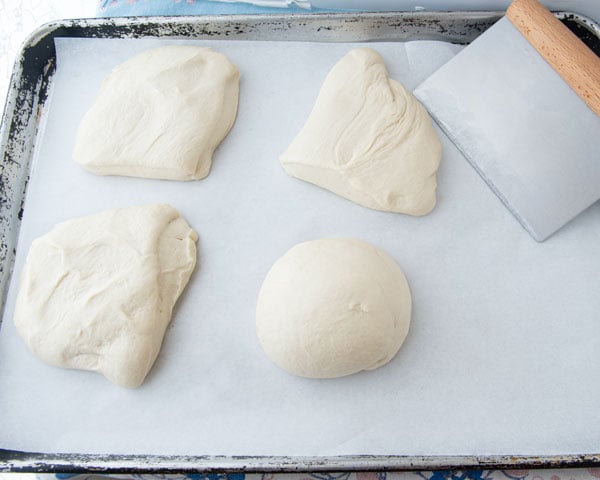
- 15 minutes before the rising time is done, preheat the oven to 425 F (220 F).
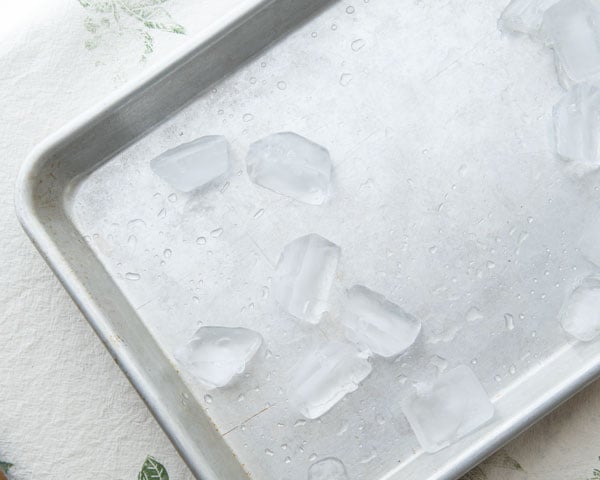
- Set a tray of ice on the bottom rack of the oven.
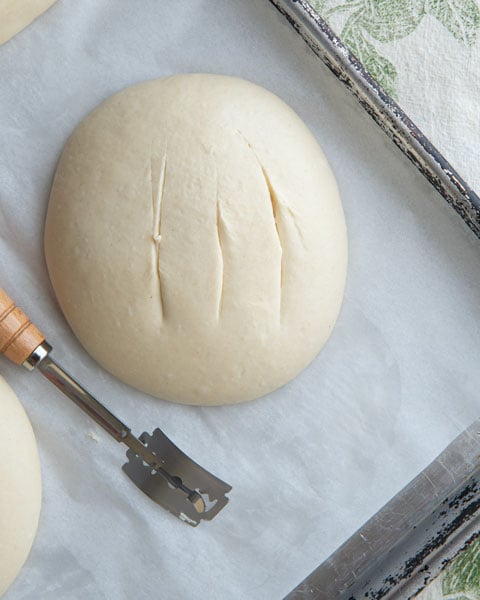
- If you like, score the tops of the dough balls a few times with a sharp knife or kitchen shears before baking.
- Spray the dough with water, then bake the bread bowls for 30 minutes, spraying them with more water every 10 minutes.
- They are done when they make a hollow sound when tapped. If you have an instant read thermometer, they should register 200 degrees F when you poke the tip of the thermometer into the center of one of the bread bowls.
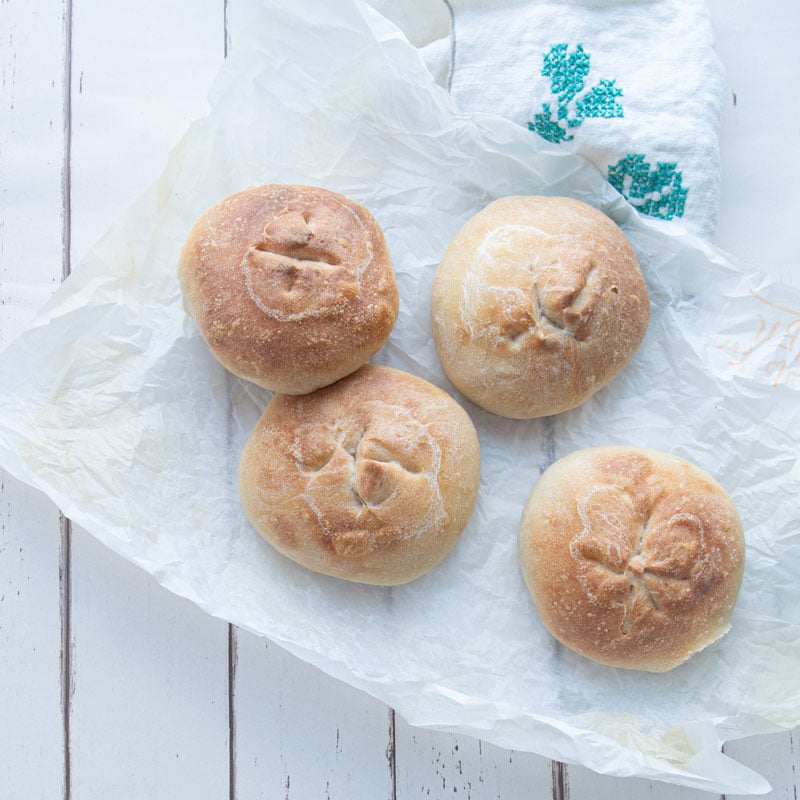
- Let the bread bowls cool completely before serving.
- To serve, slice off a horizontal slice from the top of each bread bowl with a serrated knife, then scoop out the middle. Serve with thick stews or chili to avoid the bread bowl from getting water-logged.
Notes
- Serving: to serve, cut off the top of a mini bread bowl, then pull out pieces of the inside bread, making a hollow inside. Fill it with your soup, favorite party dip, or bake them with eggs for a mini breakfast casserole.
- Easy breadcrumbs: Save the scooped out middles of the bread bowls. You can dry them in a low oven or dehydrator until they’re hard and grind them into breadcrumbs in a food processor.
- Prep Time: 15 minutes
- Additional Time: 27 hours
- Cook Time: 30 minutes
- Category: Breads
- Cuisine: American
Nutrition
- Serving Size: 1 bread bowl
- Calories: 634
- Sugar: .45
- Sodium: 977
- Fat: 5
- Saturated Fat: .77
- Carbohydrates: 125
- Fiber: 4
- Protein: 17
