10 Secrets to making the best cut-out cookies
bakingwithtradition.com is a participant in the Amazon Services LLC Associates Program, an affiliate advertising program designed to provide a way for websites to earn advertising revenues by advertising and linking to recommended products. Some of the links below are affiliate links. This means that, at zero cost to you, I will earn an affiliate commission if you click through the link and finalize a purchase.
These secrets to making the best cut-out cookies will finally end your cookie frustration.
I know this because I used to cry at the idea of making cut-out cookies. My family has been making at least 12 kinds of Christmas cookies every year my whole life. My great-grandma’s white cut-out cookies, lightly iced and flavored with nutmeg were the stuff of legends. I’m pretty sure my Mom told her to stop making them one year because they were the kind of cookie that inspired their own New Year’s Resolutions.
I tell the story because whatever my grandma knew about cut-outs was not obvious to me. For years, when the cookie tasks were written out, I begged my Mom to make the cut-out cookies instead of me. I struggled with misshapen cookies, dough that stuck, crumbly dough, and literally every other thing that could possibly go wrong.
After finally cracking the code for perfect cut-out cookies, I want to share my secrets, so that you will never be intimidated by cut-outs like I was.
Grab a rolling pin, and let’s explore the 9 secrets for making the best cut-out cookies.
bakingwithtradition.com is a participant in the Amazon Services LLC Associates Program, an affiliate advertising program designed to provide a way for websites to earn advertising revenues by advertising and linking to recommended products. Some of the links below are affiliate links. This means that, at zero cost to you, I will earn an affiliate commission if you click through the link and finalize a purchase.
Why you’re struggling with making cut-out cookies
Before we get into the 9 secrets for making the best cut-out cookies, let’s cover the problems you can run into when making cut-outs.
- Crumbly dough: Cut-out dough ne eds to be mixed so that the dough is uniform. If it’s crumbly, it either has too much flour, or it needs to be pressed together to distribute the butter evenly to make a uniform dough.
- Sticky dough: when you roll out cut-outs, it’s easy for the dough to stick. Sticky dough means that the dough is either too warm or has too much liquid in it. Sticky dough needs both chilling and a little flour.
- Rock-hard dough: It’s not uncommon to see cut-out cookie recipes tell you to chill the dough for 1-2 hours. If you try to roll dough that’s been in the fridge for that long, it will be like a brick. Yes, you can roll it, but it’ll require some serious rolling pin muscle. Read on for my easier, better rolling technique.
- Uneven rolling: If you’re using extra cold dough, it can be difficult to roll it into an even sheet.
- My cookies taste like flour: While it’s true that flour stops sticking when you’re rolling cut-out cookies, too much, and your cookie will be, well, floury.
- Weird edges: If you cutout your cookies and couldn’t get under them well, the edges might get a little squiffy. All this gets better with chilled dough.
- Burned edges: If your cutout cookies get burned around the edges, they either need to be chilled first or baked less to begin with.
9 secrets for making the best cut-out cookies
1. Don’t chill your dough before you roll, and roll with parchment
Helps with: sticky dough, rock-hard dough, prevents your cookies from getting too floury
If I could give you one tip to save your sanity, it’s this one.
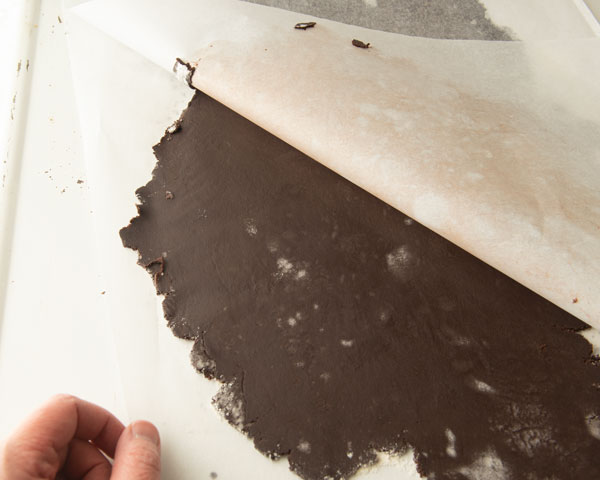
Stop chilling your dough! Instead, get out 2 sheets of parchment paper.
Sprinkle a little bit of flour on one sheet of parchment.
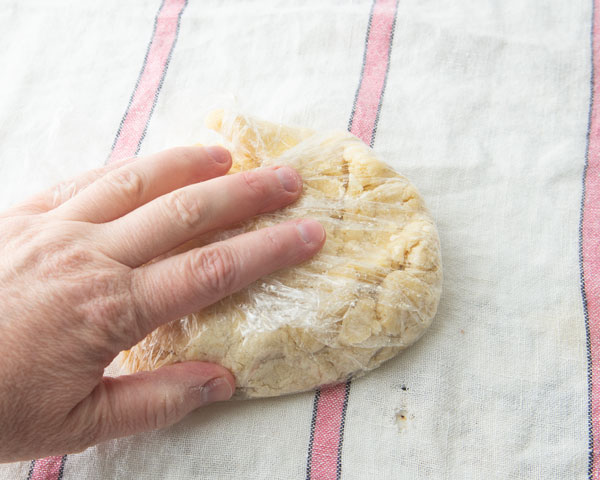
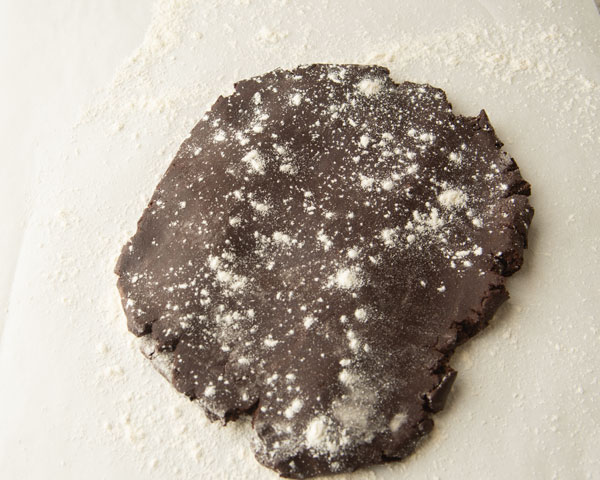
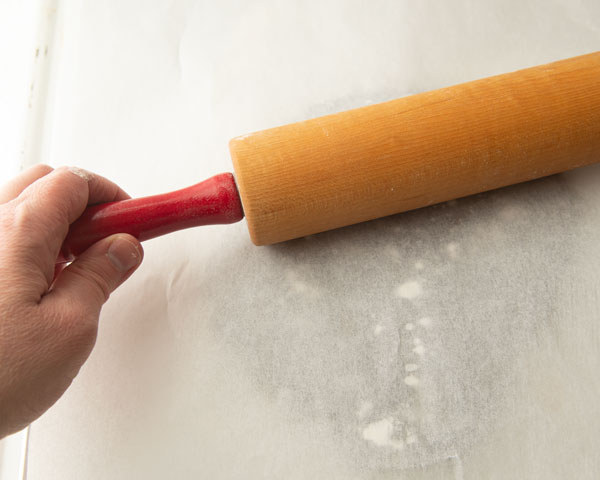
Next, flatten out a portion of your dough into a flattish disk. Sprinkle the top and bottom lightly with flour, then set it on top of the floured parchment. Top with the second piece of parchment to make a parchment sandwich.
Scoot the short side of the parchment to the edge of the counter and use your hip to hold it in place.
From here, roll your dough into one even layer. Stop when the dough sheet is about 1/8″ thick.
2. You need practice, not another rolling pin
Helps with: uneven rolling
There’s lots of fancy rolling pins with rings on the ends and silicone rings that you can attach to your standalone rolling pin. The idea is that the rings on the pin stop you from rolling further when you get down to a certain thickness of dough.
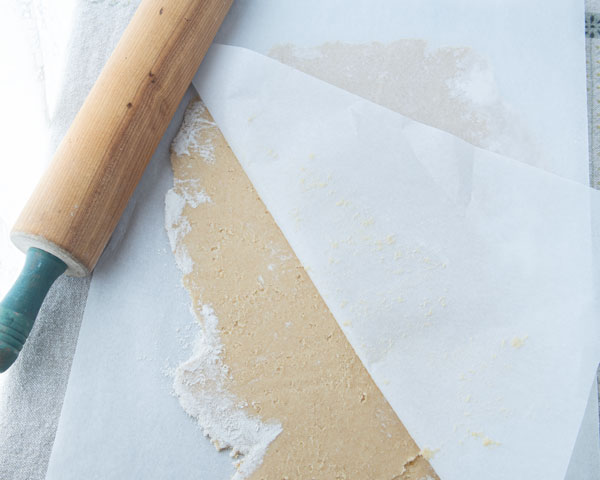
I’ve tried them. They’re nifty, but you don’t need them.
With practice, you will get better at rolling more even sheets of dough.
Turn the parchment sandwich periodically to help with this, and make sure to roll from the middle outwards. This will help you get the most even rolling.
Watch out too that you don’t apply too much pressure along the edges of your dough. Keep an eye on the edges as they can easily get too thin.
3. Chill dough sheets
Helps with: sticky dough, prevents weird edges, prevents burned edges
Slide your parchment sandwich onto a sheet pan and chill for 15-30 minutes.
By chilling the rolled out sheets of dough, you’ll be ready to cut and bake without any extra work. Plus, you won’t have to contend with rock-hard dough. Also cold dough will not burn at the edges as readily as room temperature dough.
4. Cut from the outside in
Helps with: uneven rolling
The middle of a sheet of dough is often thicker than the edges.
Because of this, start cutting with your cookie cutters around the edges first. Peel off the top piece of parchment and cut as close as possible, leaving the middle open.
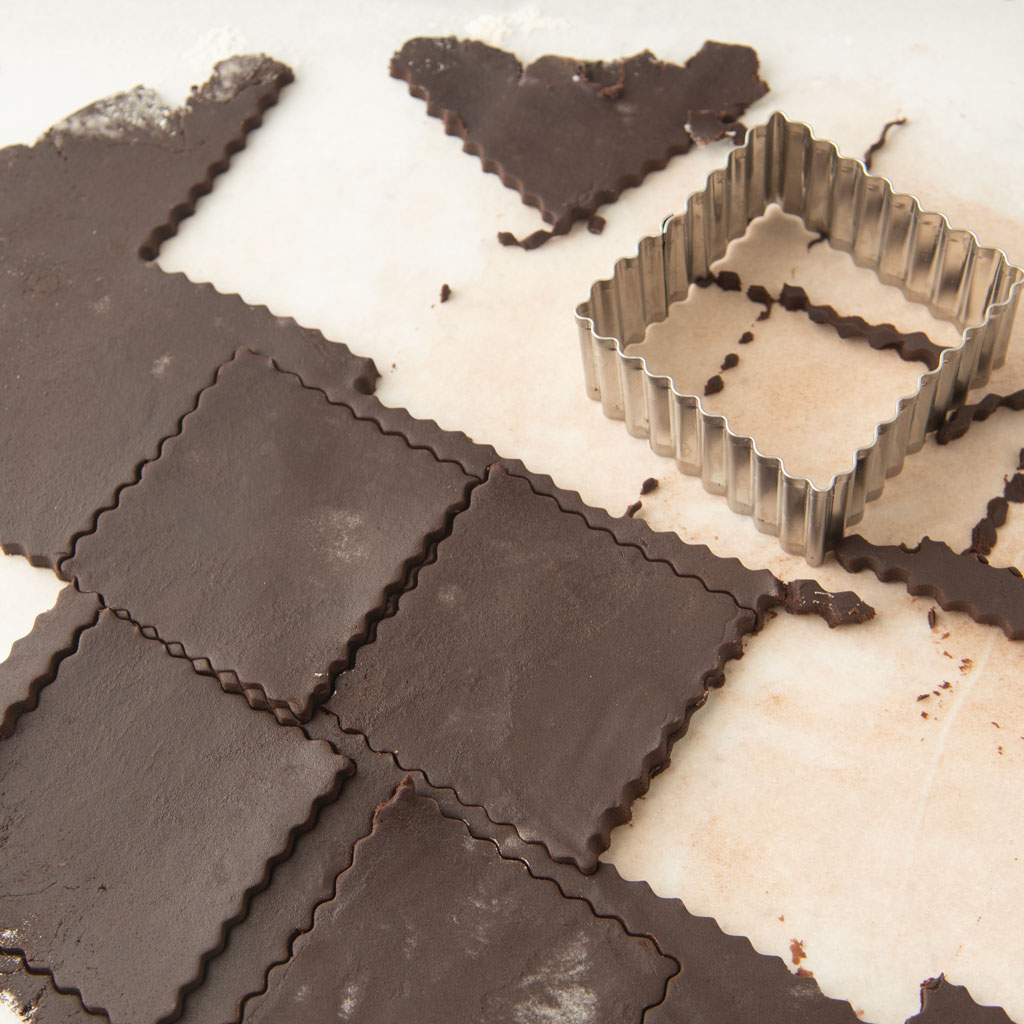
Since the dough is chilled, you should be able to lift the cookies up easily onto a prepared sheet tray for baking.
Once you’ve cut around the edges of the dough, place the second piece of parchment on top of the dough again. Roll across the dough in the center a few times, just enough to thin it out to the thickness of the other cookies.
From here, finish cutting out cookies from the rest of the dough, keeping the shapes as close together as possible.
5. Reroll the scraps, but not too much
Helps with: best texture for cut out cookies
Gather up the scraps of dough, then press them together gently into one mass.
Repeat the rolling and cutting, though don’t repeat the process more than 3 times. If you do, you can easily overwork the dough and develop the gluten. No tough cookies!
One trick I do is to press scraps into a piece of unrolled dough. This way no one bit of dough is getting overworked.
If you still have leftover dough after multiple re-rolling sessions, press it into one sheet and bake it as such. You can drizzle them with melted chocolate after baking and break them up haphazardly for an unfussy cookie bark.
6. Do you need a second chill?
If your chilled dough sheet has been out of the fridge for a while, you might consider chilling your cut cutouts.
Chilling the cut cut-out cookies can also help prevent burned edges on cookies with fine details or thin parts. My Mom has an angel cutter we’ve used at Christmas my whole life. I swear, the wings on those angels are magnets for burned edges! The horn on my daughter’s favorite unicorn cutter can easily suffer from the same fate.
To stop those thinner parts from being burned, pop the whole sheet pan in the fridge for another 5-10 minutes to firm up the butter in the cookies.
7. Think about spacing
As you transfer your cookies to the baking sheets, make sure they are spaced well.
It’ll depend how many cookies you can fit on your baking sheet how many cookies you can fit on a sheet. Mostly, just make sure that no cookies are touching.
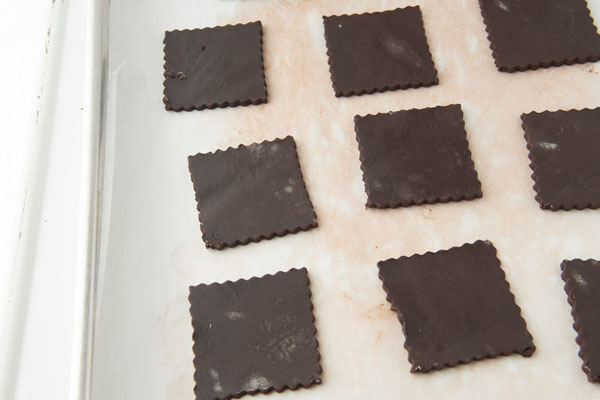
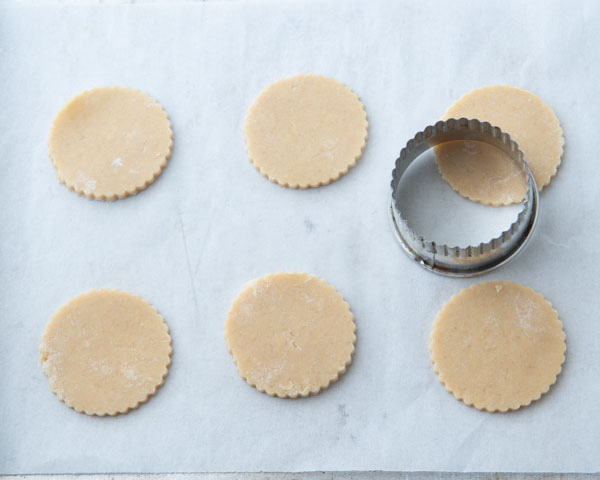
Make sure that there is enough space around each cookie so that if or when it spreads, it won’t touch another cookie.
8. Think about lowering your oven
Most cookie recipes call for baking at 350 degrees F. If, however, you’re using a dough that you don’t want too much color, consider baking your cookies at a slightly lower temp.
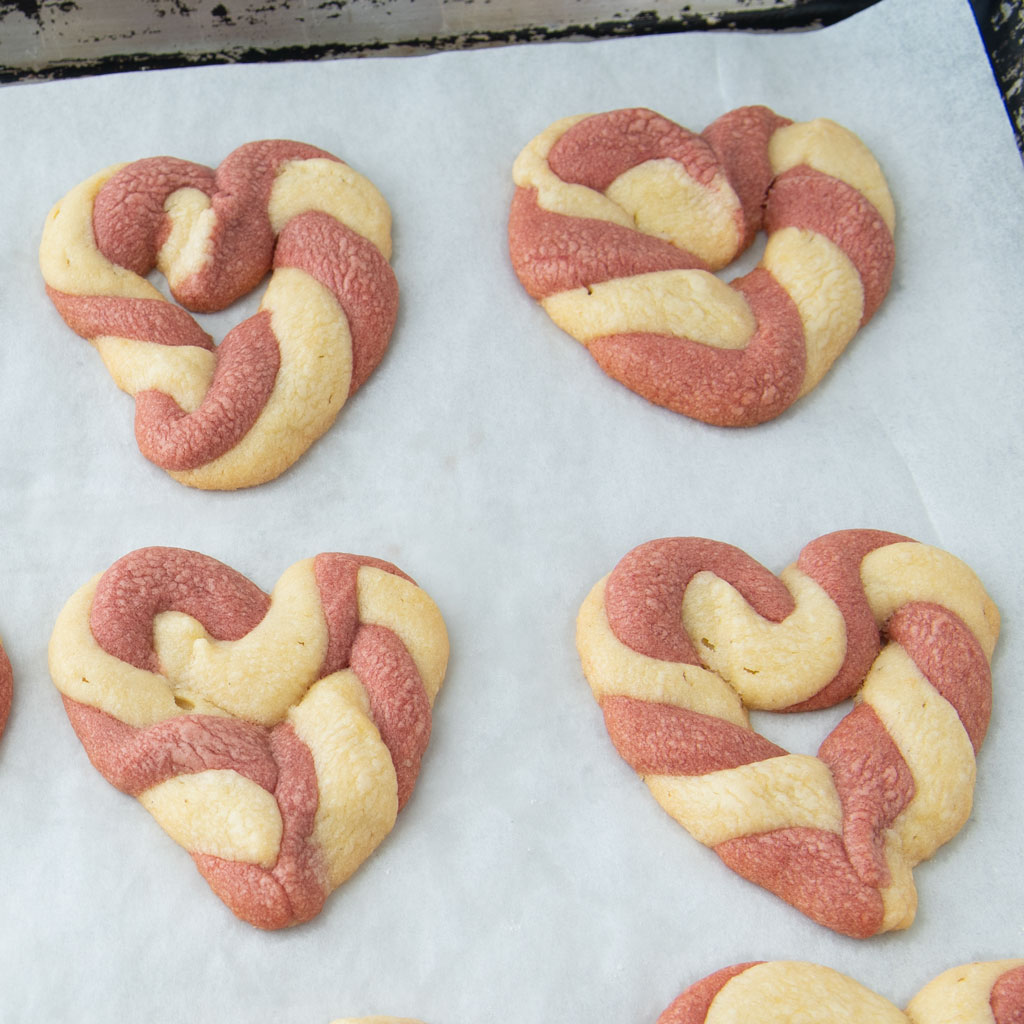
For example, though they’re not cut-outs, I wanted to preserve the pinky-red color on these dye free strawberry twist cookies. So down went the oven, and the baking time is just a little longer.
9. Cool your cookies properly
When it comes to cut-out cookies, it’s important that you cool them properly.
Take them out of the oven when the tops are no longer soft in the middle and the edges are *just* beginning to take on a little bit of tan color.
From there, set them on your counter on the cookie sheets for about 5 minutes. By then, the cookie sheet will have cooled down, and you can transfer the cookies to a wire rack to finish cooling completely.
Make sure the cutouts are completely cool before adding extras like frosting or filling.
10. Use a good recipe
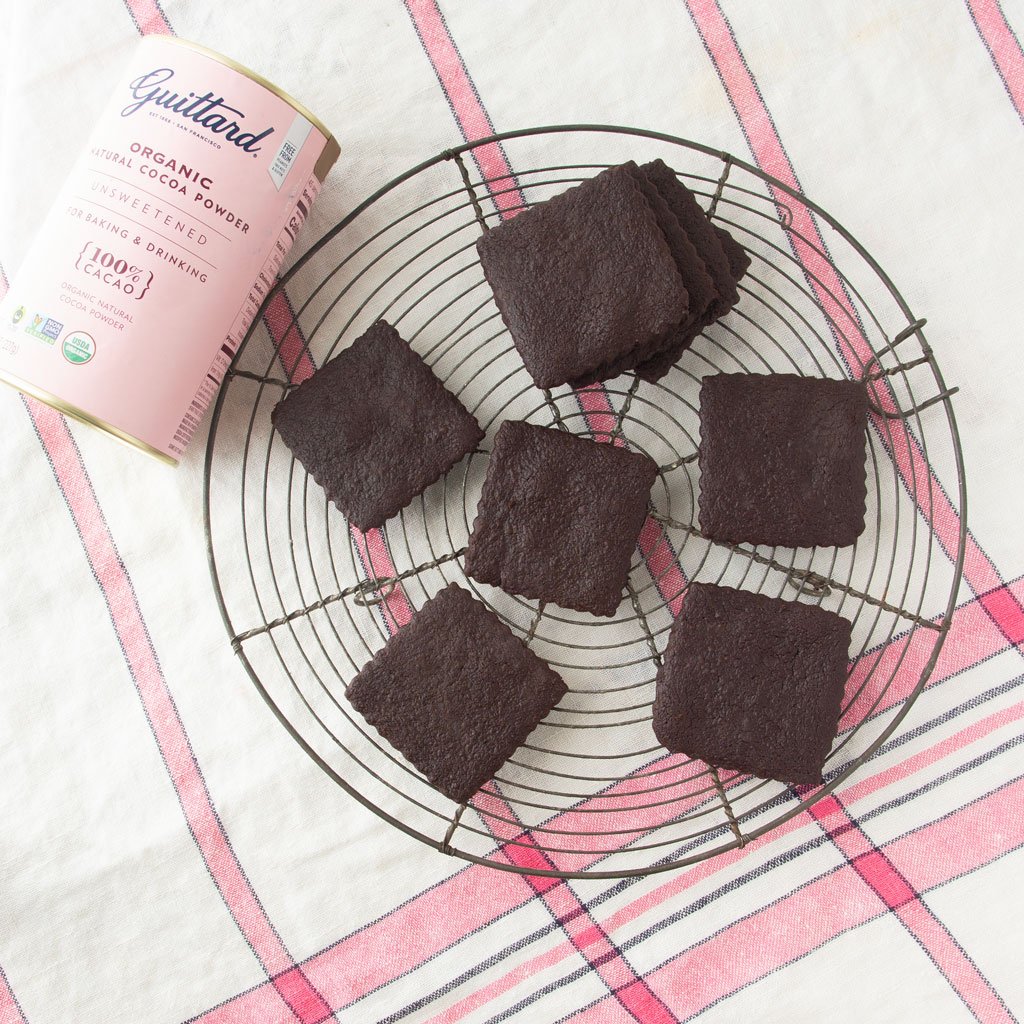
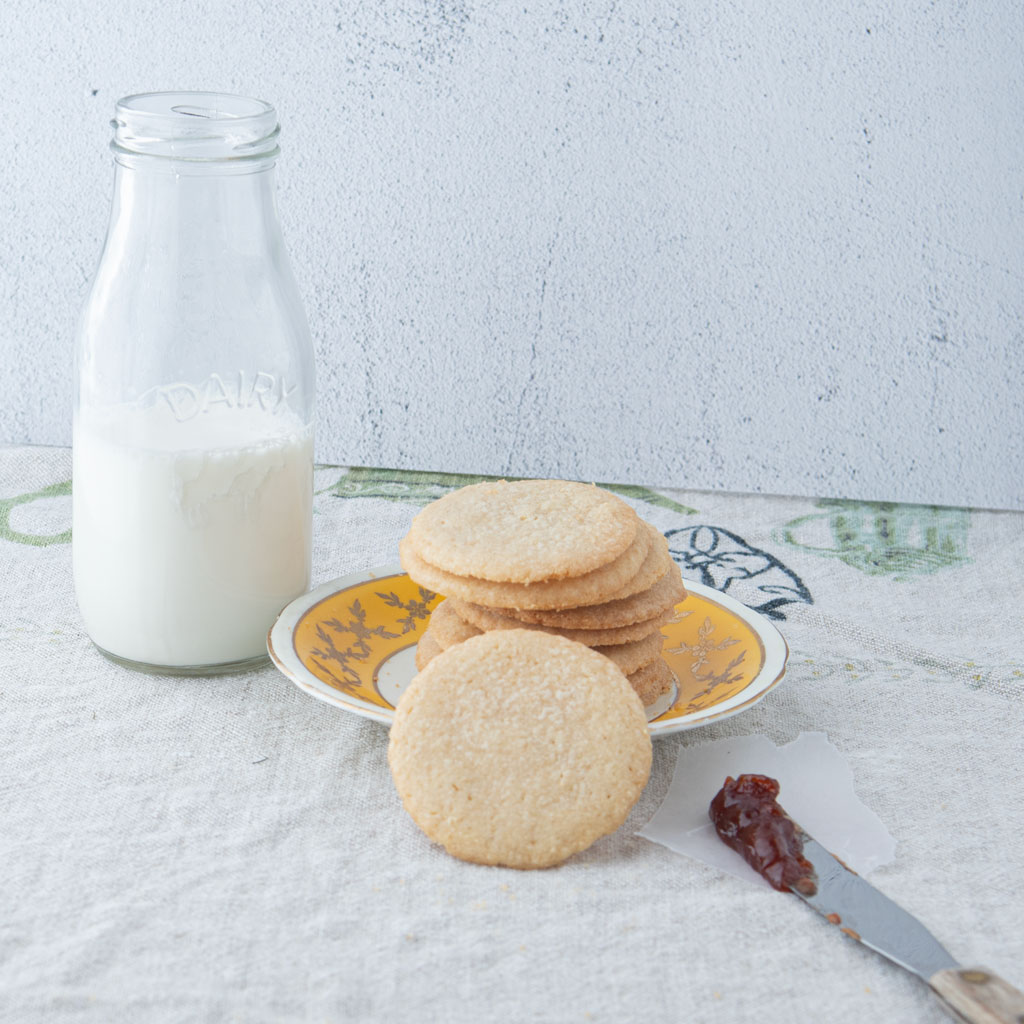
A good recipe will take you a long way. Some recipes have far too much moisture in them, making them force you to use too much flour when you roll. Start with one of these perfect cutout cookies recipe instead:
With the help of some parchment and a little practice, you’ll be making the best cut-out cookies yourself before too long. What’s your favorite type of cutout cookie?


