How To Make a Perfect Graham Cracker Crust Every Time
Graham cracker crust is one of the easiest and best crusts for pies and what’s not to love? The buttery crunchy slightly sweet flavor of graham crackers gives you an easy no-fail crust that’s perfect for cream pies, pumpkin pie, cheesecake fillings and so much more.
| Taste | Texture | ||
| Toasted graham crackers | crisp |
| Active time | Total time | Yield | Difficulty |
| 10 minutes | 20 minutes | One 9″ pie | Easy |

Graham cracker crusts have been in my family’s Thanksgiving rotation since forever. My Gram was the queen of the cream pies from her excellent chocolate pie to coconut cream to perfect vanilla cream pie, and her most noble peanut butter pie, there was always something simple and easy to make.
What was in common in all of my Gram’s pies were the graham cracker crusts. The crust comes together in under 10 minutes and is ready for any filling you want to add to it. That you can freeze the crusts ahead of time so that they’re ready for any freezer pie recipe or cream pie is even better.
Grab a sleeve of grahams, and let’s make some crust.

Why You Might Struggle with Graham Cracker Crusts
- Not fine enough: Graham crackers don’t hold together the same way as traditional pie crusts. You must pack the crumbs tight together to end up with a crust that is easy to cut and doesn’t fall apart. To do this, your crumbs need to be FINE. Any chunks in there, and it’s tough to get a good crust.
- Too sweet: Y’all, graham crackers are already sweet. There’s no reason to add a ton of sugar to an already sweet base. I add just enough to aid in browning.
- Measuring graham cracker crumbs is for the birds: It’s easy to mess this up. Most recipes are written with traditional American measurements in mind. As such, it’s hard to know how much a “cup” of crumbs really is. Do you pack in the crumbs or scoop them lightly into the cup? By using grams, you never have to wonder.
- Too much or too little butter: Butter is the glue that holds the crumbs together. When you add it to the crumbs, it becomes a moldable sand-like texture, but if there’s not enough butter, the crust falls apart. Too much butter, and the crust can turn into an oozing sand that falls straight down into the pie plate . Again, measuring butter in grams, you’re guaranteed a better ratio that works with no guesswork.
Can You Use Gluten-Free Graham Crackers?
Yes, this recipe should work just fine with gluten-free graham crackers. I love the pre-made Mi-Del graham cracker crusts. Since crumb crusts rely on butter to hold everything together, gluten is not necessary for a good crust.
Do I Have to Use Butter?
Nope. I’ve used coconut oil with graham cracker crusts for years. It works just as well and can be an easy pantry savior when you’re out of butter. Obviously you’ll get better flavor with butter, but if you’re serving dairy free or vegan guests, coconut oil is a good option to keep in mind.
Why I Always Use Room Temperature Butter Instead of Melted for Graham Crusts
This might go against conventional wisdom, but I always use room temperature butter in crumb crusts. I find that the slightly cooler butter is easier to distribute in the crumbs, plus there’s no danger of burning myself. I’ve been burned far too many times on hot melted butter making crumb crusts!
If you’re using coconut oil, this is especially important. Room temperature coconut oil works into the crumbs just like butter. Hot coconut oil on the other hand is like molten lava. Burns when you’re baking are inevitable, but if there are easy ways to avoid them, let’s do that.
What Kind of Pies Can You Make with a Graham Cracker Crust?

- Pumpkin Pies: Use my easy pumpkin pie filling. Do make a shield for the edges of the crust in the last 15 minutes of baking so that the crust doesn’t burn.
- Vanilla Cream Pie: Use my vanilla pastry cream as your filling.
- The Best Chocolate Pie: my Mom’s Pot de Creme filling is pure magic.
- Coconut Cream Pie
- Peanut Butter Pie
- Frozen Key Lime Pie
- Cheesecake
- S’mores Pie
- Cranberry bars: Make a crust in a rectangular pan, then topped with whipped cream mixed with cranberry curd. So easy and so so good.

Graham Cracker Crust Ingredients
- Graham Crackers
- Butter (or coconut oil for vegan/dairy-free), at room temperature
- Sugar: just a little bit for browning
Helpful Equipment for Making the Best Graham Cracker Crust


- Food processor : Yes you can crush your graham crackers in a bag with a rolling pin , but they’ll never be as fine as they would be if you use a food processor . My decades old Cuisinart does a remarkable job every time.
- Gram scale : You’ll get the perfect ratio of crumbs to butter with one. Every baker should have one, plus they’re cheap and take up NO space in your kitchen. Read why I always use a gram scale when baking.
- Plastic wrap: This covers the crumbs while you compress them into the pie pan. Using the wrap makes making crumb crusts way less messy.
- Cup: Just about anything works here. Use a cup to compress down the crumbs under the plastic wrap to make the crumbs stick together. A compacted crust is one that holds together perfectly when slicing your pie!


Perfect Graham Cracker Crust
- Total Time: 20 minutes
- Yield: One 9” pie 1x
Description
A simple graham cracker crust that will be ready to fill with your favorite creamy fillings in no time. This makes enough for a 9″ pie.
Ingredients
- 140 grams graham crackers (about 9 graham crackers or 1 sleeve)
- 1 Tablespoon granulated sugar
- 75 grams butter (1/3 cup), at room temperature
Instructions
- Preheat the oven to 350 F (180 C). Have a 9″ pie plate on hand.
- Break up the graham crackers into chunks about the size of your thumb. The food processor will do a better job grinding everything if the pieces are smallish to begin with.

- Measure in the sugar, and then grind the crackers until you get fine crumbs about the texture of sand.
- Cut the butter into slices and then add them to the crumbs.
- Process the crumbs with the butter until the butter disappears and the crumbs are moist looking.
- Dump the crumbs into the center of the pie plate .
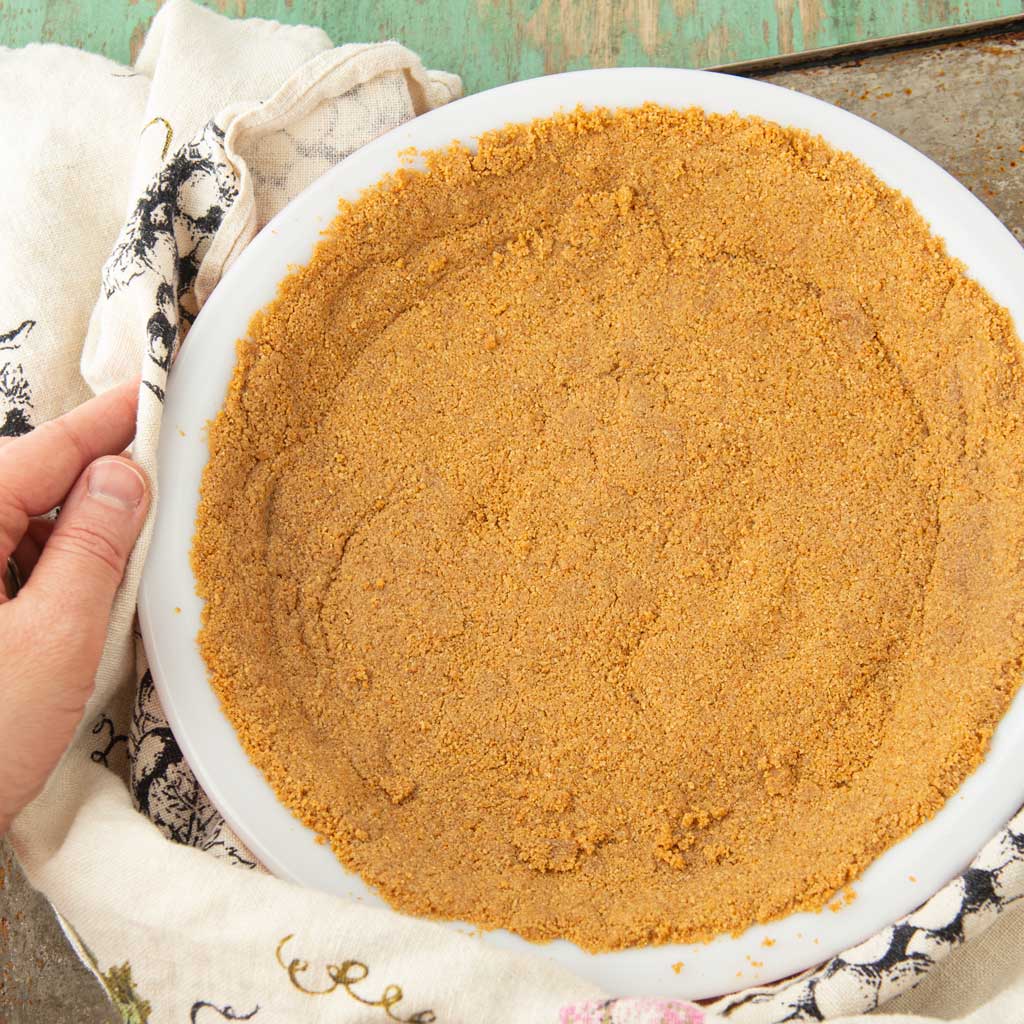
- Cover the pie plate loosely with a piece of plastic wrap. Use a measuring cup or a coffee cup to press down the crumbs on the bottom and up the sides of the pie plate. Do your best to compress the crumbs into place. If you notice any bare spots, loosen some of the crumbs and move them to the bare spot. Press over the bare spot, compressing down the crumbs.
- Run your finger along the top edge of the pie plate to loosen any crumbs that are peeking up over the top edge.
- When the crumbs are as evenly pressed as you can get them and everything looks pretty, bake the crust for 8-10 minutes. In that time you should get a little bit of color on the crust, and you’ll smell a lovely baked cookies smell.
- At this point, you can fill your pie with your choice of filling.
- If you want to freeze the crust, let it cool completely first. From there, place a piece of foil inside the crust. After that, you can slip the crust into a plastic bag for longer freezing. There’s no need to thaw the crust for a frozen pie filling like peanut butter pie. For other cream pies, simply set your frozen pie on the counter while you prepare the filling.


Notes
Variations
This recipe works with any dry cookie or sweet cracker (that is ones without filling like an Oreo). In all cases, weigh out 140 grams of the cookies/crackers and proceed with the recipe. Here are some other cookies and crackers to try:
- Tea biscuits: we like Kedem’s chocolate biscuits, but the original vanilla is excellent too.
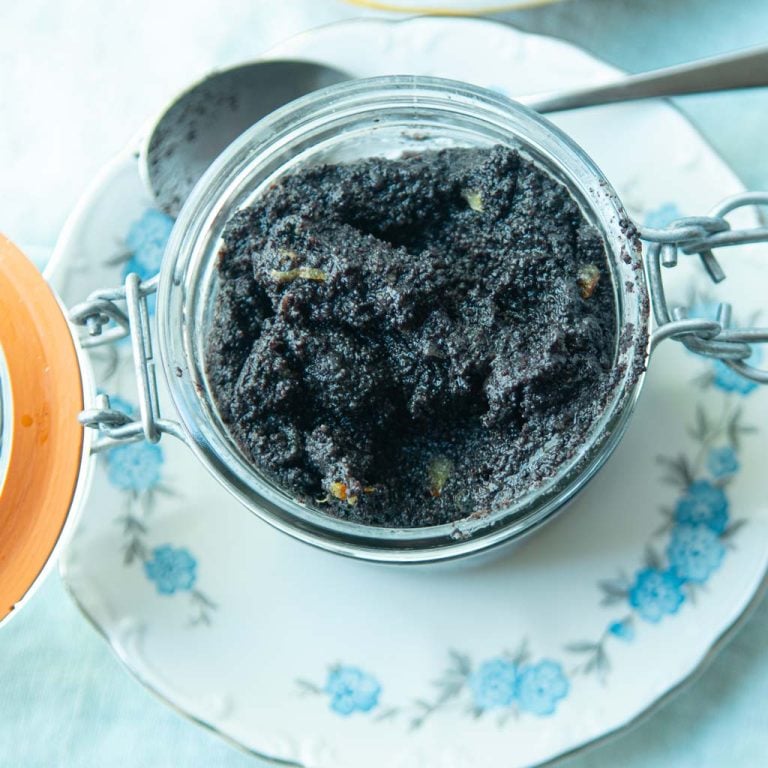
- Chocolate graham crackers
- Gingersnaps
- Vanilla wafers
- Biscoff
- Lemon snaps
- Prep Time: 10 minutes
- Cook Time: 10 minutes
- Category: Baking building blocks
- Method: Oven
- Cuisine: American