Mini Cherry Pies: Super Cute and Portable
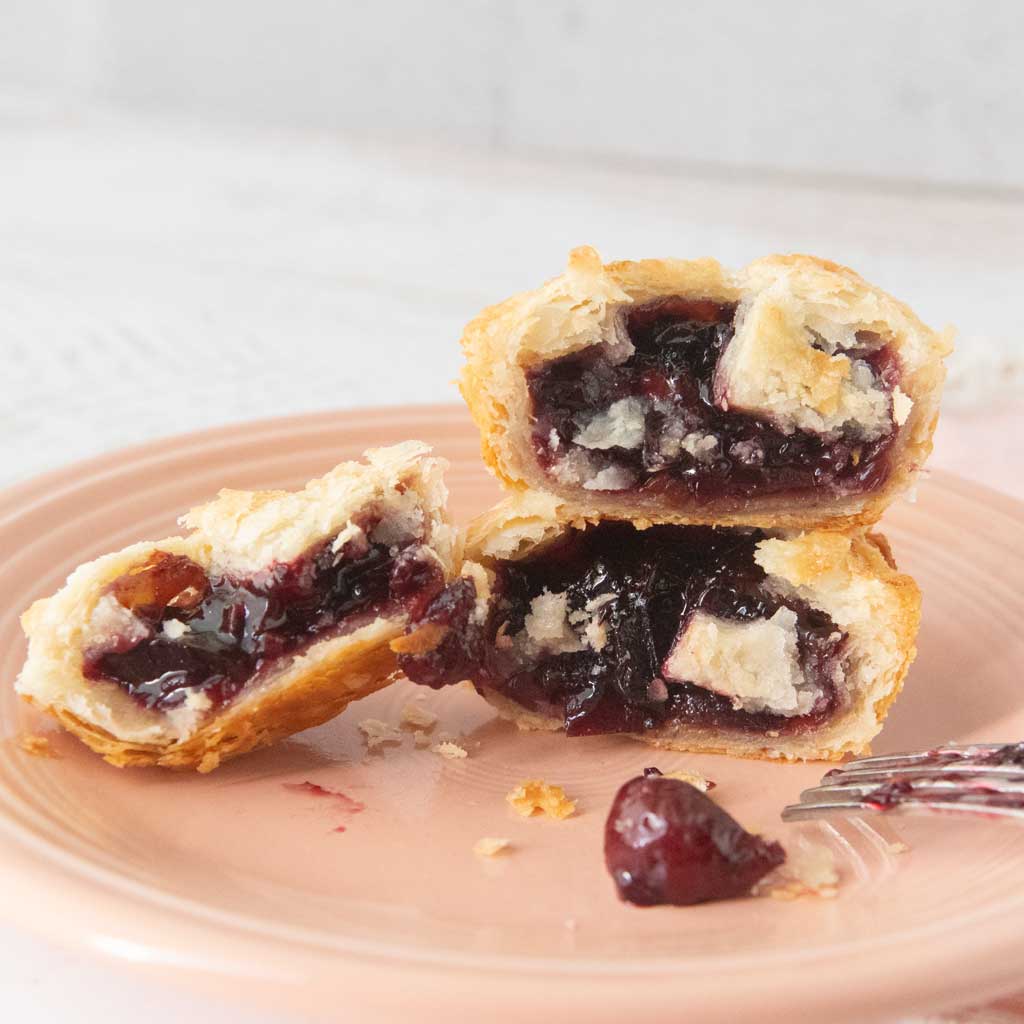
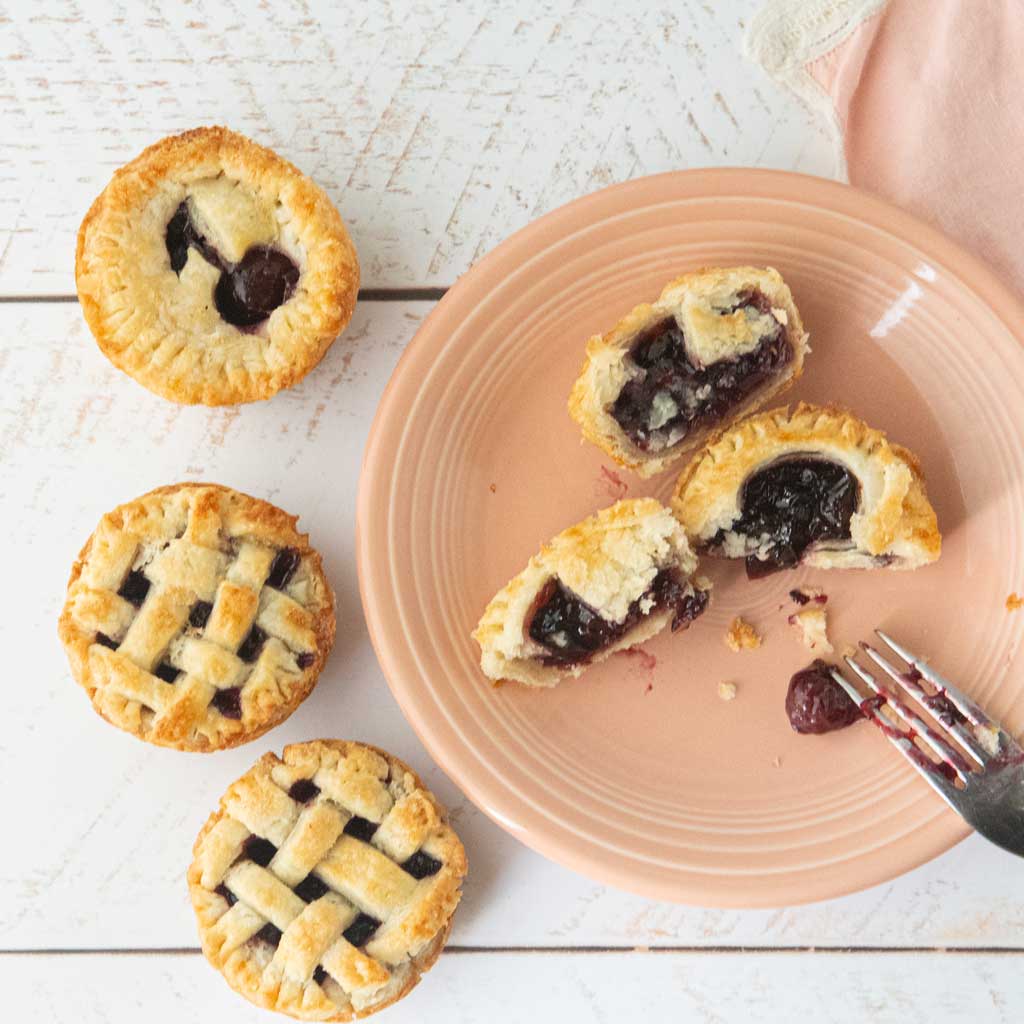
These adorable mini cherry pies pair extra flavorful Homemade Cherry Pie Filling with the best Cream Cheese Pastry and are baked in muffin cups, making for tiny handheld pies that are easy to make and even easier to transport. They’re a great addition to your Thanksgiving spread because each serving is tailor-made for the sampling kind of Turkey Day eating we all love.
| Taste | Texture |
| Cherry Vanilla | Flaky, tender |
| Active time | Total time | Yield | Difficulty |
| 20 minutes | 50 minutes | 12 mini pies | Easy |

Why You’ll Love Making Mini Cherry Pies
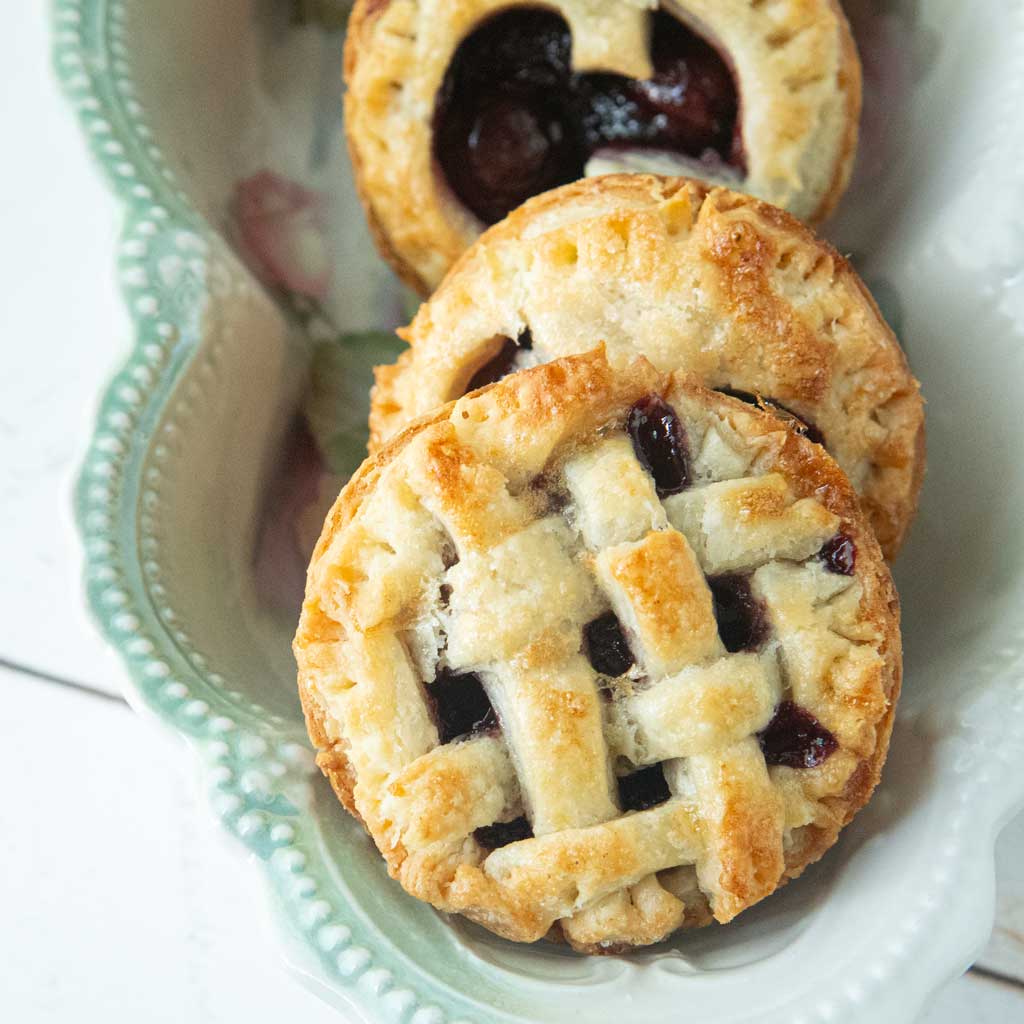
- So Darn Cute: The small size is just adorable.
- Versatility: These pies would be equally perfect for an afternoon tea party as they would at Thanksgiving.
- Good Practice: If making standard size pies is intimidating to you, these pies give you a good chance to practice decoration techniques, sealing the edges, and rolling out dough in a more forgiving form than on a big pie. A lattice top, for instance is very easy to do in this mini-format. If one of your mini pies is a little wonky, just move on to the next one!
Why Using Muffin Pans Are So Great for Piemaking
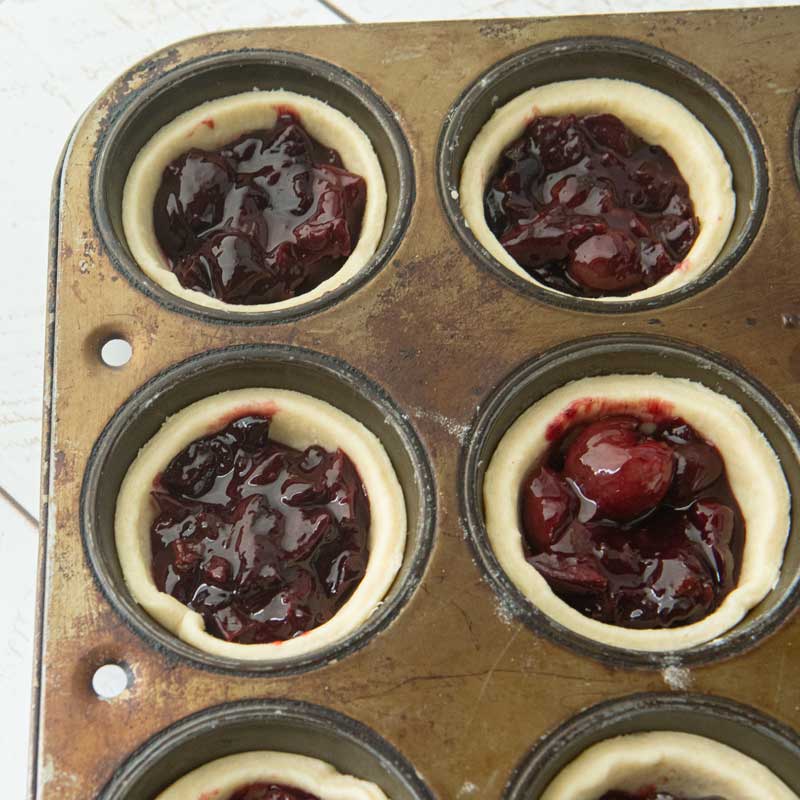
This is the part where I admit that I have probably far too many baking pans. I am a sucker for cute little shaped this or that, especially if it’s A) vintage or B) traditional to a given country.
I purposely avoid writing recipes that require specialty gear as much as possible because I know that not everyone has room or space (or the obsession on my part) to maintain a ton of baking pans.
Muffin Pans on the other hand is something nearly everyone has. Here’s why I love them for mini pies:
- Size: Muffin pans make for a perfect small pie you can fit in your hand.
- Ease of Use: As pretty as loose tins and tart pans are, they are a little annoying to get in and out of the oven. A muffin pan has 12 little wells all attached together, making for easy handling.
- Cheap and Universal: The one pan that EVERYONE should have is a muffin tin . If you don’t have one, I know for certain you can pick one up at any thrift store in America for less than $3.
Ingredients for Mini Cherry Pies
Cherry Pie Filling
- 1/2 recipe Cherry Pie Filling (sweet cherries, sour cherries, dried sour cherries, vanilla sugar, granulated sugar, arrowroot starch)
Pie Crust
- 1 recipe Cream Cheese Pastry (cream cheese, butter, flour)
Topping
- Egg white
- Coarse sugar
Equipment Needed
How to Make Muffin Cup Cherry Pies
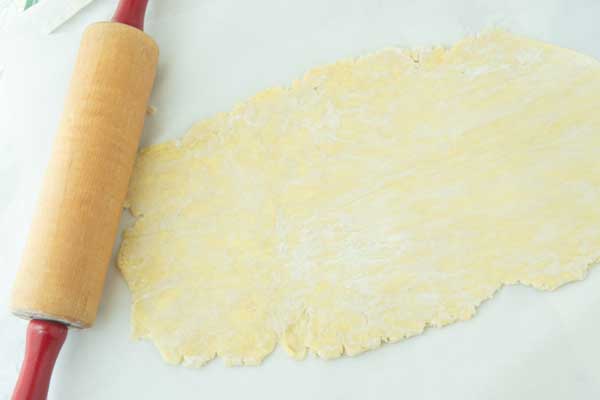
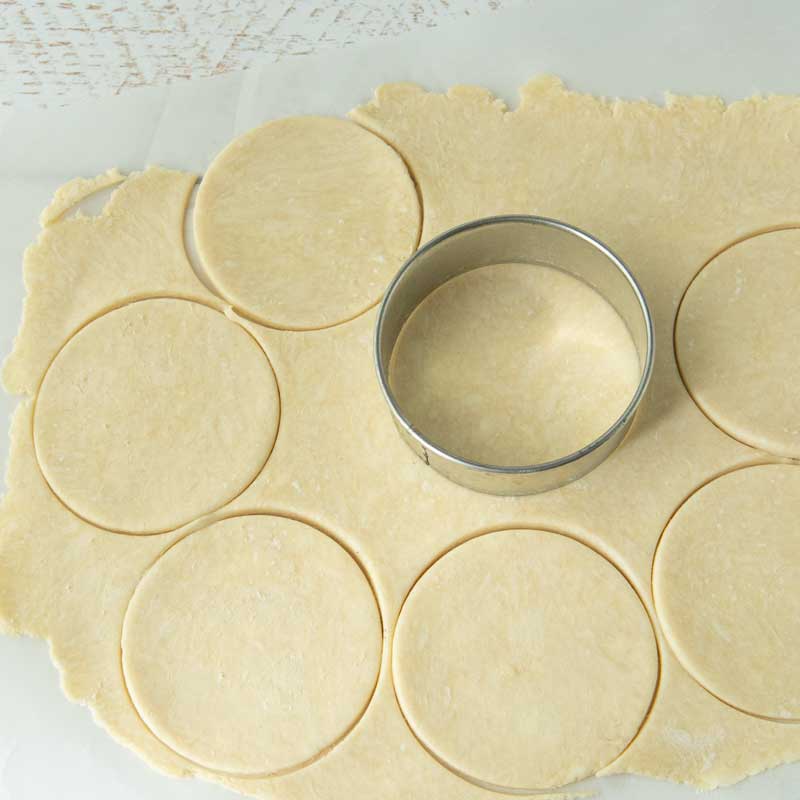
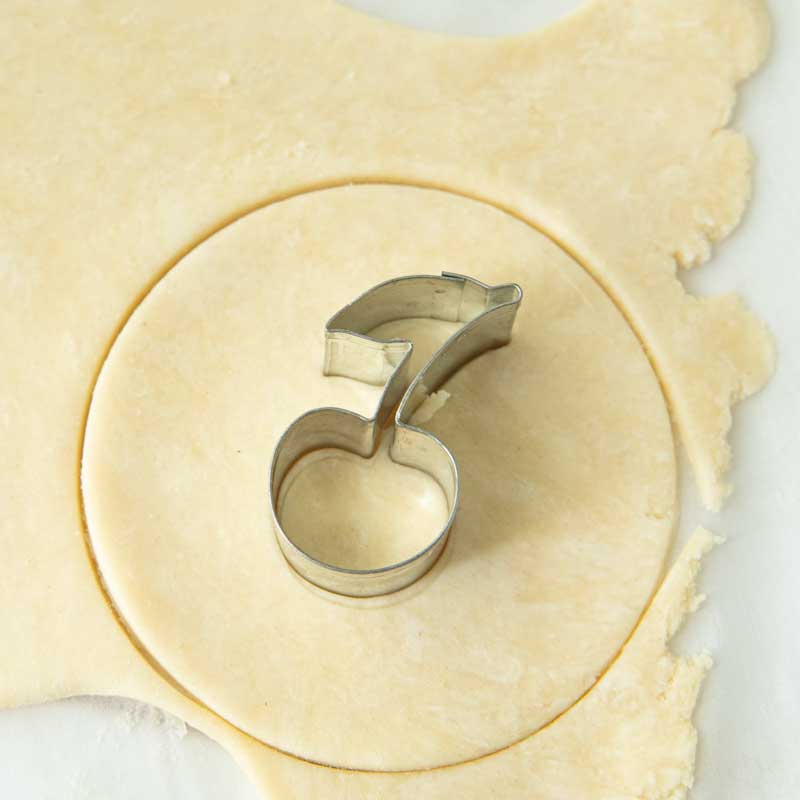
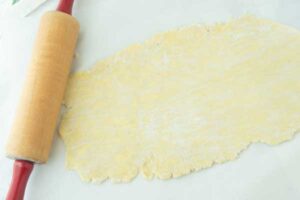
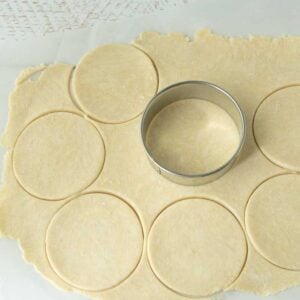
- Cut the Bottom Crusts: Lay out a piece of parchment on your work surface and then sprinkle it lightly with flour. Cut the pastry in half. Lay one piece of dough on top of the parchment and then rewrap the rest of the pastry for the pie tops. Top the dough with a second piece of parchment and roll the dough between the papers into a rectangle about the size of the parchment and a little thicker than 1/8”. Use a 3.5” wide round cutter to cut 12 rounds for the bottom crusts.
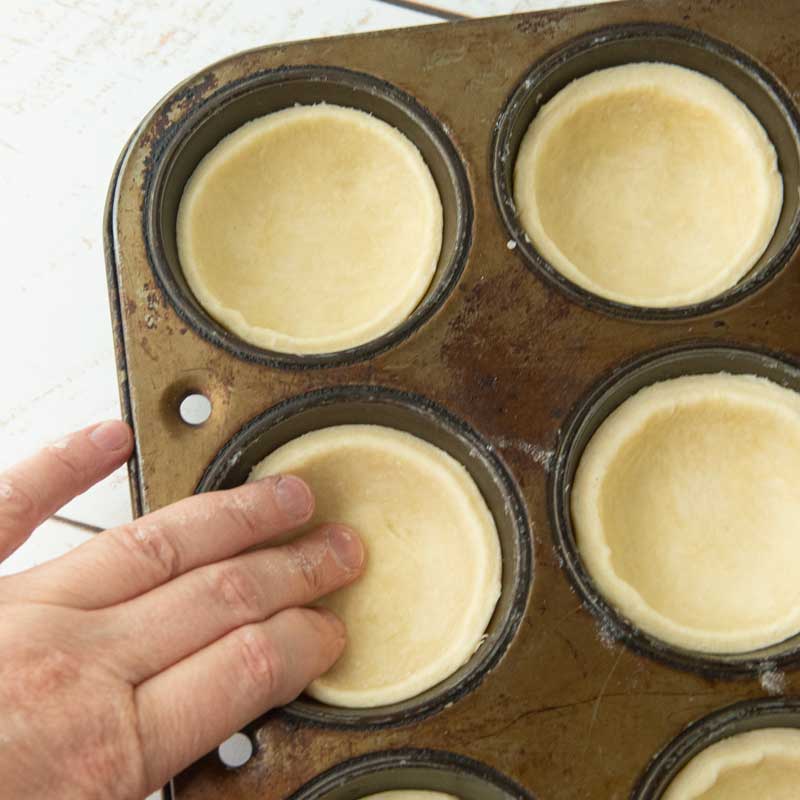
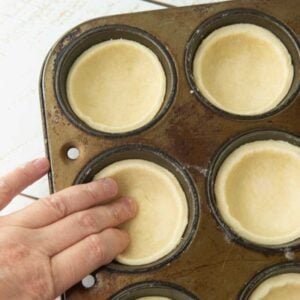
- Prep the Pan: Press each crust into the muffin pan (there’s no need to butter the pan). Place the crusts to chill in the fridge while you prep the pie tops. You can decide to make either a cookie cutter vent top or a classic lattice top.
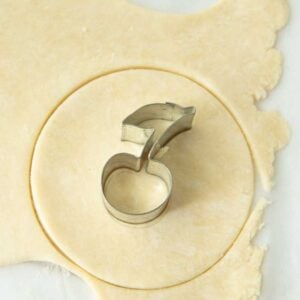
- Top Option 1– Cut the top Crusts (Cookie Cutter Vent): Roll the second half of the dough the same way as you did the first. Cut out 12 rounds (ideally with a slightly smaller size) from the dough. Use a small cookie cutter to cut out the center of each pie round. Chill the pie tops while you fill the pies.
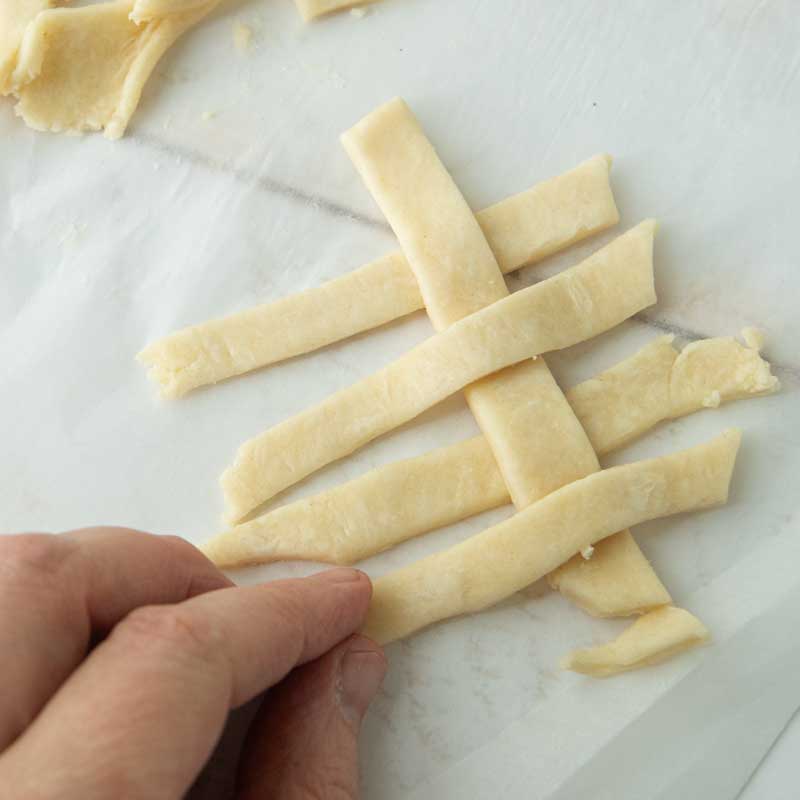
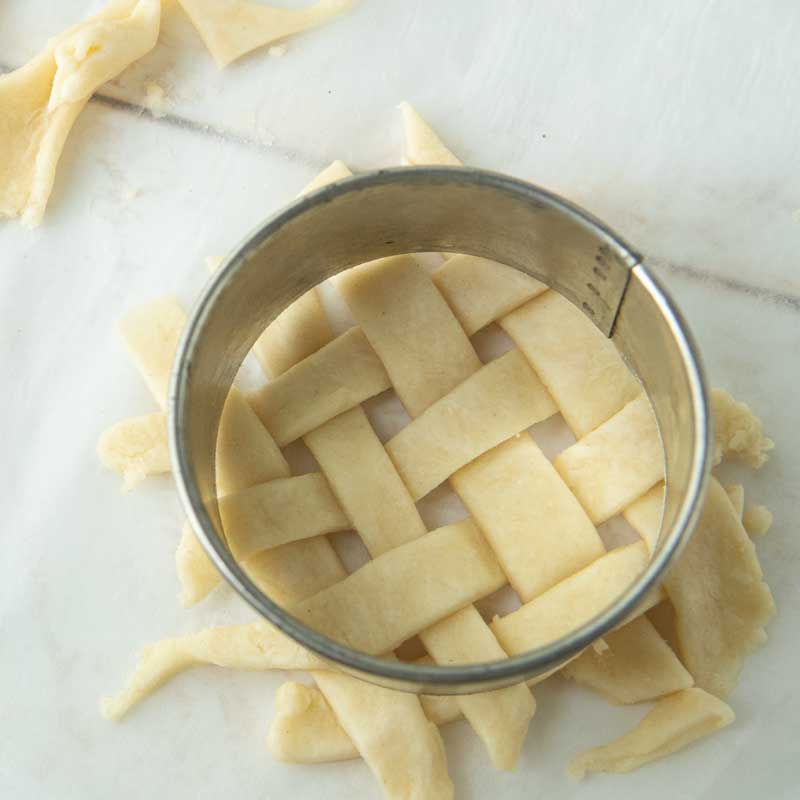
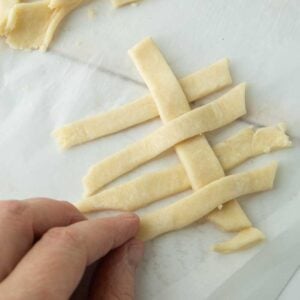
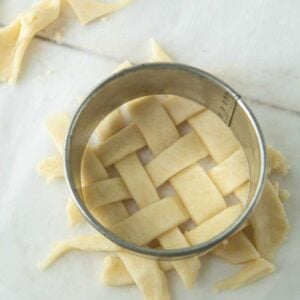
- Top Option 2–Make a Mini Lattice Top: Roll the second half of the dough the same way as you did the first. Use a pizza cutter to cut strips of dough about 1/4″ wide. Lay about 4-5 strips down on a piece of parchment, leaving a tiny space between pieces. Lift up every other strip and weave in another strip of dough. If you had 5 strips, first lift number 2 and 4. Lift every other strip (1, 3, and 5) and weave in the next piece of dough. Continue making the pattern until you have enough to cut a round of dough that will fit the top of the pies. Continue weaving and cutting for the rest of the pies. Chill the pie tops while you fill the pies.
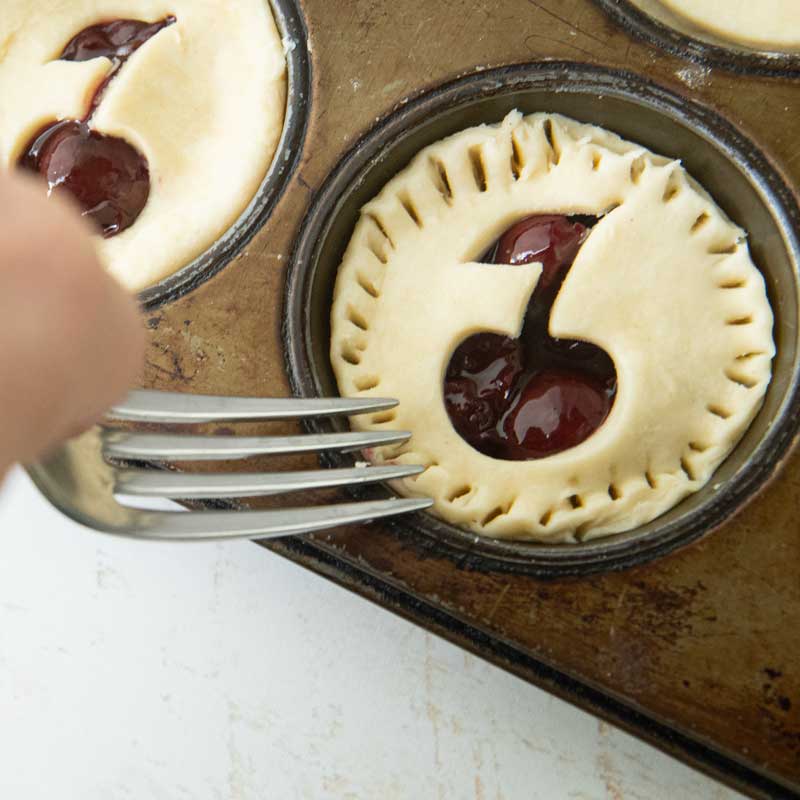
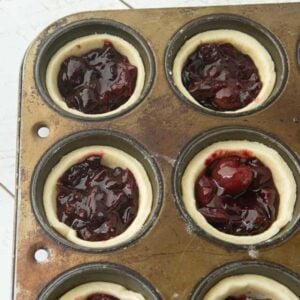
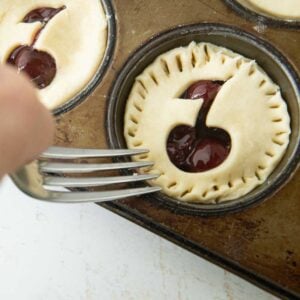
- Fill the Pies: At this point, preheat the oven to 375 F (190 F). Fill each pie with a spoonful of Cherry Pie Filling. Leave about 1/4″ of space at the top of each pie. Top each pie with a chilled pie top. Use a fork to press the top and bottom crusts together all around the edge of each pie.
- Finish the Pies: Beat the egg white with the milk. Brush the tops of the pie with the egg and then sprinkle each with coarse sugar.
- Baking the Pies: Bake the pies for 22-25 minutes, until the top pastry is set and golden brown. Let the pies cool for about 5 minutes and then overturn them to release the pies.
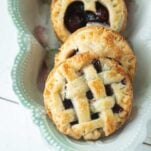
Muffin Cup Cherry Pies
- Total Time: 50 minutes
- Yield: 12 mini pies 1x
Description
These adorable little cherry pies are the perfect size for Thanksgiving when you want to sample ALL the pies! Because they’re less messy than a standard pie, they travel well, making your Thanksgiving a little less anxiety producing if you’re not hosting Turkey Day!
Ingredients
Mini Cherry Pies
- 1 batch Cream Cheese Pastry, thawed overnight in the fridge if frozen
- 1 batch Cherry Pie Filling
Finishing the Pies
- 1 large egg white
- 1 teaspoon whole milk
- 1 Tablespoon coarse sugar
Equipment
- Parchment (ideally pre-cut sheets the size of a ½ sheet baking pan)
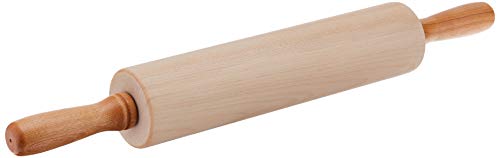
- Rolling pin
- Muffin pan
- Round biscuit cutters or wide-mouth jar lid from a Mason jar
- Small cookie cutter, cherry shaped or heart
- Pizza cutter
- Pastry brush
Instructions
Cut the Bottom Crusts
- Lay out a piece of parchment on your work surface and then sprinkle it lightly with flour.
- Cut the pastry in half. Lay one piece of dough on top of the parchment and then rewrap the rest of the pastry for the pie tops.
- Top the dough with a second piece of parchment and roll the dough between the papers into a rectangle about the size of the parchment and a little thicker than 1/8”.

- Use a 3.5” wide round cutter to cut 12 rounds for the bottom crusts.

- Press each crust into the muffin pan (there’s no need to butter the pan). Place the crusts to chill in the fridge while you prep the pie tops. You can decide to make either a cookie cutter vent top or a classic lattice top.
Top Crust Option 1: Cut the top Crusts (Cookie Cutter Vent)
- Roll the second half of the dough the same way as you did the first.
- Cut out 12 rounds (ideally with a slightly smaller size) from the dough.
- Use a small cookie cutter to cut out the center of each pie round.
- Chill the pie tops while you fill the pies.
Top Crust Option 2: Make a Mini Lattice Top
- Roll the second half of the dough the same way as you did the first.
- Use a pizza cutter to cut strips of dough about 1/4″ wide.
- Lay about 4-5 strips down on a piece of parchment, leaving a tiny space between pieces.
- Lift up every other strip and weave in another strip of dough. If you had 5 strips, first lift number 2 and 4.
- Lift every other strip (1, 3, and 5) and weave in the next piece of dough.
- Continue making the pattern until you have enough to cut a round of dough that will fit the top of the pies. Press lightly on a biscuit cutter through the weaving to cut a top.
- Continue weaving and cutting for the rest of the pies.
- Chill the pie tops while you fill the pies.
Fill the Pies
- At this point, preheat the oven to 375 F (190 F).
- Fill each pie with a spoonful of Cherry Pie Filling. Leave about 1/4″ of space at the top of each pie.
- Top each pie with a chilled pie top.
- Use a fork to press the top and bottom crusts together all around the edge of each pie.
- Beat the egg white with the milk.
- Brush the tops of the pie with the egg and then sprinkle each with coarse sugar.
Baking the Pies
- Bake the pies for 22-25 minutes, until the top pastry is set and golden brown.
- Let the pies cool for about 5 minutes and then overturn them to release the pies.
- Store the pies in an airtight container for up to 1 week. They can be frozen for up to 3 months. To freeze them, wrap them individually in plastic wrap and then wrap all the pies in a plastic bag with all the air removed.



Notes
Change up your filling: These pies are equally good with Make Ahead Apple Pie Filling or Peach Pie Filling. If you do use the peach filling, chop up the peaches a little smaller so that the fruit will fit more compactly inside the muffin pan.
- Prep Time: 20 minutes
- Cook Time: 25 minutes
- Category: Pies
- Method: Baking
- Cuisine: American