How to Host an Ice Cream Sundae Bar
An Ice Cream Sundae Bar is almost an instant party, which is perfect for hot summer days when you don’t want to fire up the oven at all. Your guests will love customizing their ice cream with sprinkles and toppings like Caramel Sauce and Hot Fudge Sauce , and you’ll love having a party that is easy to pull off.

With all of the Ice Cream Recipes I’ve built over the last two years it occurred to me how easy it would be to make a simple party around ice cream. Gathering up a few supplies and asking guests to supply a few extras, you can make this party come together in almost no time. Let me show you how.
Planning Your Party: Choosing Ice Cream and Supplies Needed
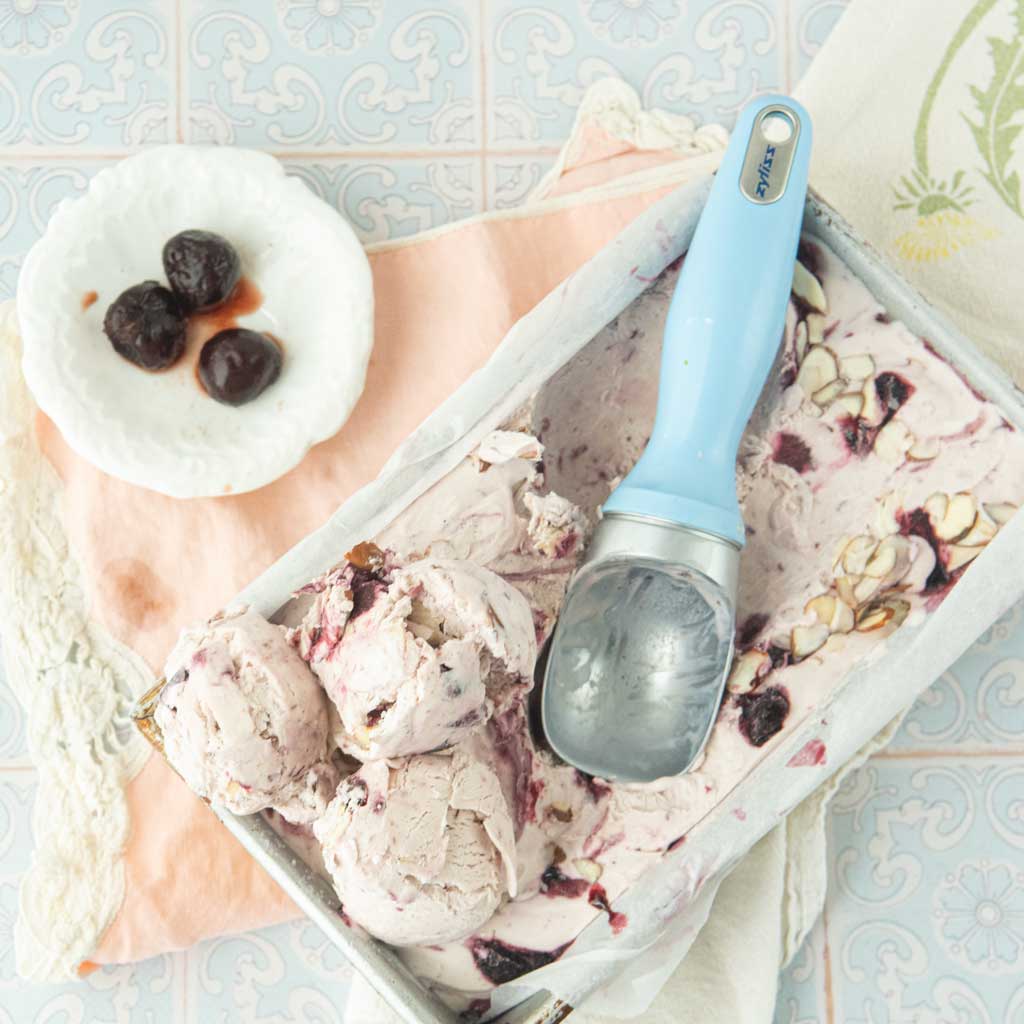
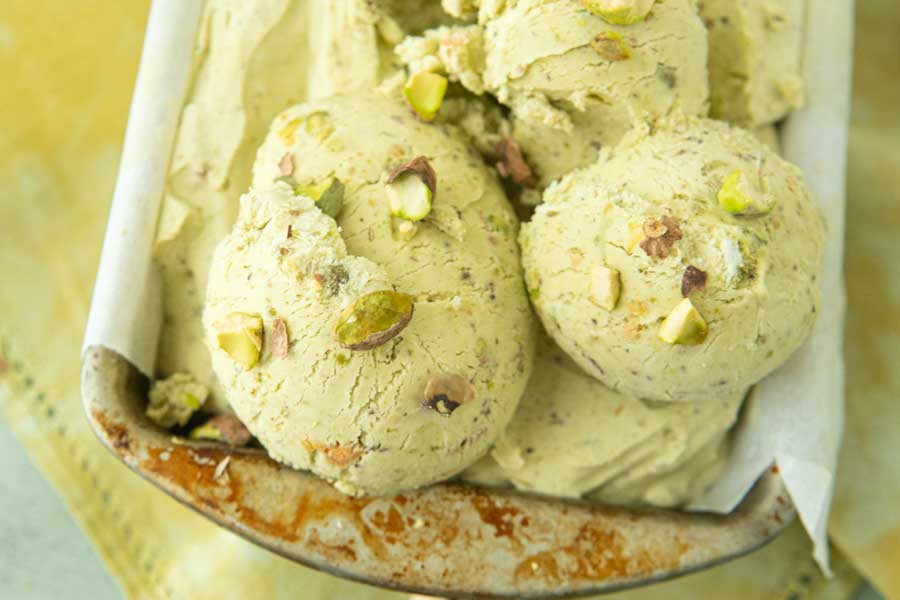
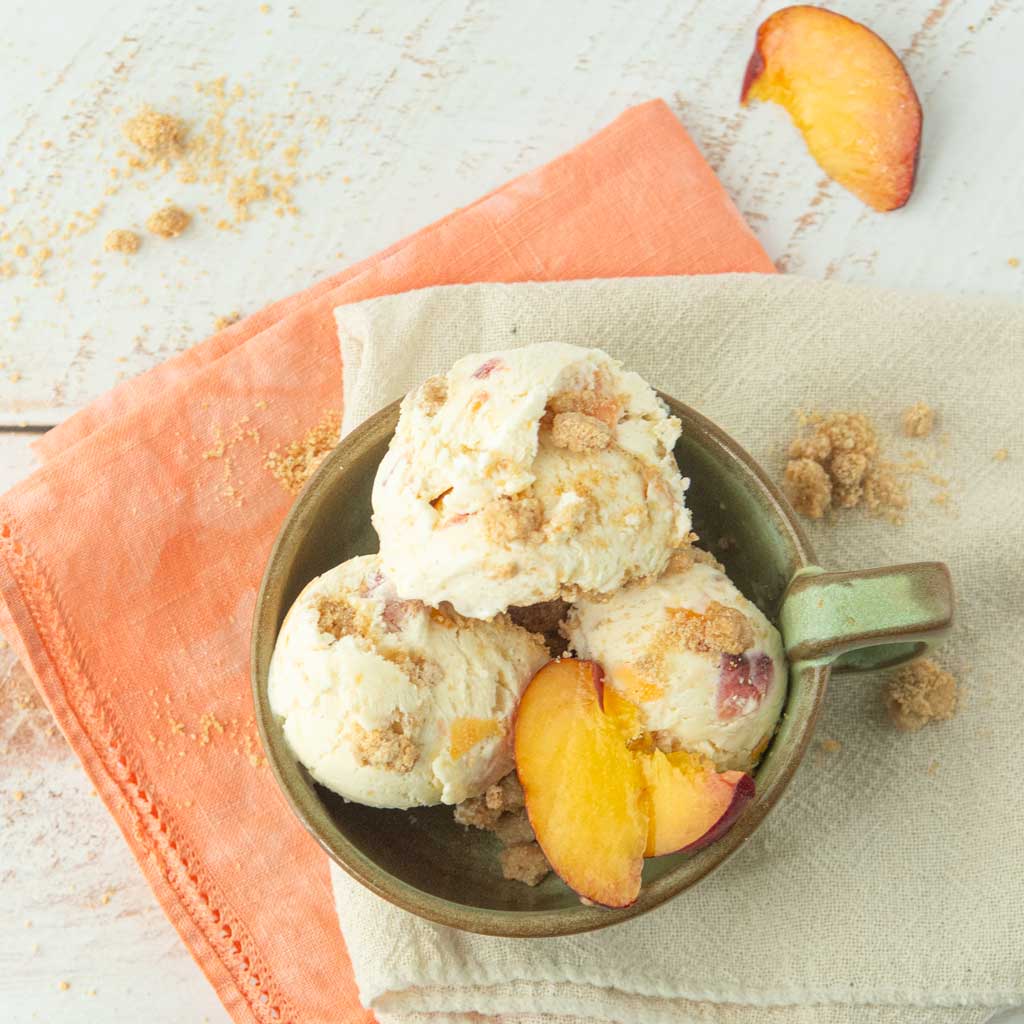
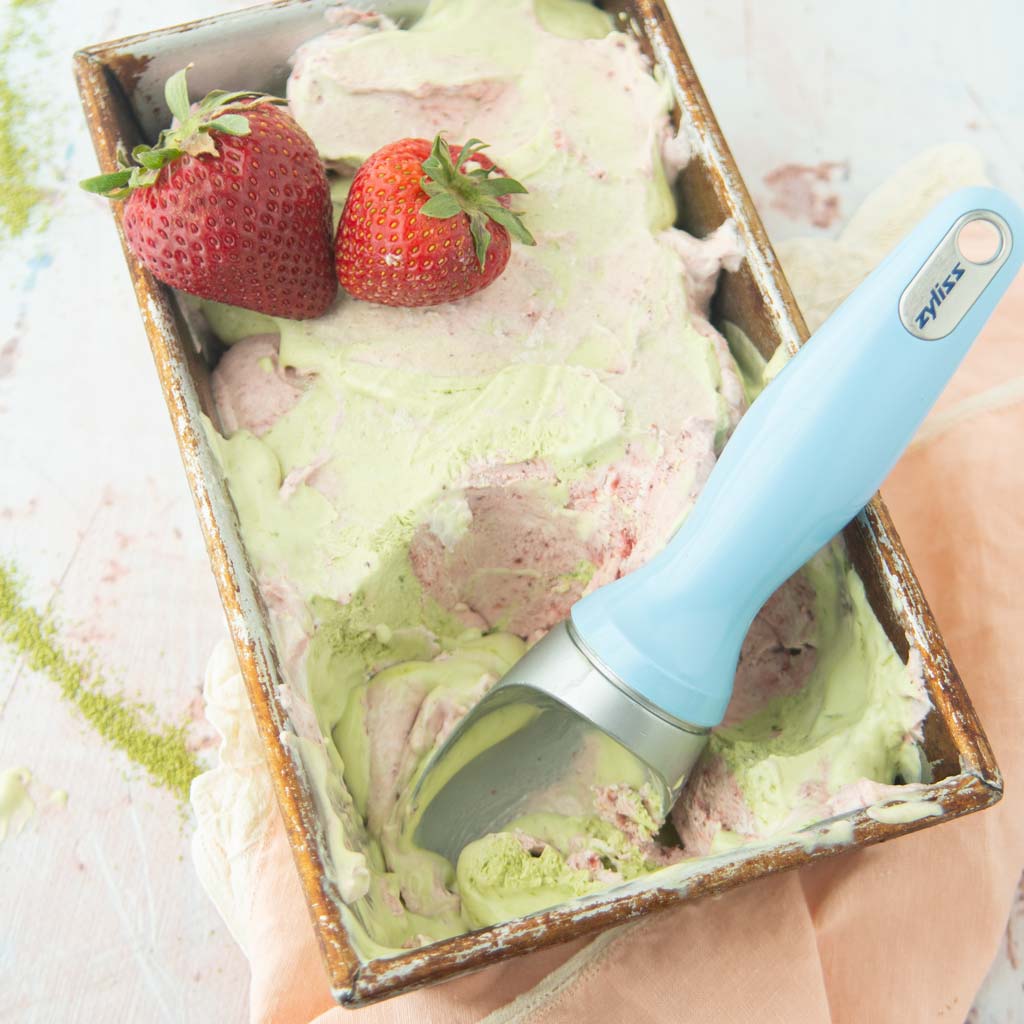
Ice Cream Flavors for Your Ice Cream Sundae Party
Try to choose a variety of colors and textures for extra visual appeal. If you have 5 kinds of chocolate chip ice creams, people will get overwhelmed by choice! Variety makes things more fun and decisions less confusing.

Supplies for an Ice Cream Party
Ice Cream
- 3-5 flavors depending on how big your party will be.
- Figure about 6 people/batch of no-churn ice cream.
Sprinkles
- Chopped nuts
- M&Ms
- Chopped up candy bits
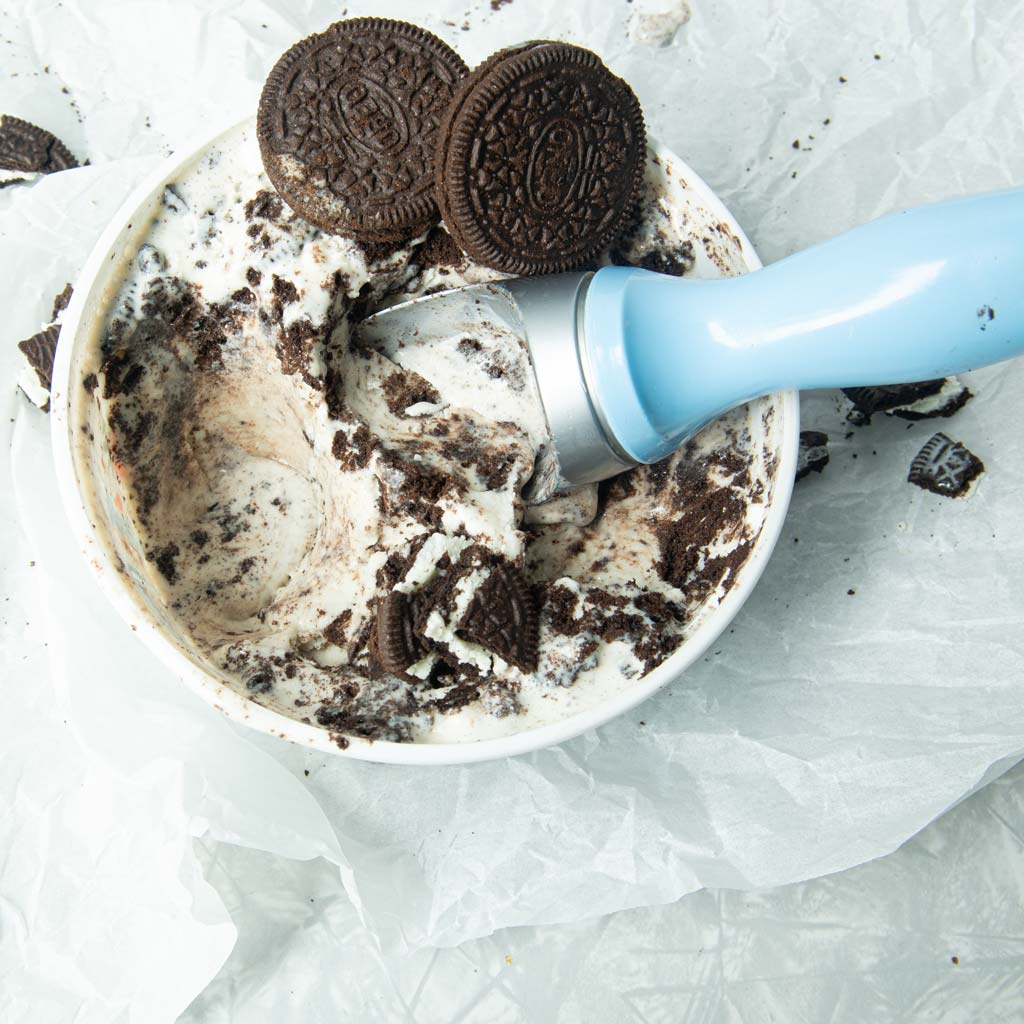
- Crushed cookies
- Graham cracker chunks
- Cookie sprinkles, etc.
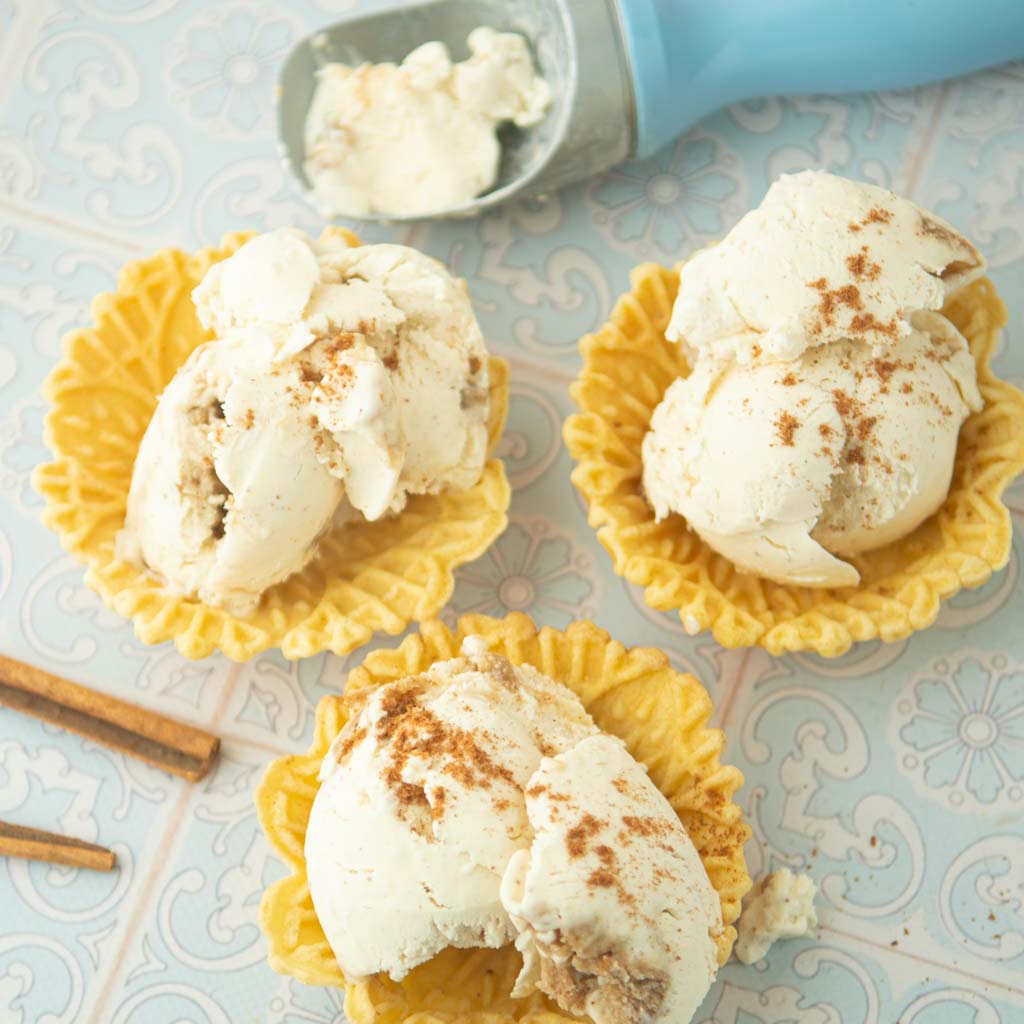
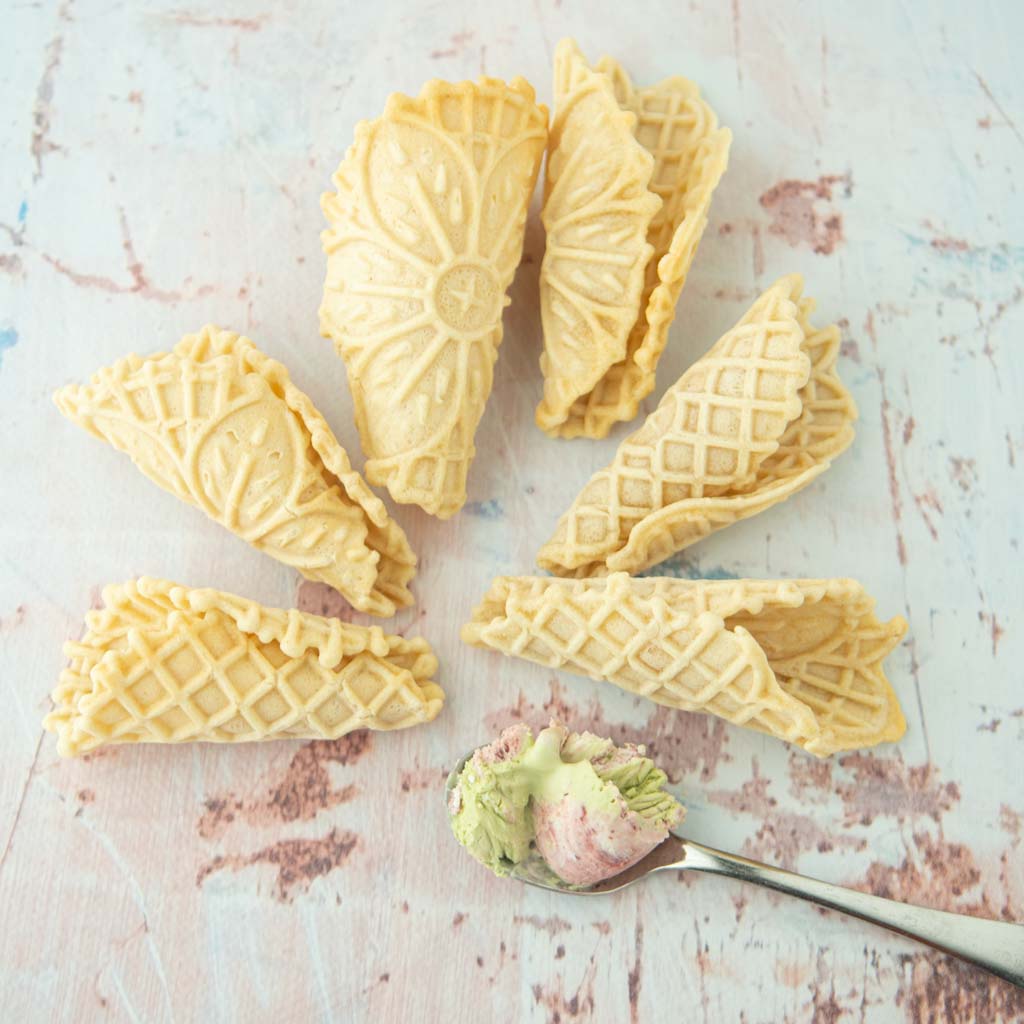
Cones and Cups
- Homemade Waffle Cones
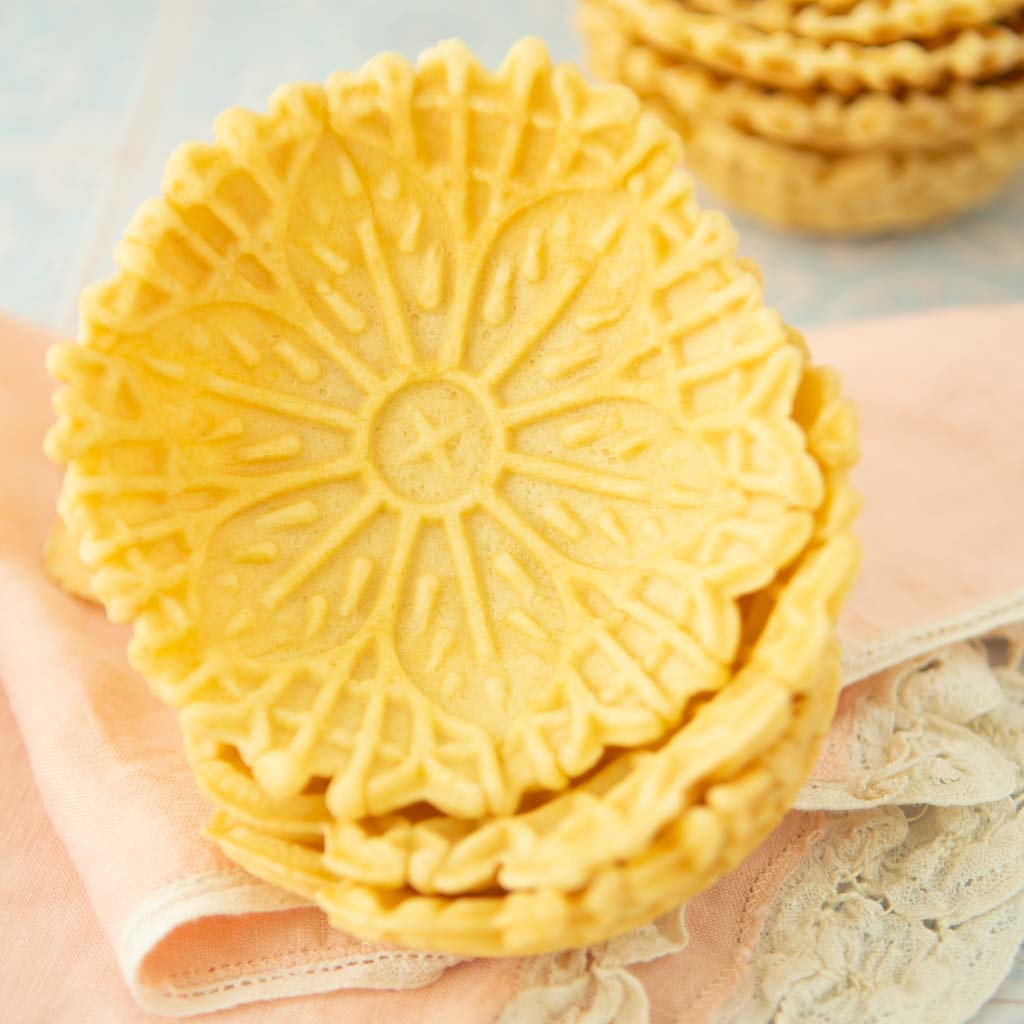
- Pizzelle Waffle Cups
- Sugar cones
- Waffle cones
- Paper cups
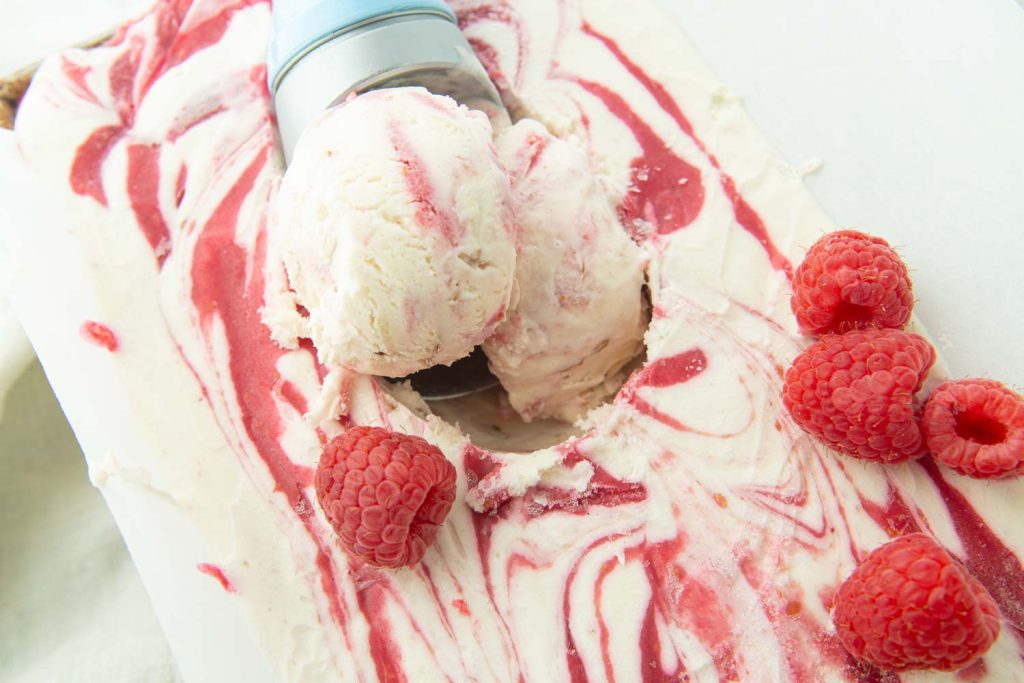
Toppings
Equipment Needed
- Ice
- Ice cream scoops
- Sheet pans
- Large tray for ice cream
- Disposable tablecloth
- Rubber bands
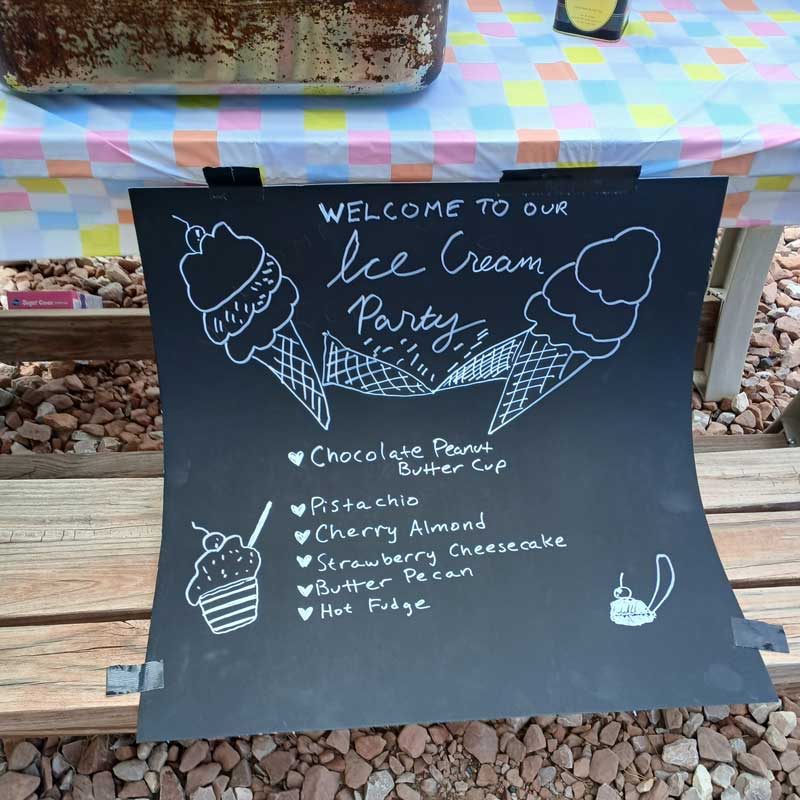
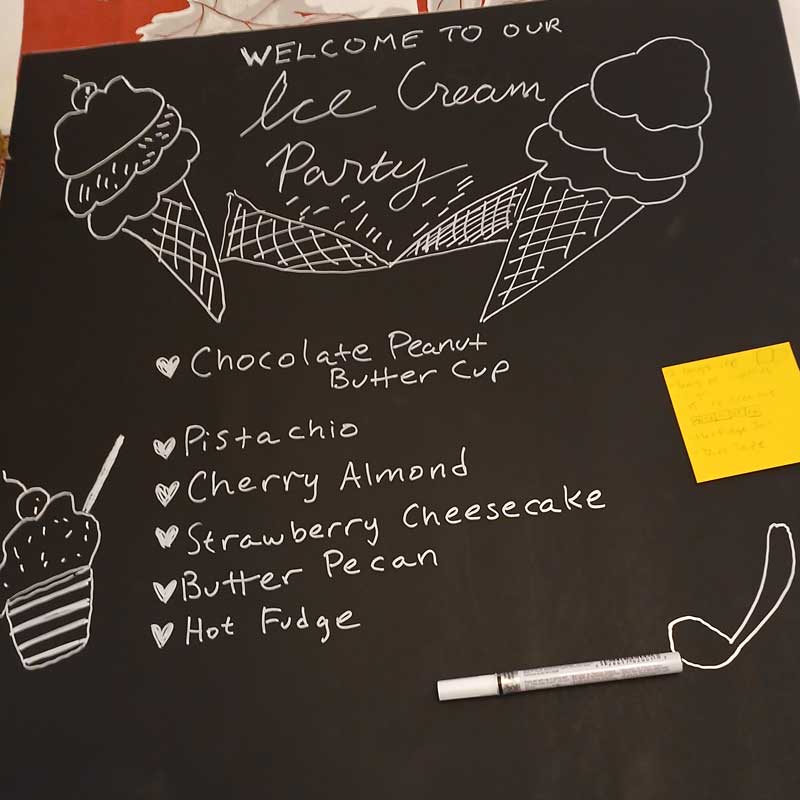
- Sign listing the flavors
- Duct tape
- Paper cups
- Spoons
- Napkins
How to Set Up Your Ice Cream Sundae Bar

- Send out invitations. Design a simple graphic in Canva and text it out to guests. Ask people to bring things if you’d like. Most people are more than willing.
- Add a plastic tablecloth to your counter or table. Drips are inevitable with ice cream, and a plastic tablecloth will make for super easy clean up later.
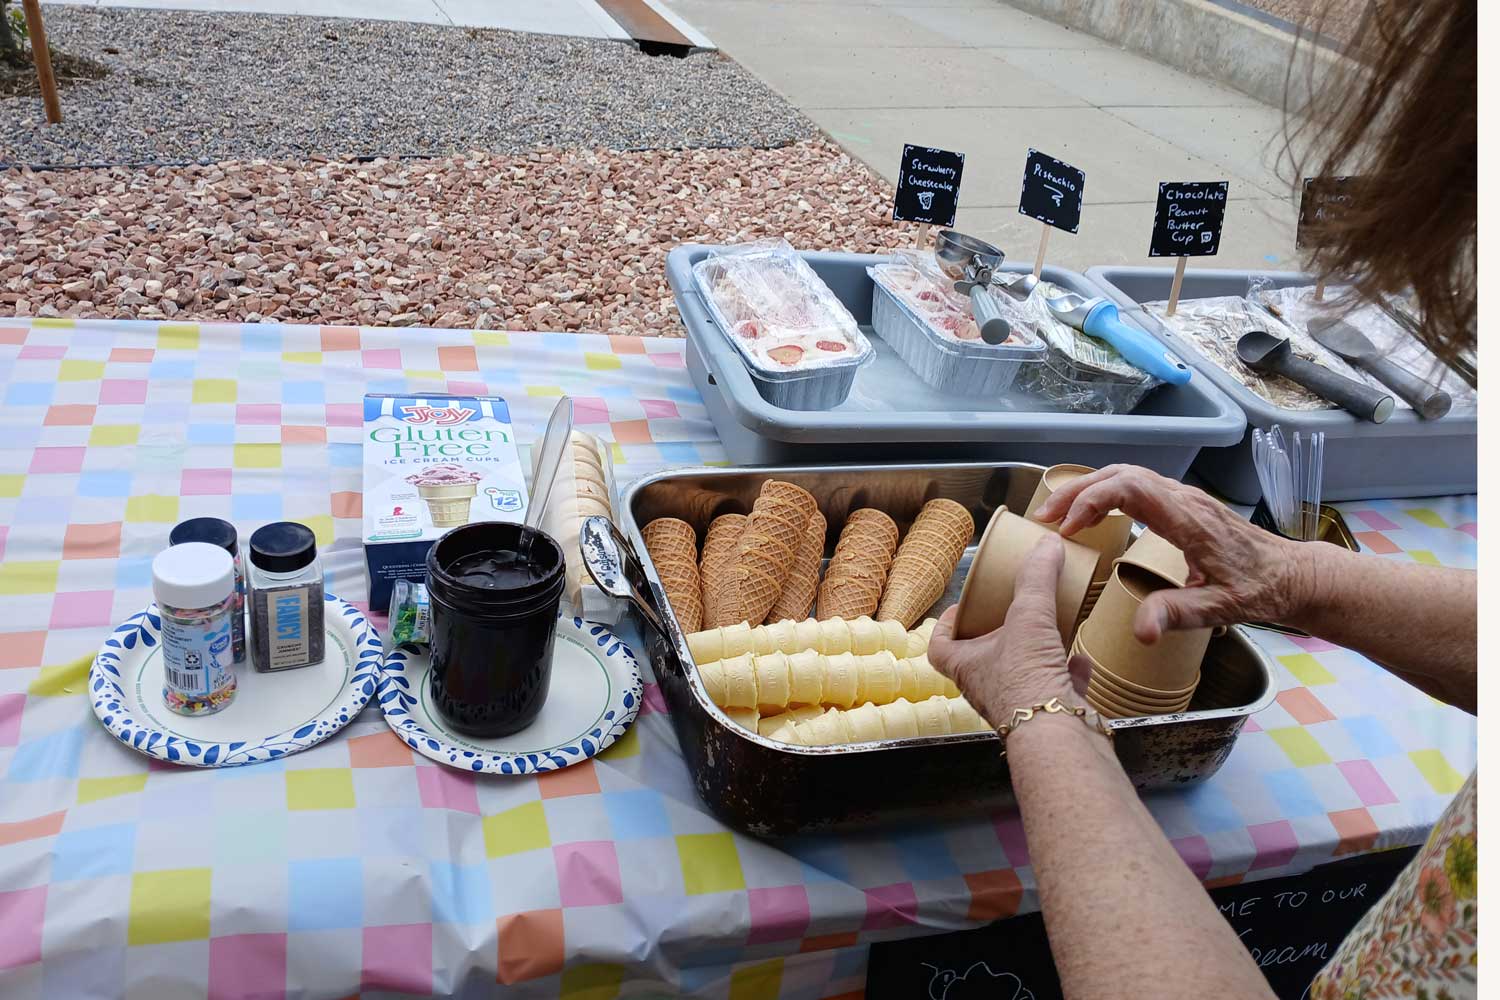
- Set out tray for ice cream: Get a roaster pan or other deep baking pan. Figure out how many ice creams you can fit in it to keep everything cold. You may need 1 or 2 of these pans depending on how many people you’re serving.
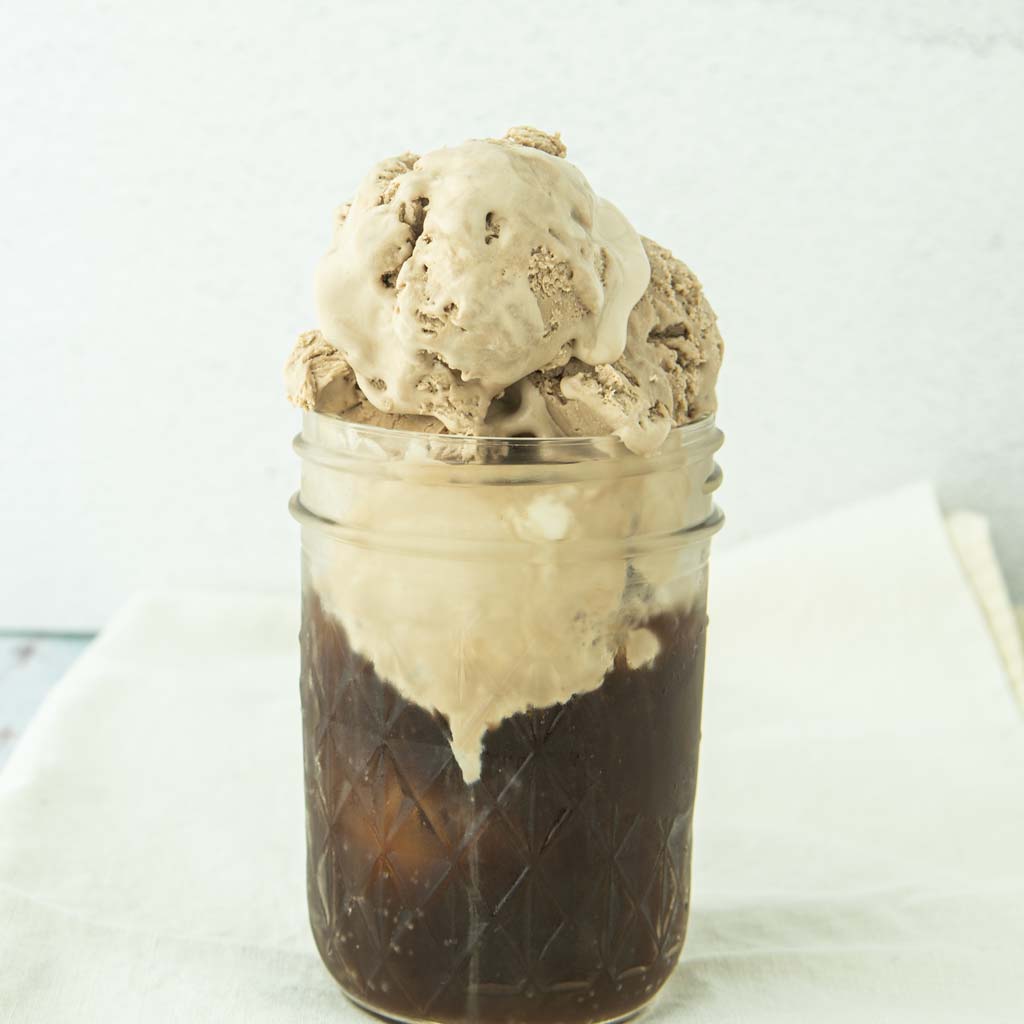
- Set out the toppings on a tray or plate. You can serve toppings in small bowls or Mason jars. Set out spoons for individual toppings if they are not in shaker jars.
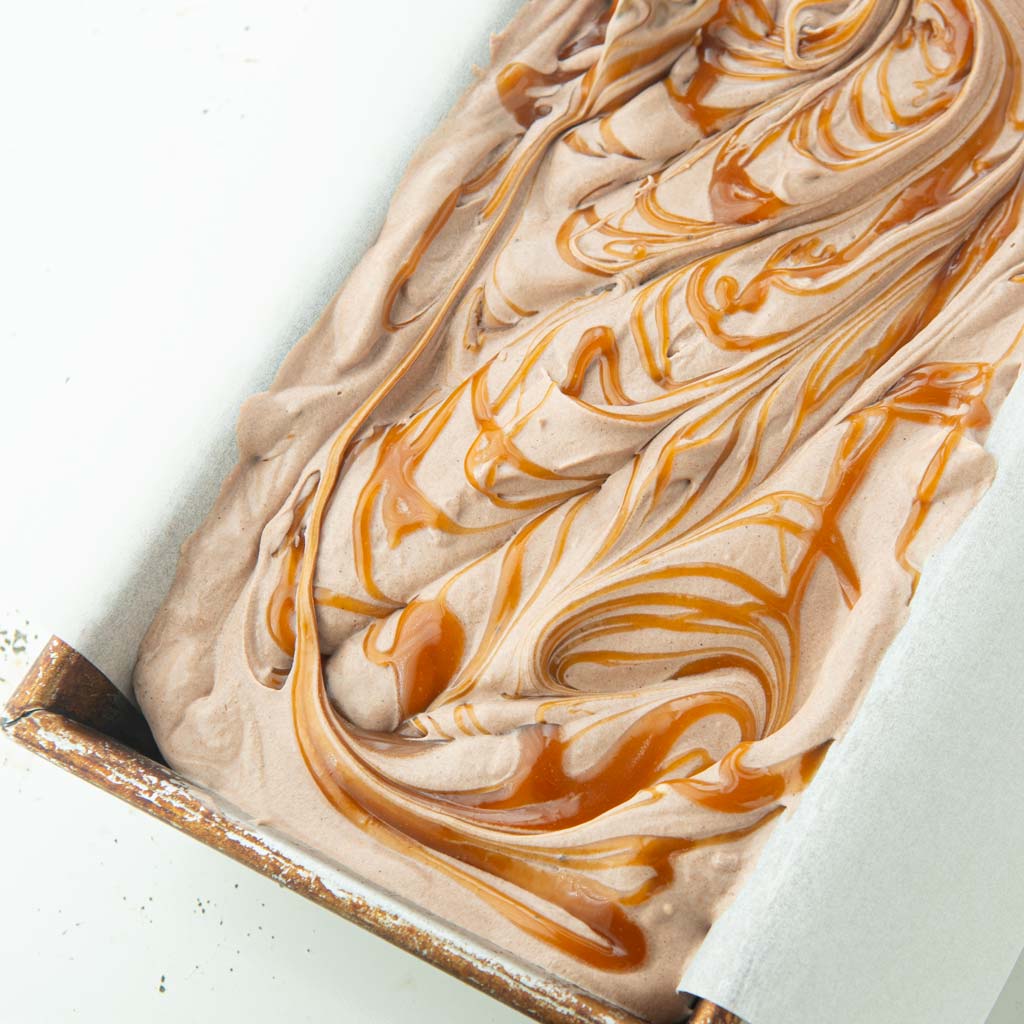
- Warm up: Right before serving, warm up any hot toppings like Hot Fudge Sauce , Vegan Caramel Sauce, or Coffee Caramel. Place these on a small tray or plate to catch any drips and give each jar a spoon.
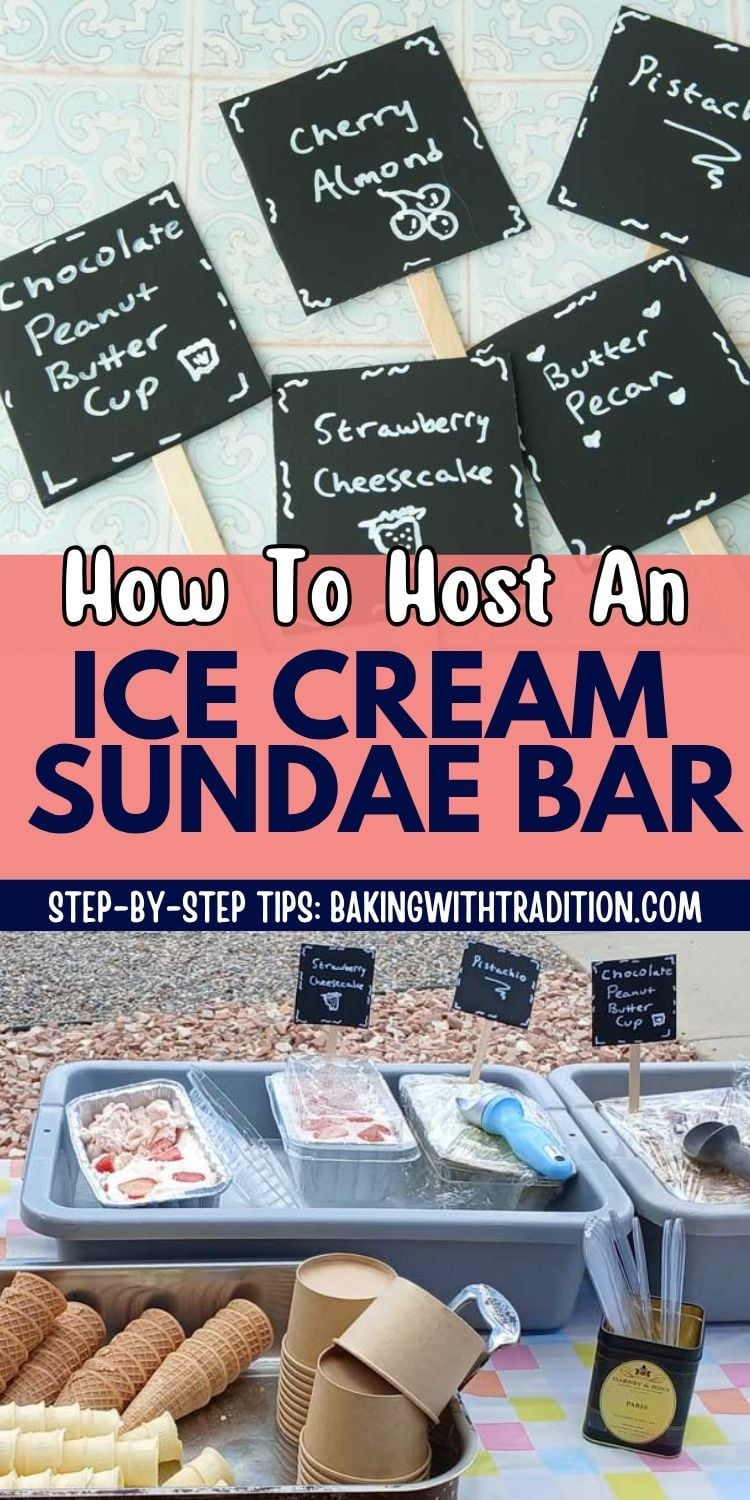
- Display your sign: Duct tape a sign with ice cream flavors to the edge of the tablecloth so that guests can see what flavors are available.
- Set out serving items: Place cones in another tray along with bowls, spoons, and napkins.
- Ice it up: Just before serving, fill the trays reserved for ice cream with ice and nestle the ice creams in the tray. Place a scoop on top of each ice cream for easy serving.
- Self-serve or Buffet Line?: You decide if you want to let guests serve themselves or if you want dedicated scoopers behind the table filling orders. If you have a lot of kids at your party, grab a dad from the crowd and recruit him to scoop for you!
Tips for Making Your Ice Cream Sundae Bar Easy

- Weigh down your tablecloth: Living in a windy place, it’s essential to weigh down tablecloths so everything doesn’t go flying. Grab a rock and pull each corner of the tablecloth tight against the table. Place a rock in the corner of the cloth and tie it in the tablecloth with a rubber band.
- Use a scoop per ice cream: If you don’t have enough scoops, have a jar of hot water on the serving table handy to rinse off scoops to keep ice cream flavors separate. If you have guests with nut allergies, be sure to have a dedicated nut-free scoop and a nut free rinse jar if needed to keep them safe.
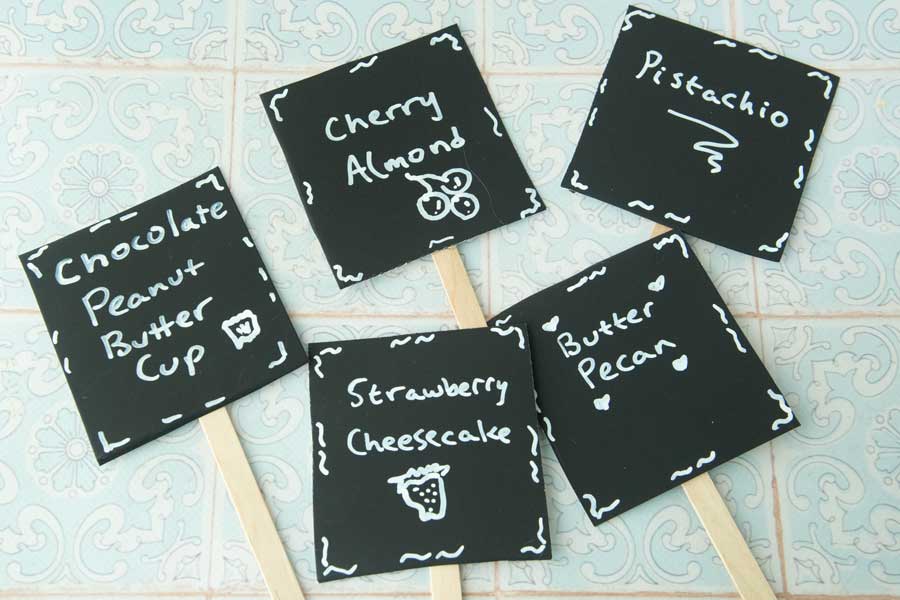
- Make signs for your ice cream: Make a giant sign on cardstock or posterboard with all the flavors and toppings listed. Make smaller signs for each flavor on an index card or other cardstock. Hot glue or tape the card to a popsicle stick and jam the stick into the ice cream so that guests can see what flavor they’re choosing.
- The best cold tray: If you have a restaurant supply store near you, you can buy a large tray bus boys use for cleaning up dishes. Buy the largest one you can fit in your freezer. Fill the tray with 2-3 inches of water and freeze for about 24 hours. This tray will keep your ice cream cool very effectively, plus you won’t have to buy ice.
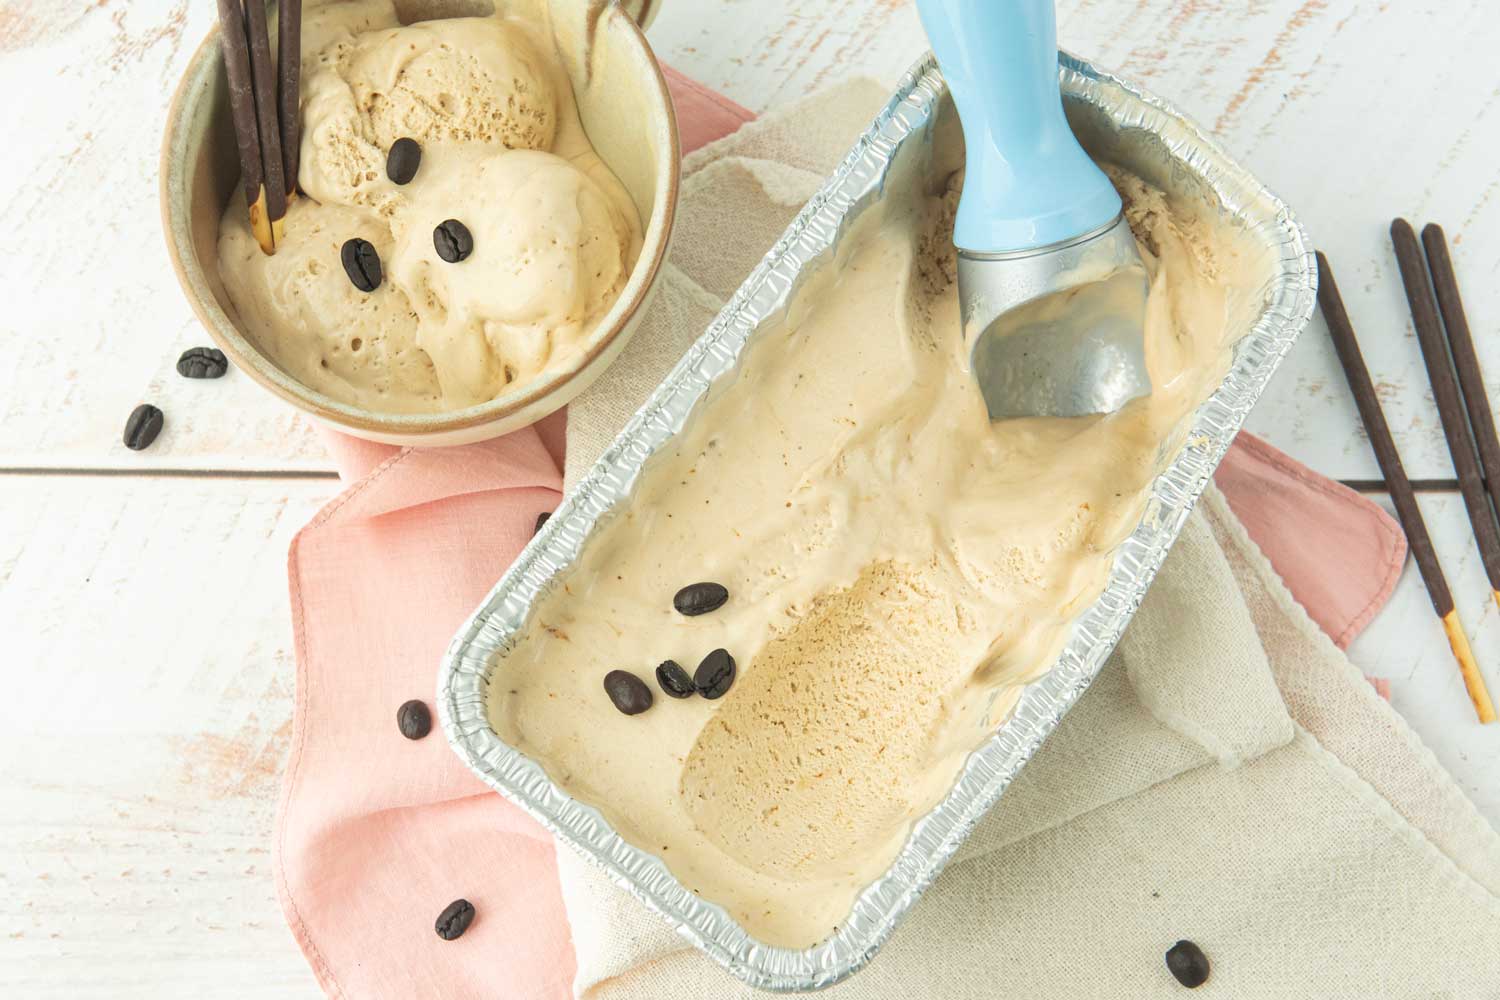
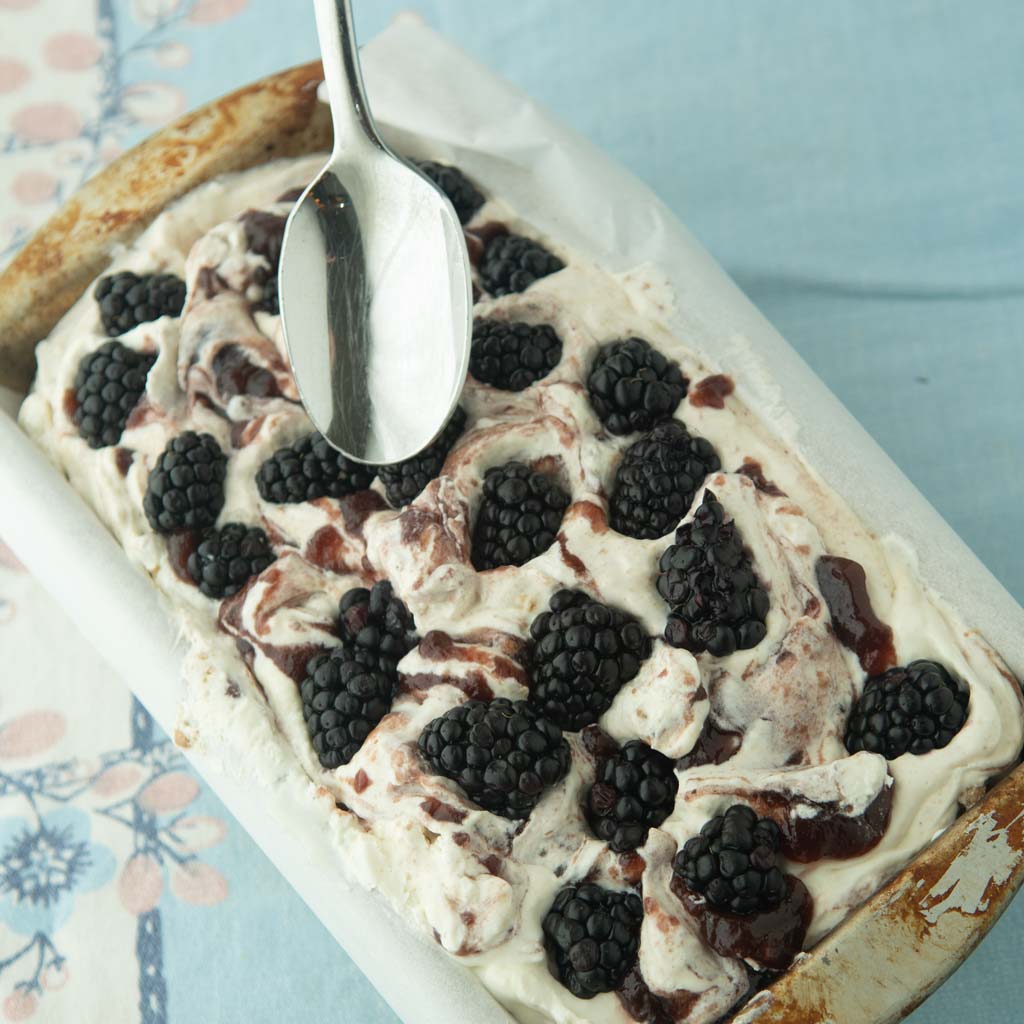
- Make ice cream in foil pans: If you’re working ahead, make your ice cream in foil pans. They’re both easy to move around and even easier to clean up at the end of your party since they are disposable.
- Potluck it: Don’t be afraid to assign guests with bringing different components. If you’re in charge of ice cream, people will be happy to provide sprinkles or cones or plates and spoons.