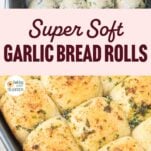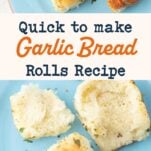
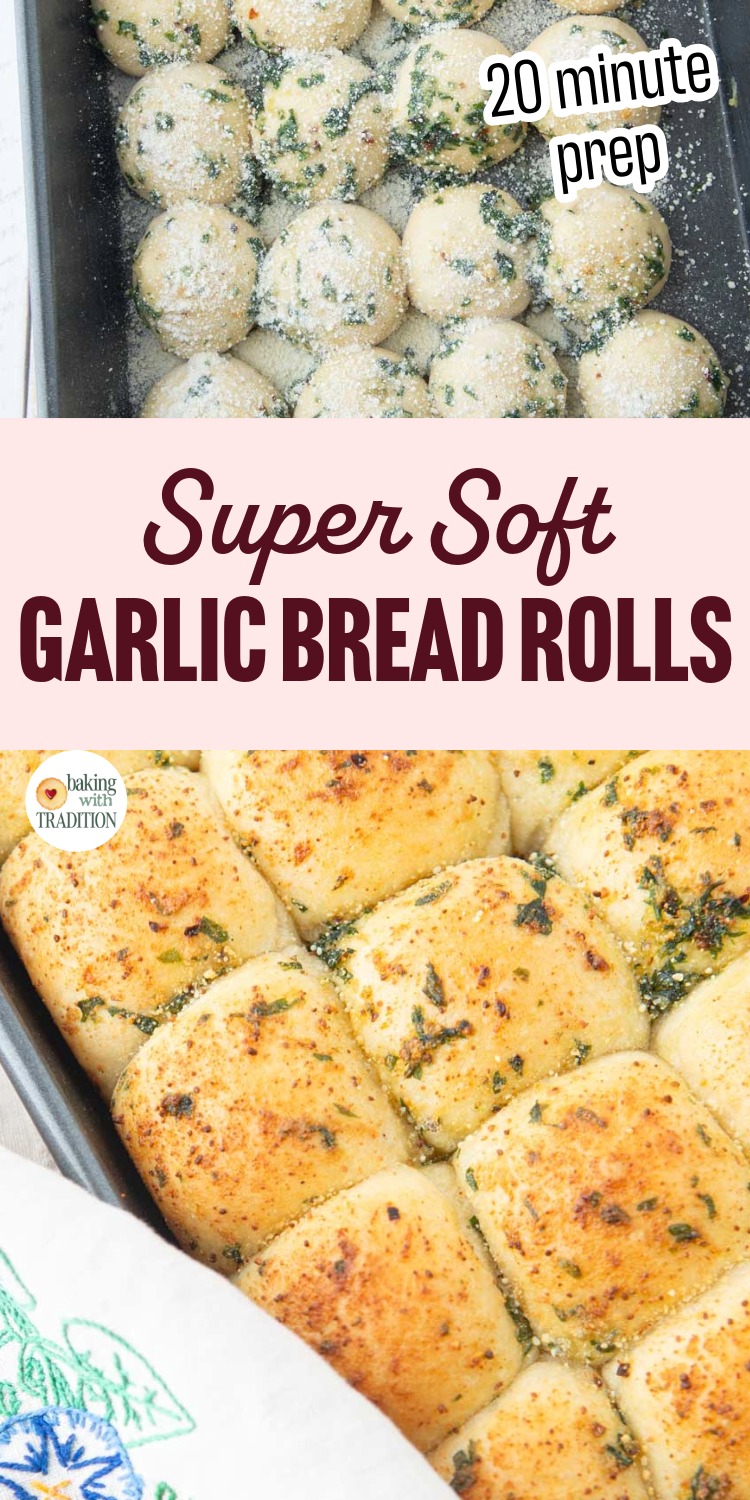
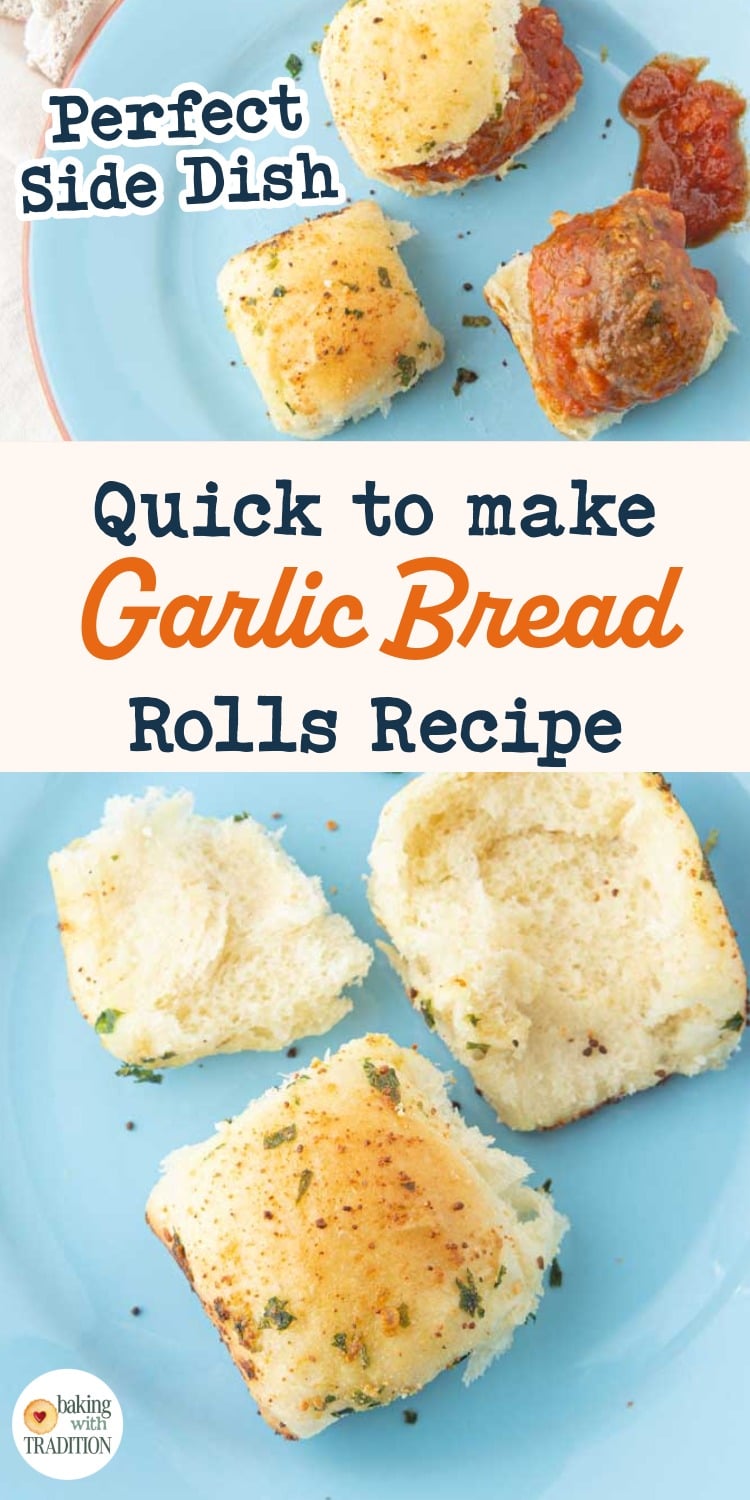
Super Soft Garlic Bread Rolls: Quick Win for Busy Weeknights
There is nothing to hate about these super soft garlic bread rolls; you can make this easy homemade roll dough in 10 minutes and enjoy their garlic butter doused tops after just 1 rise. The softness comes from brushing the rolls before and after baking with savory garlic butter. Any time you can combine big garlic flavor and fluffy softness, you’ve got a bread that will win the day.

| Taste | Texture | ||
| Garlicky, buttery, herby | Fluffy soft |
| Active time | Total time | Yield | Difficulty |
| 20 minutes | 1 hour 28 minutes | 24 rolls | Easy |

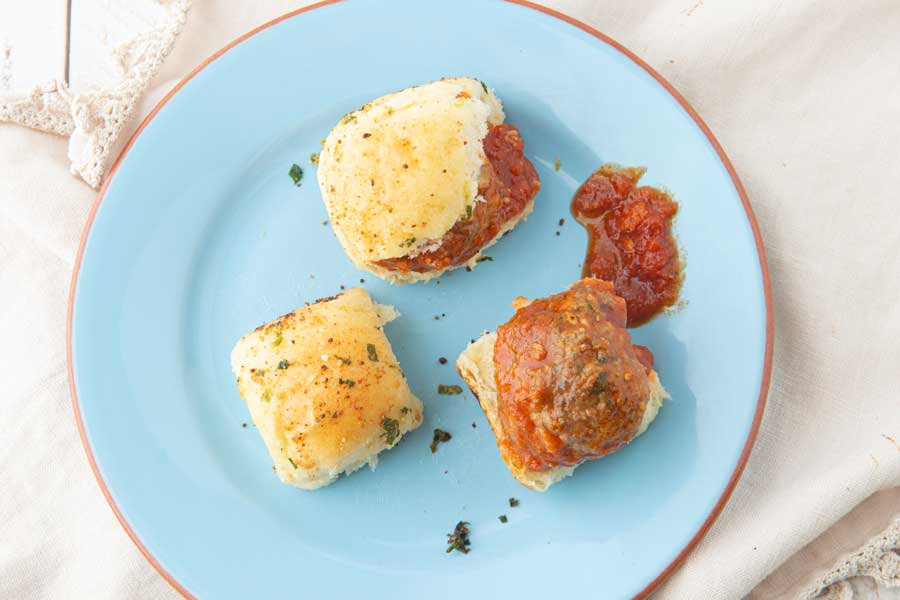
These are the perfect rolls to go with a pot of soup, chili or to use as slider buns. We love these with meatballs! With 3 hungry teenage boys in my house, rolls like his are always in high demand. They love splitting them open to make into mini pizzas or to pile up with sandwich fixings or just to eat them plain. I just about blinked on my first batch of these and my youngest son had eaten 6!
Aside from hungry teens, these rolls are an easy addition to your bread repertoire. There’s no fancy shaping needed, and you can get them into the oven in about an hour, which is crazy fast for yeast breads.
If I’ve got your mouth watering yet, it’s clearly time to get baking.
Why These Pillowy Soft Rolls Will Win Your Heart
- So soft: The egg and olive oil add a little richness that adds up to a soft dough. Add this with all the garlic butter, and you get a roll that’s light and fluffy and tender.
- Time saving: With just a quick rest and a super easy shape, you can make these rolls up with very little effort. Set them on the counter while you work on other things and they’ll be ready to bake by the end of your dinner prep.
- So much flavor: With granulated garlic and fresh garlic, these rolls do not shy away from big flavors. There’s added pepper and red pepper flakes too to support the garlic flavor and cheese because it’s awesome.
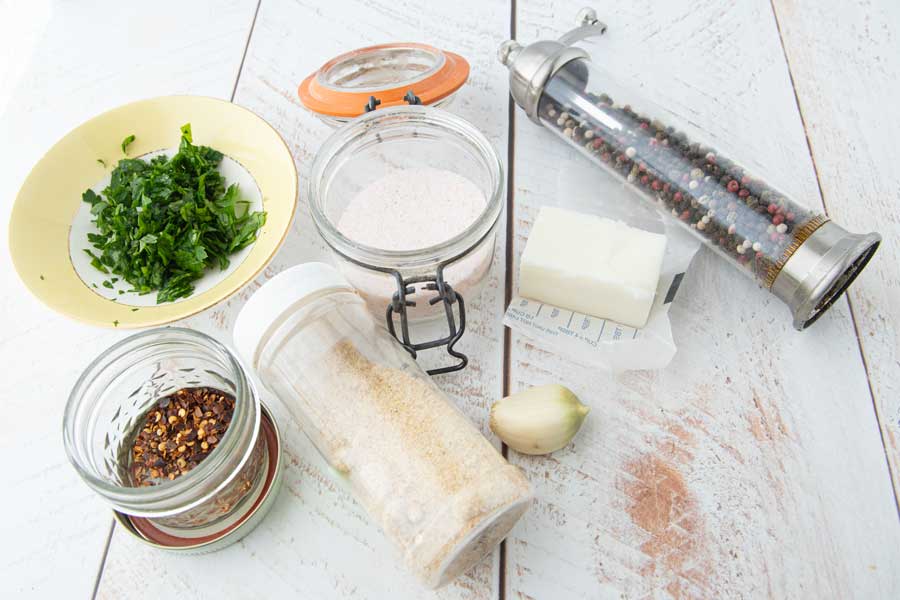
Ingredients for Garlic Bread Rolls
Garlic Bread Dough
- Water
- Instant yeast
- Granulated sugar
- Whole milk: keeps the crumb of the rolls softer than ones with water alone
- Olive oil: adds flavor and fat and tenderizes the dough
- Large egg: enriches the dough and makes it more elastic
- All-purpose flour
- Salt
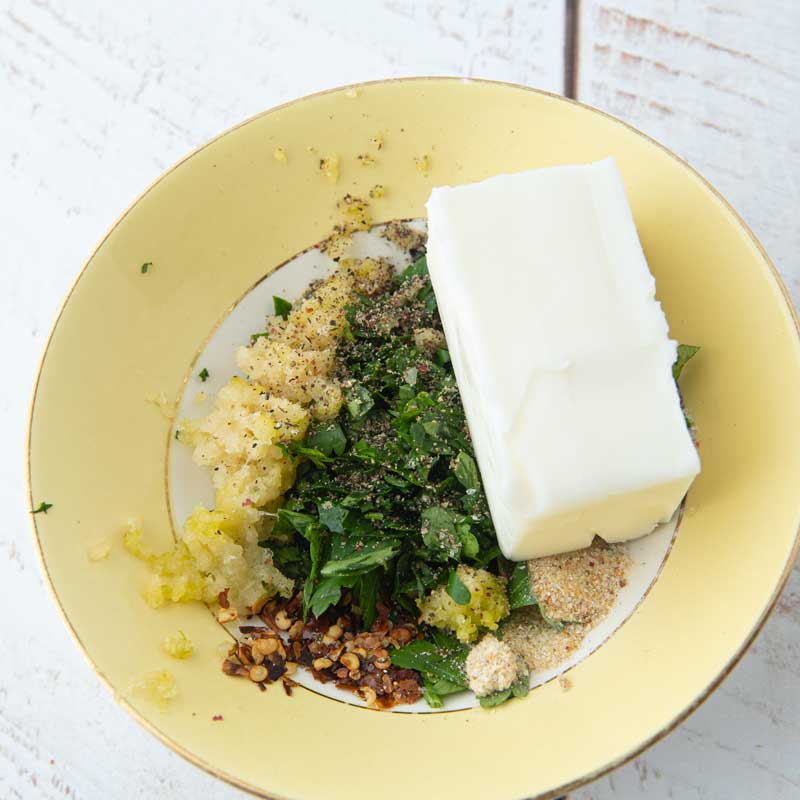
Garlic Butter
- Butter
- Fresh garlic, grated
- Red pepper flakes
- Ground black pepper
- Salt
- Grated parmesan
Equipment Needed
- 9 x 13 pan
- Bench scraper : makes for easy dividing of the dough into balls
- Pastry brush : for brushing the rolls
Process for Making Garlic Bread Rolls
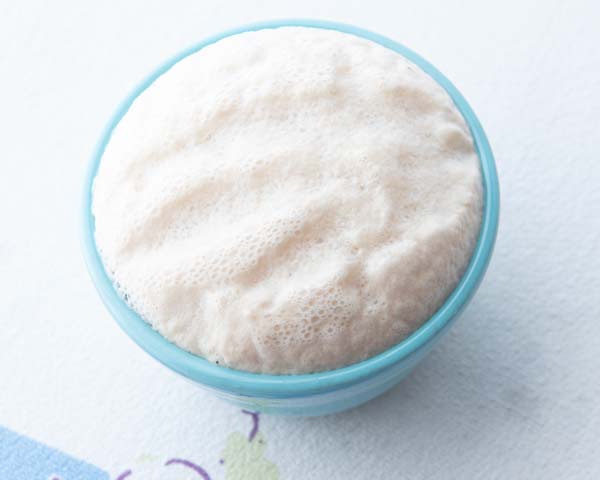

- Activate: Stir the yeast, sugar, and water. This gives the yeast a chance to dissolve fully before adding the rest of the ingredients.
- Warm the milk: a quick zap in the microwave will make the milk warm so the yeast will be at the best temperature when you mix everything together.
- Mix the egg and olive oil: Whisk the egg and olive oil into the milk.
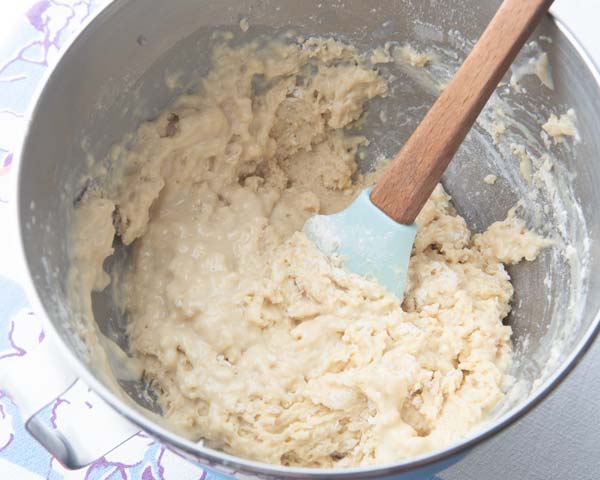
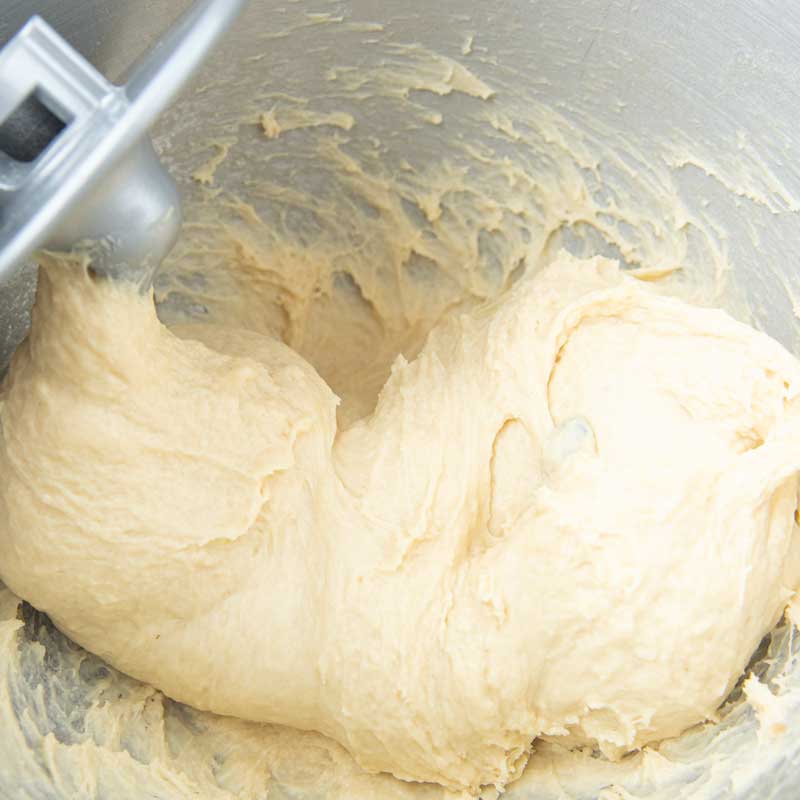
- Make the dough: add the yeast water and milk mix to a bowl along with the salt and flour. Stir to make a shaggy dough. From here you can either knead it by hand with a few turns to get everything smooth or put it in a stand mixer until it’s elastic.
- Rest: Cover the dough with a towel and let it rest for 10 minutes. This will let the gluten in the flour relax and the yeast to work enough to easily shape the dough without having to wait for a full rise.
- Make the garlic butter: Melt the butter and then stir in all the rest of the garlic butter ingredients except the cheese. Brush your 9 x 13 pan with a little bit of the butter.
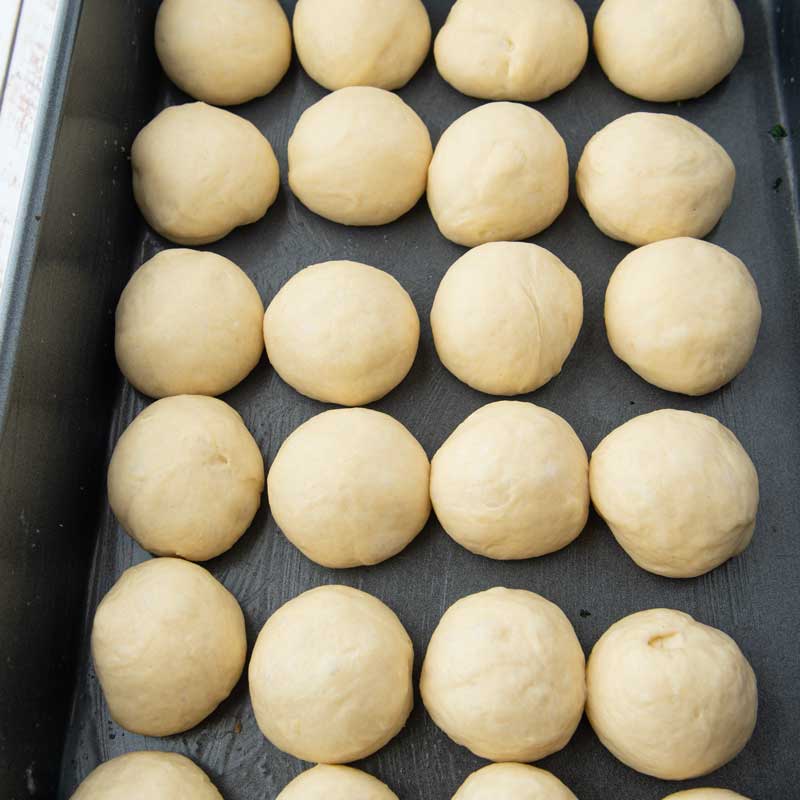
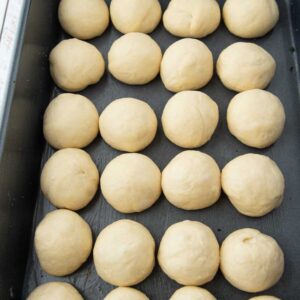
- Shape: Divide the dough into 24 pieces for small rolls (or 16 or 12 for larger ones). Roll the dough into balls,
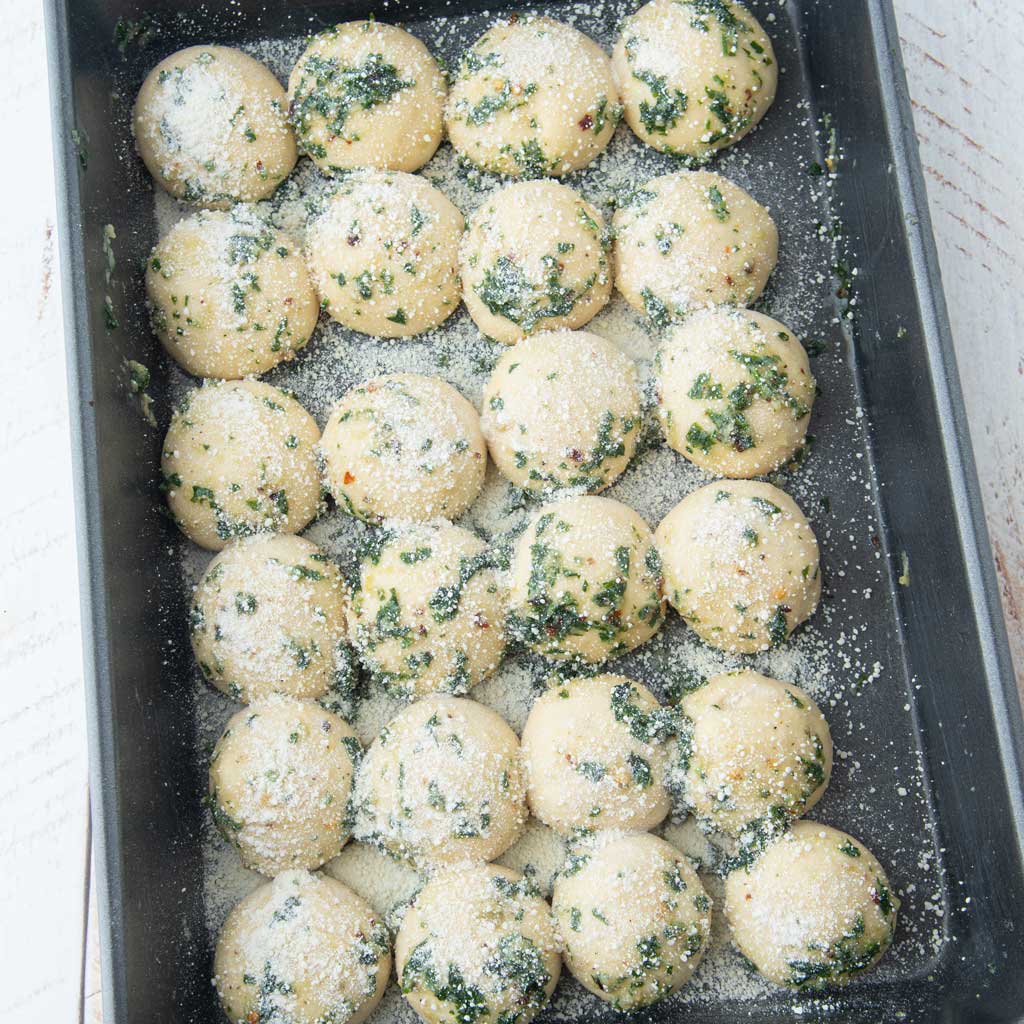
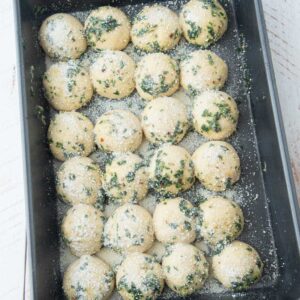
- Top: Brush the rolls with the garlic butter. Be generous, brushing the tops and between the rolls, but save a little butter for later. Scatter the cheese over the top.
- Rise: Let the rolls rise for 40 minutes.
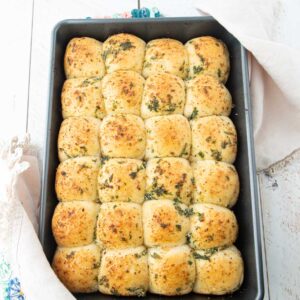
- Bake: Bake for 15-18 minutes until the rolls are golden brown and the tops of the rolls bounce back when you touch them.
- Brush again: When the rolls are done, brush the hot rolls with the rest of the garlic butter. The second brushing keeps the rolls soft and adds some more flavor.
FAQ On Tips to Make the Best Garlic Bread Rolls
1)Keep the balls of dough close together in the pan. Rolls that bake next to each other form soft pull-apart sides that are almost steamed together instead of forming crusty edges. 2) Avoid overbaking the rolls. Too much oven time will make the rolls more hard as it will evaporate too much of the water in the dough. 3) Also, be sure to brush the rolls again with the garlic butter when they’re fresh out of the oven will keep the surface softer than an unbrushed roll.
Rolls that are the same size will bake at the same rate. This is meant to be a quick recipe, but if you want to have perfectly sized rolls, weigh your dough in grams and then divide by the number of rolls you want to make. Weigh out portions of dough on a gram scale. This is not necessary to do, but it is something professional bakers do for consistency. You can eyeball it too. The more you work with dough, the better you get at portioning it out evenly without a scale.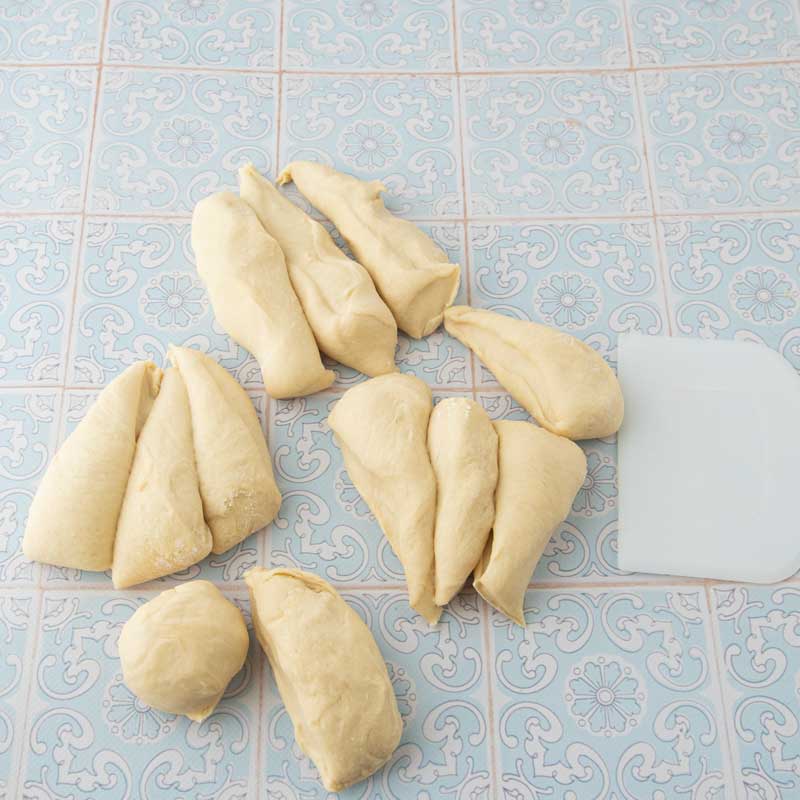
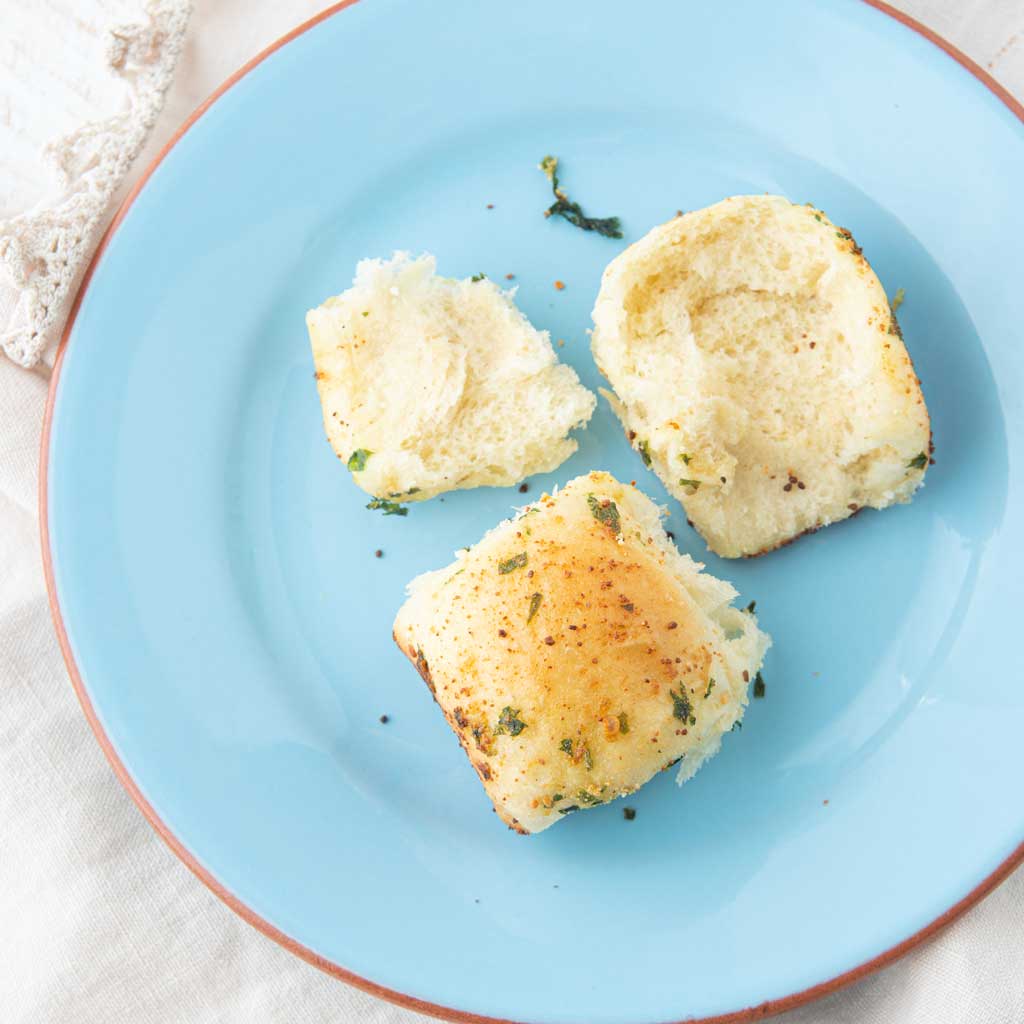
Absolutely! Baking the rolls next to each other keeps the sides together, so you can totally split the rolls in one layer. See how I do this for Reuben Sliders in my Deli Rye Pan Buns.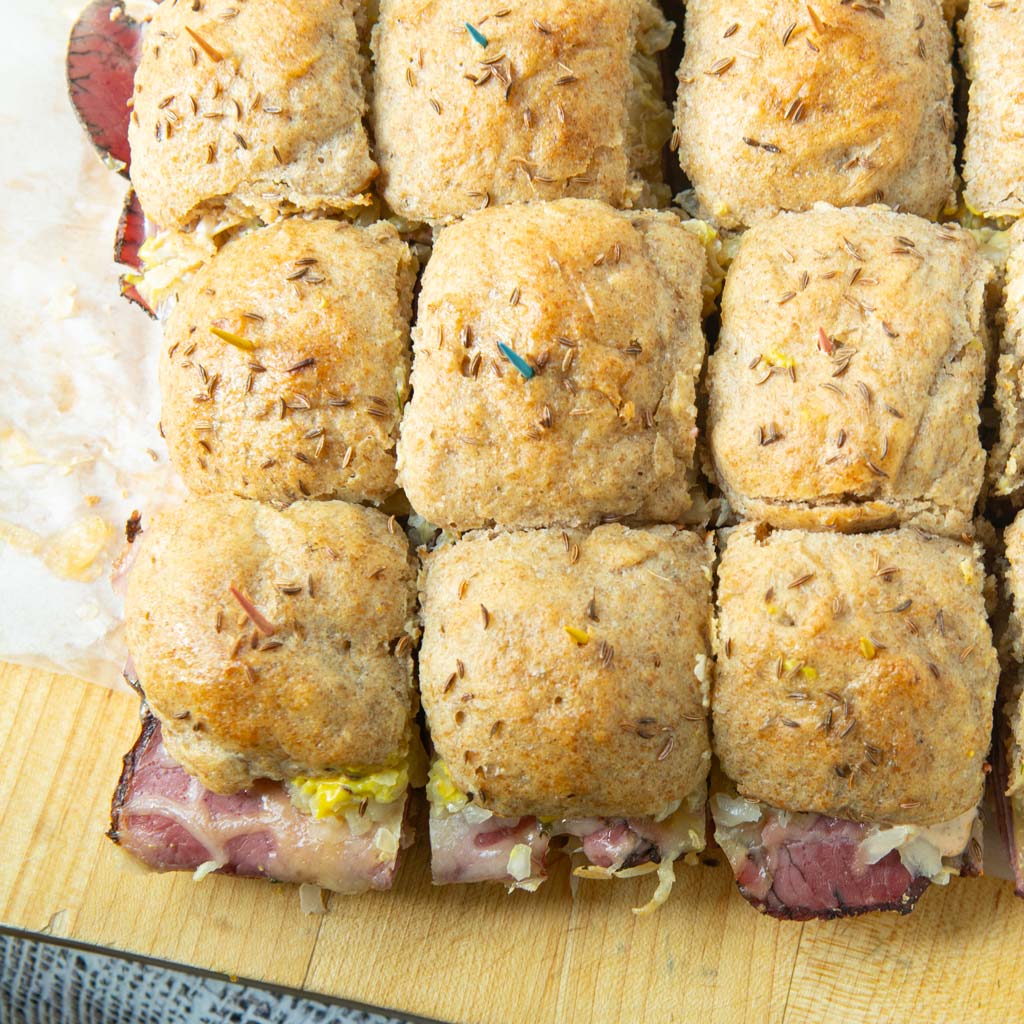
Super Soft Garlic Bread Rolls
- Total Time: about 1.5 hours
- Yield: 24 rolls 1x
Description
These rolls are the ultra savory dinner rolls with fluffy soft insides that you’ll want to make on repeat for any garlic bread craving. They go great with meatballs, pasta, soup, chili, and so much more.
Ingredients
Garlic bread Dough
- 1/2 cup warm water (118 mL)
- 2 teaspoons instant yeast
- 1/2 teaspoon granulated sugar
- 1/2 cup whole milk (118 mL)
- 2 Tablespoons olive oil (30 mL)
- 1 large egg
- 3 cups all-purpose flour (390 g)
- 3/4 teaspoon salt
Garlic butter
- 4 Tablespoons butter (57 g)
- 2 cloves garlic, grated
- 1/4 teaspoon red pepper flakes
- 1/4 teaspoon ground black pepper
- 1/4 teaspoon salt
- 1/4 cup grated parmesan or other hard cheese (pecorino or hard Greek myzithra)
Instructions
Make the dough
- Sprinkle the yeast and sugar over the warm water in a small bowl. Whisk to dissolve the yeast.

Mix yeast and water with pinch of sugar - Warm the milk in the microwave for about 30 seconds in a cup. Whisk in the egg and olive oil.
- Pour the yeast water and milk into a mixing bowl. Measure in the flour and the salt.
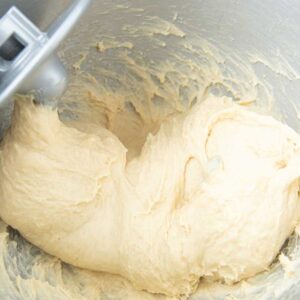
- To knead by hand, lightly flour a work surface, then dump out the contents of the bowl. Use your hands to push the dough away from yourself, then roll it back towards yourself. Continue this motion for about 10 minutes until you get a smooth dough. Alternatively, mix with a dough hook in a stand mixer on low speed for about 5 minutes. The dough will be smooth and elastic either way.

- Cover the bowl with a towel and let the dough sit for 10 minutes.

Make the garlic butter
- While the dough is resting, melt the butter. Mix in the rest of the garlic butter ingredients except the cheese.
- Brush the bottom and sides of a 9 x 13 pan with a little bit of the garlic butter.

Shape the rolls
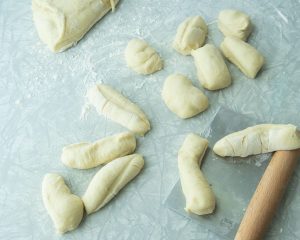
- Sprinkle some flour on a work surface and divide the dough into 24 pieces.
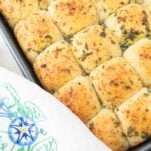
Form your hand into a dome shape and then rotate each piece under your domed hand around to create a smooth top to each ball of dough. Place the balls in the pan, keeping the rolls close together so that they bake next to each other, keeping the sides extra soft.
- Brush the tops of the balls with the garlic butter. You can drizzle some of the butter between the rolls as well. Don’t worry if you have extra garlic butter as we’ll use it after the rolls are baked.
- Scatter the cheese over the tops of the rolls.
- Cover the rolls to rise for 40 minutes.
Bake the rolls
- Towards the end of the 40 minutes, preheat the oven to 350 F (180 C).
- Bake the rolls for 15-18 minutes until they are golden brown and the tops bounce back when you poke them in the middle.
- Immediately brush the rolls with the leftover garlic butter to keep them soft.


Notes
Larger rolls: You can make larger rolls if you’d like. 24 rolls makes small slider buns, 16 makes for larger slider buns, and 12 makes large dinner rolls.
Add a rise, get better flavor: If you want a little more flavor from these rolls, change the 10 minute resting period into a full rise of 1 hour. Yes, it will take a little longer from start to finish, but your active time will not change. The second rise will give you dough that’s slightly easier to work with and a little more flavor.
Time saving one-layer bread: To save time, skip making balls of the dough. Instead, pat the dough into the pan and allow the dough to rise into one thick layer of bread. To make into sliders, you can simply slice the bread horizontally into 2 pieces and cut into squares after you fill. This bread won’t be as pretty as the individual rolls, but it will cut down your prep time, and who doesn’t want that in party food?!
- Prep Time: 20 minutes
- + 50 minutes rising time:
- Cook Time: 18 minutes
- Category: Breads
- Method: Oven
- Cuisine: American