Painted Apple Spice Sugar Cookies
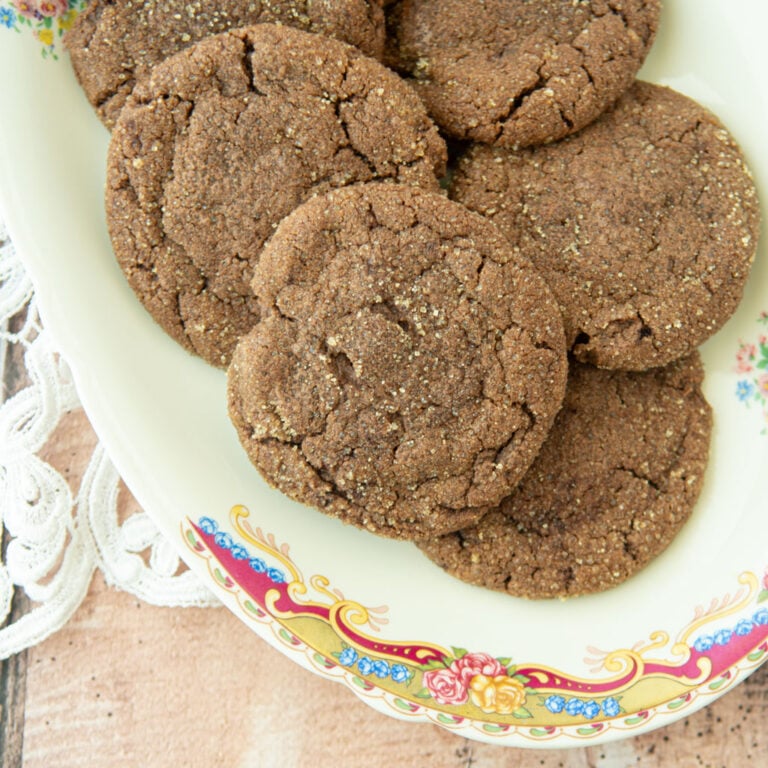
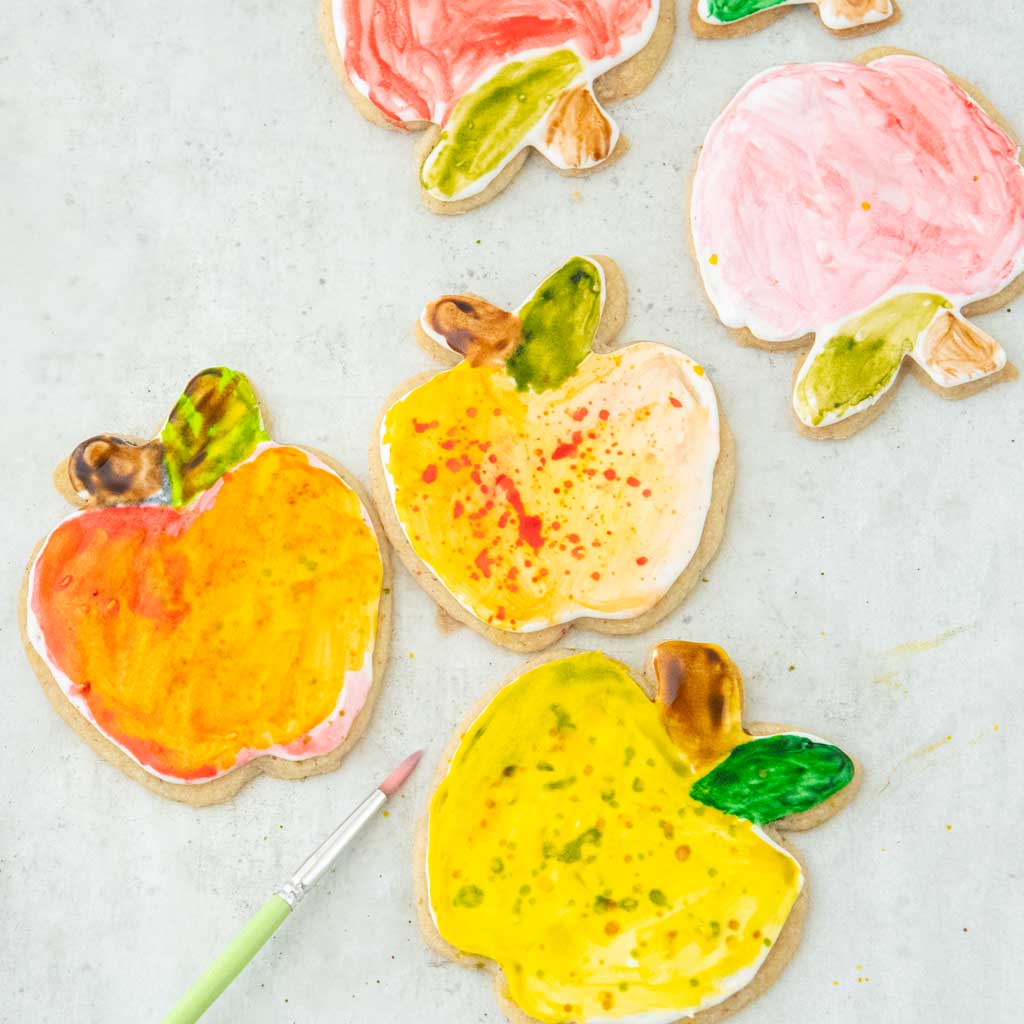
These apple spice sugar cookies have the perfect bit of Fall flavor in the way of Apple Pie Spice. Even better the no-fuss royal icing with easy watercolor painting on the cookies is cookie decorating you’ll actually look forward to doing. This is a great recipe to make with kids, who absolutely love the process of painting the cookies.
| Taste | Texture | ||
| Buttery, sweet spice | Tender, delicate |
| Active time | Total time | Yield | Difficulty |
| 20 minutes | 8 hours 45 minutes | 24 cookies | Easy |
I’ve been experimenting with painting cookies for a while now. At our annual Cookie Decorating Party we’ve been painting Springerle cookies for the past several years. Year after year, that station is a favorite. Since Springerle are a bit of a project that’s too big outside of the Christmas season, I’ve been making batches of cutouts periodically and learning to paint royal icing. As I photograph different cookies, I will write a bigger post with all the pointers. For now, I’ll not bury the lead and tell you that this will simplify your cookie decorating and save you so much time and stress, plus you’ll have more fun. My daughter’s go-to activity she wants to do when she has friends over now is to paint cookies.

Why You’ll Love Making Apple Spice Sugar Cookies
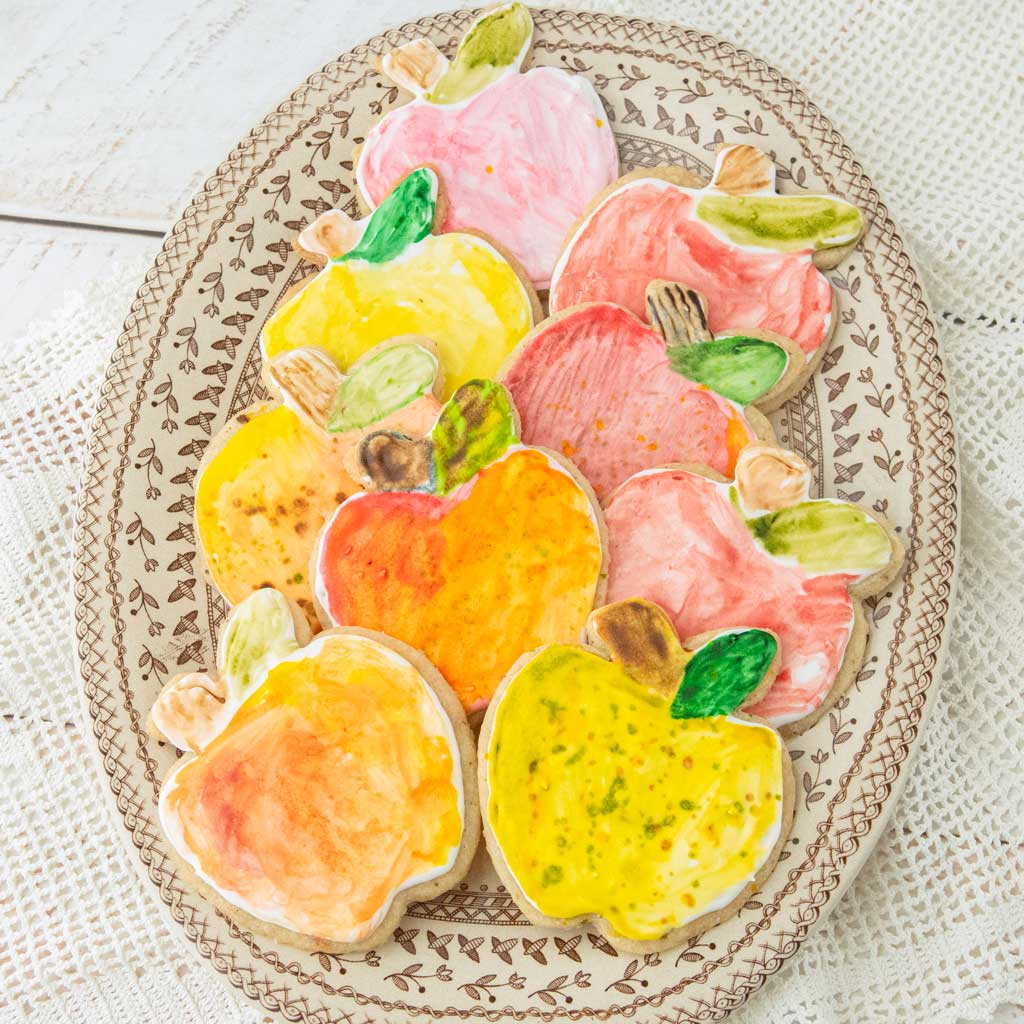
- Painting Cookies is So Fun: This is such a fun activity to do with kids. Mixing colors and painting is relaxing and a great thing to do while chatting. This is a relationship-building recipe!
- Delicate spice: These are not like a gingerbread cookie. There’s just enough spice to make you think of apple cider.
- Fun Fall Cookie: Early Fall means apples. If you’re not into making Apple Strudel or Apple Fritters, these cookies are a fun way to bring in all the Fall feels.
Why I’ll Never Stop Painting Sugar Cookies
- Quicker Than You Think: I’m not kidding when I tell you that my daughter and I can casually paint a batch of these in 10 minutes. We’re not wildly practiced yet either. You will never be able to decorate sugar cookies more efficiently than painting them. Yes you have to wait for the icing to dry before painting, but that is passive and definitely can be done a day ahead.
- Relaxing: This is decorating that’s actually relaxing to do. There’s no managing 6 different colors of icing in different consistencies, no worrying about humidity in the air that could be drying out those icings, no timing of this color vs. that color. Your cookie is your canvas and you simply paint. That’s it.
- Less Food Color, Less Waste: Painting cookies uses much much less food coloring than tinting icing does. This means you’re consuming less dye and you’re wasting less of it too.
- Intuitive: You really can’t screw this up. Every cookie will be unique and beautiful in its own right. Just paint with your heart. It really works.
Ingredients for Apple Spice Sugar Cookies
Apple Spice Sugar Cookie Dough
- Butter
- Powdered sugar
- Egg yolk
- Vanilla paste or vanilla extract
- All-purpose flour
- Salt
- Apple Pie Spice or cinnamon and nutmeg
Royal Icing
- Powdered sugar
- Meringue powder
- Water
Decorating
- Several colors of gel food colors (red, yellow, green, brown)
- Clear vanilla extract or vodka
Equipment
- Parchment
- Rolling pin
- Food safe brushes (you can use cheap artists’ brushes too, just dedicate them for food only!)
- Disposable pastry bags
- Eyedropper or small spoon
- Plate or palette for mixing colors (use it for food only)
Why Do I Need Vodka or Clear Vanilla to Paint Cookies?
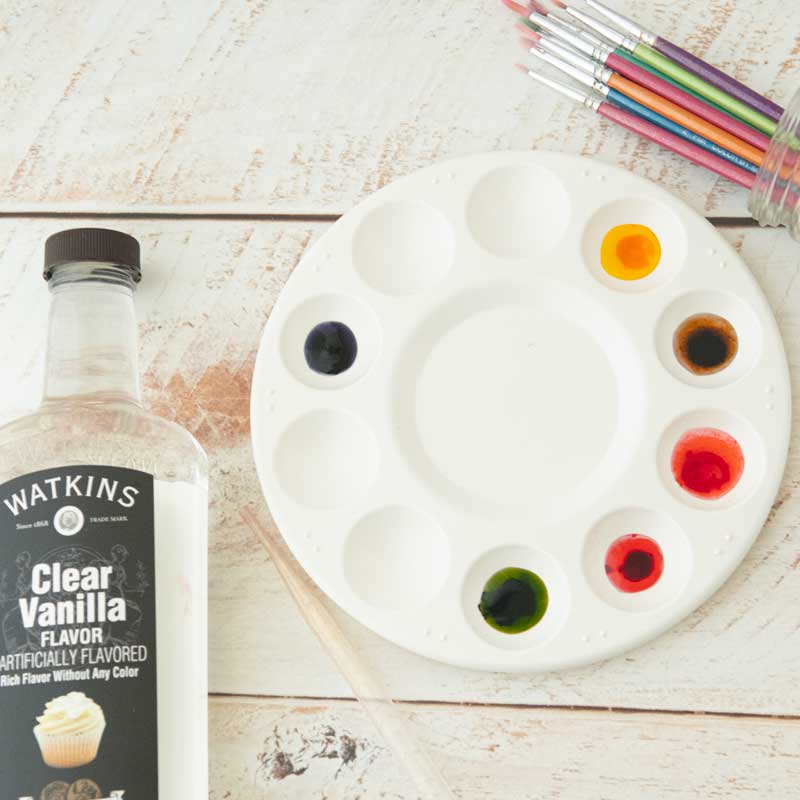
You need some kind of medium to thin out the food coloring so that it is a paintable consistency. Water or milk will soak into the cookie, so you need something that will evaporate quickly. You have two options to do this:
- High Proof Alcohol: A high-proof alcohol like vodka or Everclear will evaporate quickly without leaving a taste. Also, the higher the proof, the less streaky the finish. I personally don’t notice much of a difference in this. If you want to paint a lot of detail work on your cookies, the alcohol choice is probably the way to go. While there is only a drop or two of alcohol in an entire cookie, if that bothers your conscience or you’re working with kids, choose option 2. ↓
- Clear Vanilla Extract : Clear vanilla extract combines imitation vanilla flavor in a food-safe synthetic alcohol (propylene glycol), so it will still dry. Propylene glycol though will not cause intoxication. This is always my choice when I’m painting with kids.
Where to Find Good Food Colors
- Hobby Lobby: I have been pleasantly surprised by the gel food coloring from Hobby Lobby. It comes in so many colors and in little dropper bottles that are so much less messy than the Wilton pots. Because they’re almost always on sale, you can stock up on the cheap. You can also get inexpensive disposable pastry bags here.
- Michael’s: Wilton colors really are nice, but you’ll need toothpicks on hand to use them. Do not double-dip the toothpick into the color so that the colors last longer. Michaels also has Satin Ice colors which look to have the same kind of dropper bottle Hobby Lobby sells.
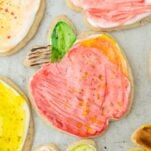
Painted Apple Spice Sugar Cookies
- Total Time: 8 hours 45 minutes
- Yield: 24 cookies 1x
Description
These simple sugar cookies with have a hint of apple pie spice and are so fun to paint with an easy watercolor technique on royal icing.
Ingredients
Butter Sugar Cookie Dough
- 1 stick of butter at room temperature (113 g)
- 1/2 cup (60 g) powdered sugar
- 1 egg yolk
- 1 tsp vanilla extract or vanilla paste
- 1 cup (130 g) all-purpose flour
- 1/2 teaspoon of Apple Pie Spice or 1/4 teaspoon cinnamon and 1/4 teaspoon nutmeg
- pinch of salt
Decorating the cookies
- 1 batch Sturdy Royal Icing
- 1–2 Tablespoons water
- Various colors of food color gel
- Clear vanilla extract or vodka
Equipment
- Parchment
- Rolling Pin
- Apple shaped cookie cutter
- Disposable pastry bags
- Food safe brushes
- Eyedropper or small spoon
- Paper towels
- Small jar of water
Instructions
Make the Dough
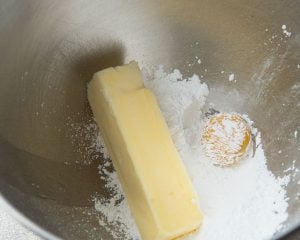
- Using a paddle attachment on a stand mixer, mix the powdered sugar, butter and egg yolk until just combined.

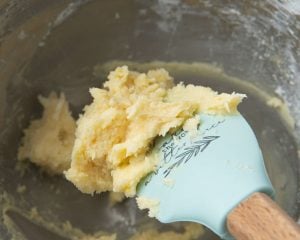
- Add in the vanilla, salt, and Apple Pie Spice to the butter to combine. The mixture should be well-combined but not fluffy.
- Pour in the flour, then pulse the mixer a few times before letting it run just long enough for the flour to disappear–about 10 seconds. Turn off the mixer, and use a baking spatula to squish in any flour that’s hanging out at the bottom of the bowl.
Rolling the Cookies
- Get 2 pieces of parchment out and have 2 sheet trays at hand.
- Lightly flatten the dough ball with your hands into a flattish round (the picture below is of Linzer dough, but the principle is the same).

- Cut the dough in half. Lightly sprinkle one of the sheets of parchment with flour, then sprinkle flour on the top of one of the pieces of dough.

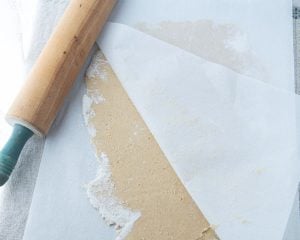
- Place the dough unfloured side down on top the floured parchment, then cover with the second piece of parchment.
- Bring the edge of the parchment to the edge of the counter and hold it in place with your hip.
- Roll the dough between the two sheets of parchment into a sheet about 1/8″ thick.
- Slide the parchment onto a baking sheet and chill for 15 minutes in the fridge or 10 minutes in the freezer.


Bake the Cookies
- Preheat the oven to 350 degrees F (180 C).
- After 15 minutes, peel off the top piece of parchment.
- Use an apple cookie cutter to cut the cookies. Place the top parchment on the second sheet tray, then place the cut cookies.
- Bake for 5 minutes, then rotate the baking sheet 180 degrees.
- Reroll any scraps into a second sheet of dough, then chill while the first batch of cookies is baking.
- Bake for 5 more minutes until the edges are set and just beginning to take on color.
- Let the cookies sit on the sheet tray until the baking sheet is cool.
- Bake the second batch the same way as the first.
- Store cookies in an airtight container for up to a week or freeze them for up to 3 months.
Make the Icing
- Make a batch of Sturdy Royal Icing, adding 5 tablespoons of water to the powdered sugar.
- After the icing has thickened, take the whip attachment off your mixer and stir the icing by hand. Let the icing fall off the whip. It should be about the consistency of thin toothpaste. If you need to, add a couple drops of water at a time to get to this consistency.
- The goal is to make an icing that won’t run off the edge of the cookie while you outline the shape but also is thin enough to easily fill in the outline with icing (flooding).

Outlining and Flooding the Cookies
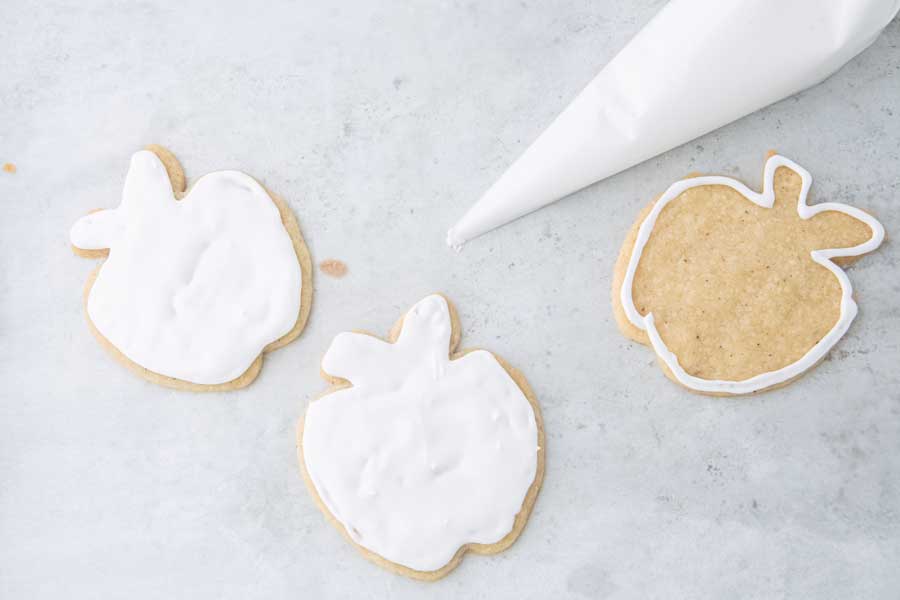
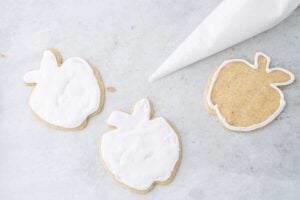
- Scoop the icing into the pastry bag. Use the flat edge of your hand or a bench scraper to remove all the air out of the bag. Cut the tip of the bag about 1/2″ from the end to make a fine but not too fine hole. Twist the top of the bag.
- Holding the pastry bag in your dominant hand, squeeze the icing from the top of the bag to quickly outline the edge of the cookie. Use your non-dominant hand to guide the bag.
- Once you’ve outline your first cookie, squeeze a layer of icing on the interior of the shape. If you need to, you can use a barely damp finger to smooth out any bumps or fill in any gaps in the icing. Ideally, the icing will flow into the gaps on its own. Don’t worry if things aren’t perfect. Once cookies are painted, you will not notice any imperfections in your icing.
- Repeat this process for all the cookies. Allow the cookies to dry completely before painting, ideally overnight right on the sheet trays you baked them on.
Painting Setup
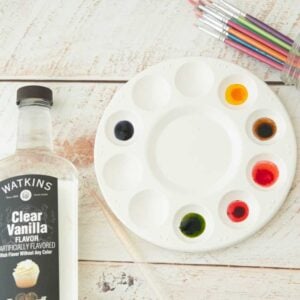
- Fill a tray or plate or artist’s palette with a drop of several different colors of food coloring.
- Set out your brushes next to the cookies, keeping a small jar of water and a couple paper towels handy for rinsing and drying the brushes as you paint.
- Use an eyedropper or a small spoon to mix a few drops of clear vanilla extract or vodka into each color.
Basic Painting
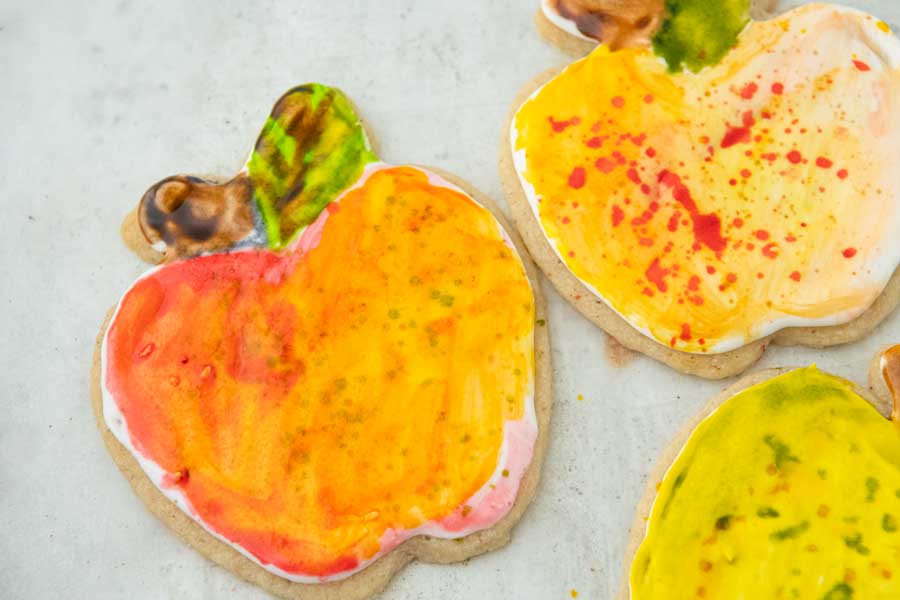
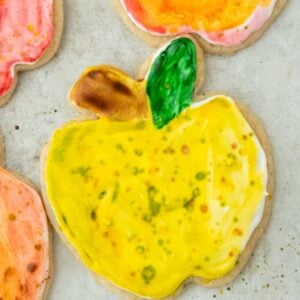
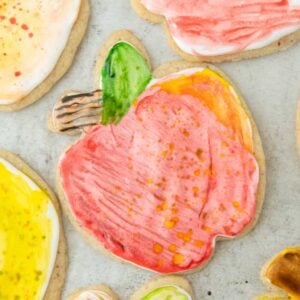
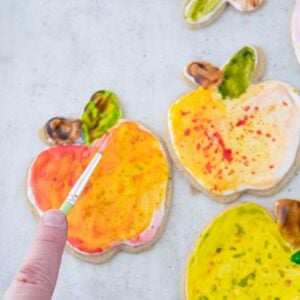
- To paint a cookie, mix a brush in one of the colors and paint in an area of the cookie with your chosen color. You can layer color on in different areas by changing colors after painting an area.
- Rinse your brushes as needed, but be sure to press out as much water as you can on the paper towels to avoid adding more water to the cookies.
- To outline areas or add texture, use a darker color to add in lines or other texture with a fine brush after filling in a color. It’s best to paint a couple cookies at a time. This way you can move back and forth from one cookie to another which will give you time for any details to dry.
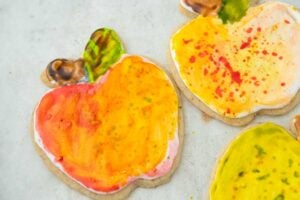
Splatter texture
- To add a splatter that simulates color spots on your apples, dip the tip of your brush in one of your colors. Flick the brush on the cookie. See what you like; sometimes multiple colors look cool!
- When you’re happy with your painting, allow the cookies to dry for at least 30 minutes.
Storing Painted Cookies
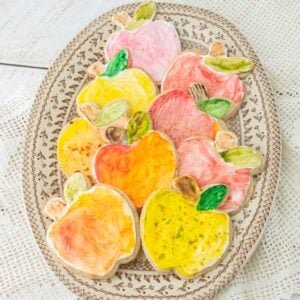
- Painted cookies are best eaten within 2 days of decorating.
- If you’re not serving them right away, pack them in an airtight container.
- Prep Time: 20 minutes
- Cook Time: 25 minutes
- Category: Cookies
- Method: Oven
- Cuisine: American